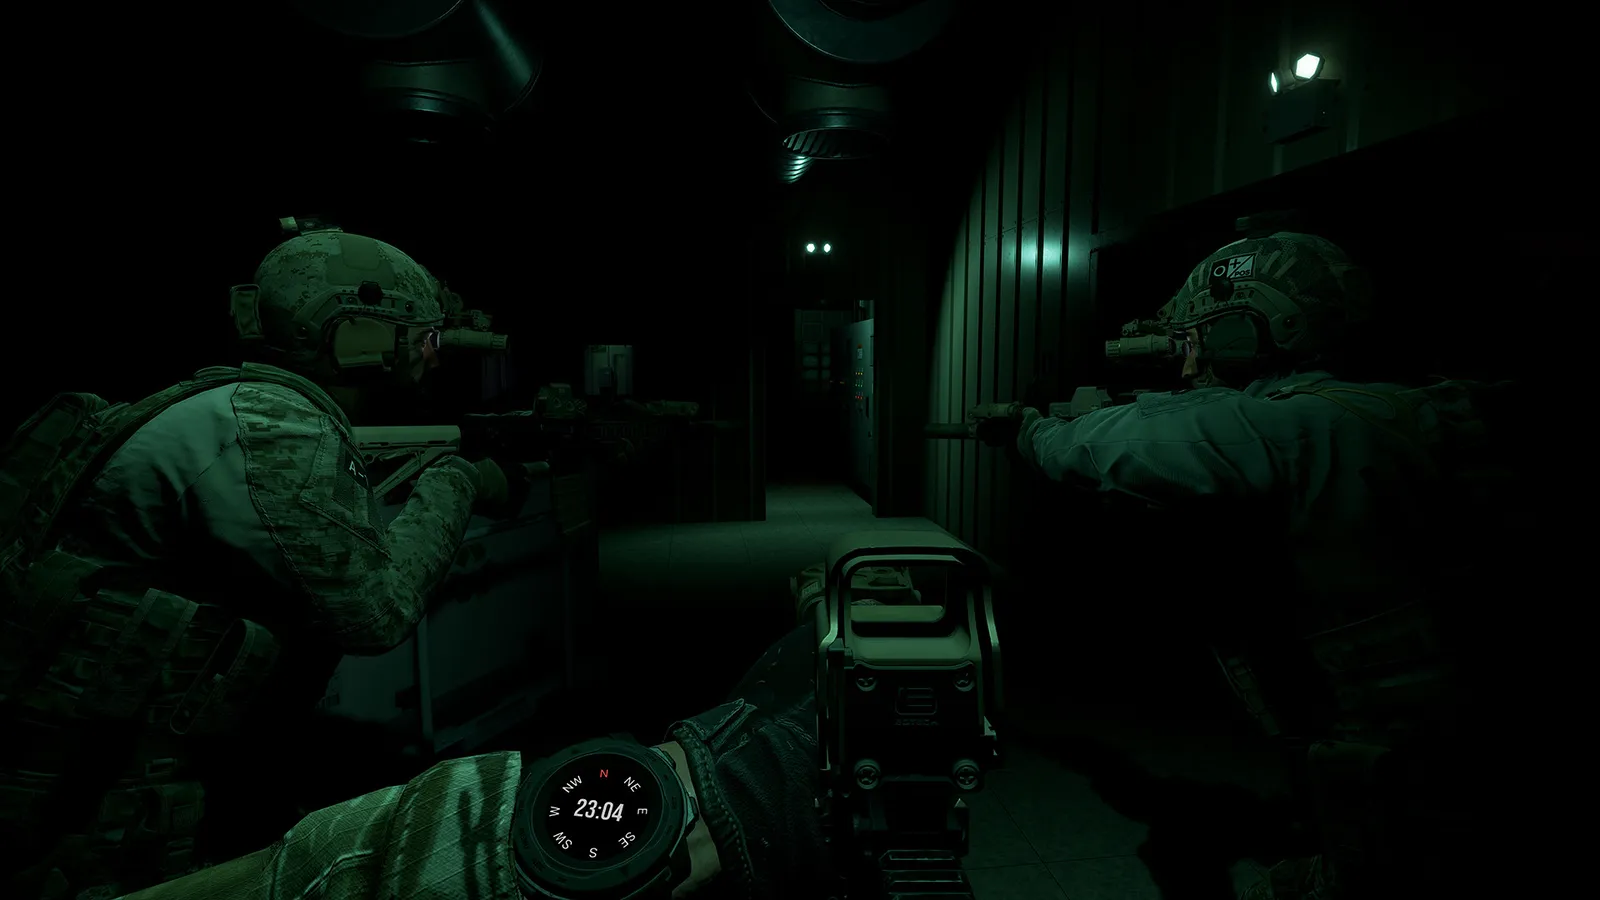
GROUND BRANCH CQB guide: room clearing order (slice the pie, threshold check, entry), stacking vs single vs double column formations, TTPs, and solo vs squad.
Ground Branch CQB Guide: Room Clearing, Formations & TTPs (2026)
Ground Branch is a CQB game first and everything else second. The Ready Room sends you into compound fights, hostage rescues and the Operations Prologue's mountain fort — and every one of them is decided in doorways, hallways and corner-fed rooms where one burst of 5.56 ends the fight. Because there is no regenerating health and no respawn mid-round, close-quarters combat is less about reflexes and more about a repeatable procedure. This guide gives you the room-clearing order, the formations, and the TTPs (tactics, techniques and procedures) that keep you alive — with pickup squads or alone.
Here's what you'll learn:
- Why Ground Branch's CQB plays differently from arcade shooters (and how the V1.0 door system changed it)
- The room-clearing order: slicing the pie, threshold checks, and how entry numbers split a room
- Stacking, single file and double column — which formation fits which space
- How to organize TTPs: who decides the breach, who covers what, and what to say
- Solo CQB vs squad CQB — what changes and what you can realistically pull off
- Where to train: The Farm's killhouse and shooting ranges
Official resources: Steam store page · Official wiki · V1.0 release notes · IGN game page
What Is CQB in Ground Branch?
CQB (close-quarters battle) is combat inside buildings and confined urban spaces: rooms, corridors, stairwells, courtyards with fatal funnels. Ground Branch's take on it is deliberately unforgiving. The time-to-kill is one or two hits; there's no health regeneration; and rounds come from your actual muzzle, so a long rifle pushed past a door frame shoots exactly where the barrel is, not where your eye looks.
The Steam store description calls it out directly: "bring a long rifle into CQB and weapon collision may prove a hindrance," and managing "height over bore when aiming for precision in CQB is critical."
Per the official Steam store page, Ground Branch gives you "unique weapon postures (including low- and high-ready), leaning, free-look, and optional and customizable free-aim" — the movement toolbox CQB runs on.
Three mechanics define Ground Branch CQB more than anything else:
- No minimap, no markers. You can't see through walls and neither can your teammates. Rooms are cleared by sector ownership, not by glancing at a radar.
- The V1.0 door system. Doors can be locked, barricaded, open or shot out. Regular doors break by destroying the handle; reinforced doors need a breaching charge. Doors now behave like cover — the official V1.0 release notes call the overhauled door interaction and breaching system a headline feature.
- True first person. Your camera sits at eye level, bullets leave the muzzle, and your foot poking past cover is visible and shootable. This makes exposure — how much of you is visible during an entry — the core currency of every fight.
If you're new to the movement side, read the how to play guide first: leaning, free-look and the ready-position system are the grammar every technique below uses. The realism mechanics guide explains why there's no medkit to save you after a bad entry.
Room Clearing 101: Slicing the Pie, Threshold Checks & Entry Order
The single most valuable CQB habit in Ground Branch is slicing the pie — taking a corner or door frame in small incremental angles instead of rounding it in one movement. Each lean-and-step reveals a thin wedge of the room; an enemy on the far side sees a fraction of your body for a fraction of a second. In a game where the first accurate burst wins, that asymmetry is everything.
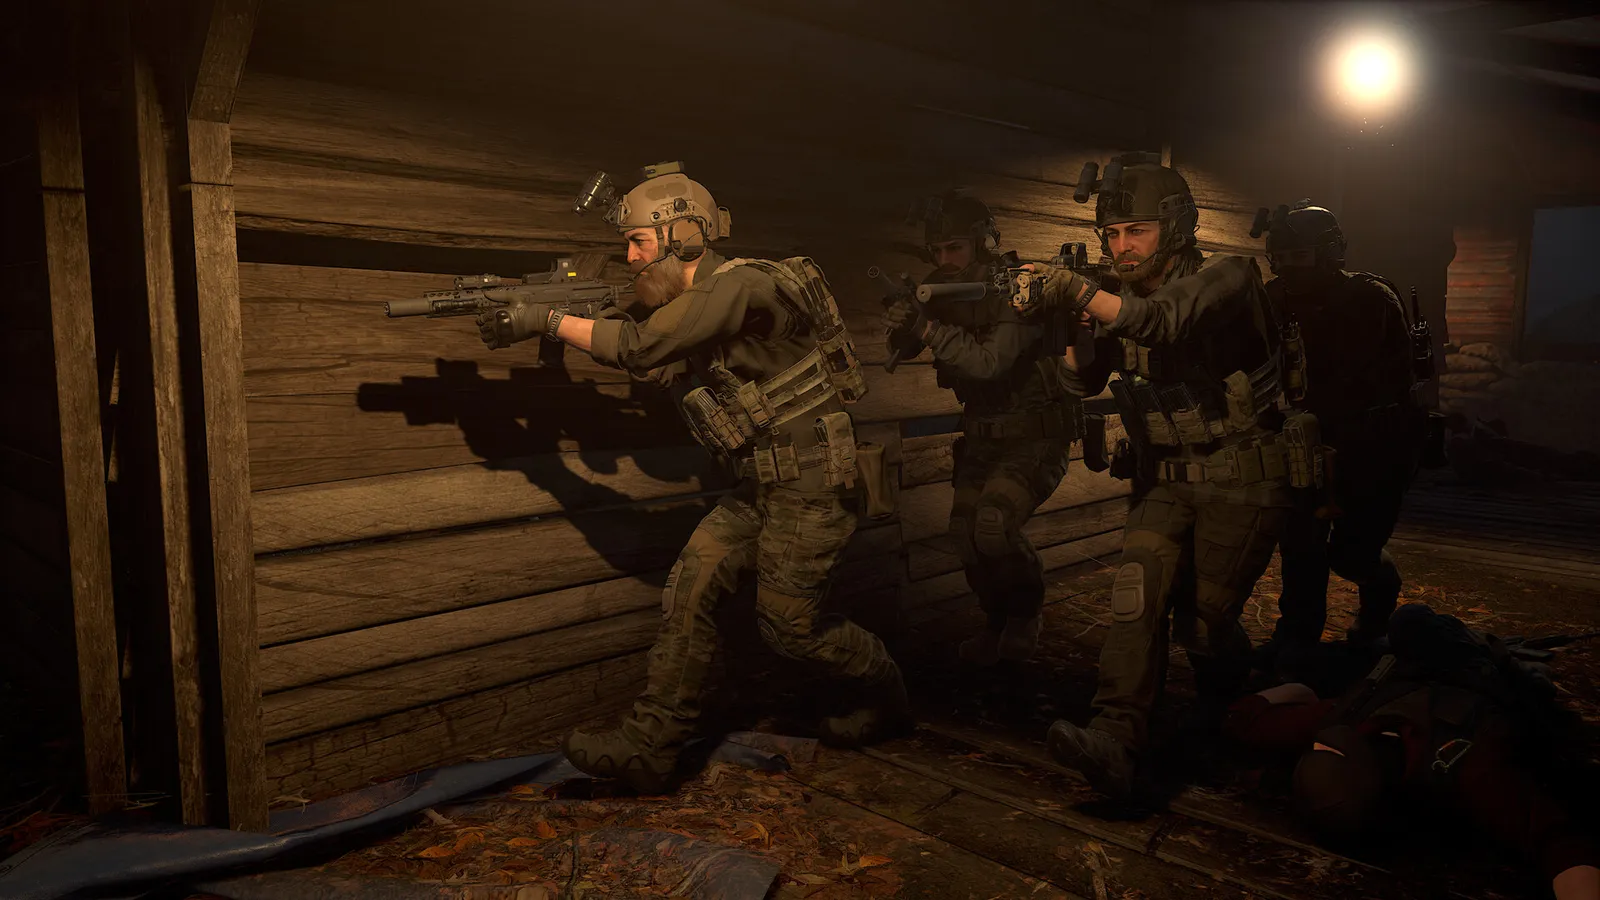
The room-clearing order for a team of two to four:
- Approach and stack. Move to the entry point without crossing the fatal funnel (the open doorway, where you're exposed from every angle inside). Everyone waits off to the side — never standing in the frame.
- Threshold check (pre-aim). The number-one man takes a tactical first peek: slices the frame, looks for immediate threats in the visible wedge, and commits to an entry decision — dynamic flood, center check, or a buttonhook to one wall. If a target is visible, it's engaged before crossing the threshold; once you cross, your job becomes your assigned corner, not the center of the room.
- Enter on the order. The number-one man crosses first and collapses into the first corner of his sector. Number two enters opposite — if number one takes the left wall, number two takes the right. Numbers three and four follow into the middle, holding the opposite wall of whoever is ahead of them. This is the "entry order" that clears a room fast without bodies stacking up in the doorway.
- Clear dead space and declare. Corners, behind furniture, open closets, and the center of the room behind an obstruction are all "dead space" until someone actually looks down the sightline. The room is only clear when every sector is called. In Ground Branch's language (borrowed from the CQB community), a corner-fed room gives each of your first two men one corner each; a center-fed room gives number one two corners and number two one — "one takes two, two takes one" — which puts the team in an L that covers every dead space.
New players slice too fast and expose half a meter of shoulder. Work the angle in small steps: lean, acquire the new wedge, lean again. The AI in V1.0 aims at whatever body part it can actually see — the less of you visible per step, the fewer shots come back at you.
The fatal funnel is where the whole room can shoot you at once. Stack off to the side, slice from the frame, and have the entry order rehearsed before you arrive — the doorway is the worst place in the building to improvise.
For how doors actually behave — ballistic entry, breaching charges, locked versus barricaded — see the tactics guide's breaching section. It walks through the decision flow (door check → quiet open-and-clear → explosive) that the entry order above plugs into.
CQB Formations: Stacking, Single File & Double Column
Formations are how a squad moves so one bullet doesn't kill two people and one corridor doesn't get missed. In Ground Branch, three matter for interior work:
- Stack (on the door). Everyone lines up against the wall on the door's hinge side, in entry order, so only the number-one man is at the frame. A single-side stack is the standard; a split stack (men on both sides) gives you a better first peek at the room but exposes two people to hallway fire and needs discipline about who crosses first — usually the men on one side enter, then the other side follows.
- Single file (corridors, narrow passages). The mobile stack: pointman first, team behind, spacing so a burst doesn't cut two men. The pointman owns forward, the rear guard owns the back. In tight hallways the column keeps everyone off the center line — in a linear danger area, the middle of the corridor is a shooting gallery.
- Double column (wide halls, open rooms, courtyards). Two files, one per wall. You get cross coverage down the hallway and two escape lines if fire comes from ahead. Use it when the space is wide enough that the middle is genuinely exposed, and when you expect fire from both flanks.
The discipline that makes any formation work: everyone owns a sector. In the stack, number one scans ahead, number two covers the far side, number three watches the next doorway you haven't reached, the rear guard owns behind. Nobody stares at the back of the head in front of them — that's how squads walk into flanks. The squad tactics guide has the full fireteam split and how to assign those sectors to strangers in under a minute.
A stack is a doorway tool and a hallway tool, not an outdoor formation. In the open, a tight stack is one grenade or one machine-gun burst away from a full wipe — spread out and bound instead.
TTPs: Organizing the Clear
TTPs (tactics, techniques and procedures) sound like mil-sim jargon until a pickup squad tries to clear a building without them. The procedure version for Ground Branch is short and it saves lives:
- Plan before you breach. One person (the team lead or number one man) states the objective: which room, which entry, who's first and second, what to do if contact happens. Two sentences, done at the door, not during the entry.
- Decide the breach method early. Quiet handle, ballistic (shooting the lock), or breaching charge. The official V1.0 door system makes this a real decision: a regular door's handle can be shot out, while reinforced doors need a charge. The number-one man or team lead calls it, and anyone else can override only with a reason ("barricaded, go loud"). The full breaching breakdown is in the tactics guide.
- Use short, distinct calls. "Stacked," "checking," "one in," "two in," "room clear," "moving." In V1.0, AI can hear gunfire and react — so sound discipline is a TTP too: suppressed weapons, slow walking, and only the calls you actually need.
- Delegate security while breaching. While the breacher works the door, everyone else holds sectors — the hall behind you, the door across the hall, the corner ahead. The breach is the moment of maximum tunnel vision, and it's when flanks get walked on.
The point of a TTP is that nobody has to think about who covers what mid-gunfight — the procedure decides it for you. That's what separates a squad that clears three rooms in a minute from one that trades kills in every doorway.
Solo CQB vs Squad CQB
Ground Branch is very playable alone — every PvE mission has Lone Wolf mode — but solo CQB is a different game with different math. On your own you have more angles of exposure than angles of coverage: every corner you don't watch is a corner that can kill you.
| Solo (Lone Wolf) | Squad (co-op) | |
|---|---|---|
| Angles covered | Only what you face | Each operator owns a sector |
| Room entry | Slice, enter, check first corner, rotate — slow and deliberate | Entry order: #1 and #2 collapse into opposite corners simultaneously |
| Door breach | Quiet only, or grenade/charge from range — no one covers you while you work the door | One man breaches, everyone else holds security |
| Risk tolerance | One mistake = mission over (no medkit, no respawn) | A downed operator can sometimes be left or fought over, but there's no revive in V1.0 |
| Best loadout | Compact: SMG or short rifle, high ready, point shooting | Short weapon for #1/#2, longer coverage for overwatch |
For solo, the community consensus is simple: slow down, use the high ready at thresholds (point shooting beats optics in a room), slice everything, and avoid entering rooms unless the objective requires it — a solo operator has no one to cover the corner behind them. The beginners guide has the first-hour routine, and the loadout guide explains why a compact weapon with a laser (which drains arm strength less than ADS) is the CQB default.
If you can bring a squad, entry-order room clearing is exponentially safer — two guns entering a room at the same instant, each owning one wall, is the whole game. That's the mode Ground Branch was built around, and it's what the missions & modes guide covers for co-op Terrorist Hunt and the Operations Prologue.
Training CQB at The Farm
Ground Branch has no hand-holding tutorial — it has The Farm. The Farm (aka Camp Peary) is the training base and now the home of the Ready Room lobby, and it's where you should spend your first hour of CQB practice: indoor and outdoor shooting ranges, plus a killhouse with multiple floor plans that you can configure. Solo CQB drills here pay off immediately.
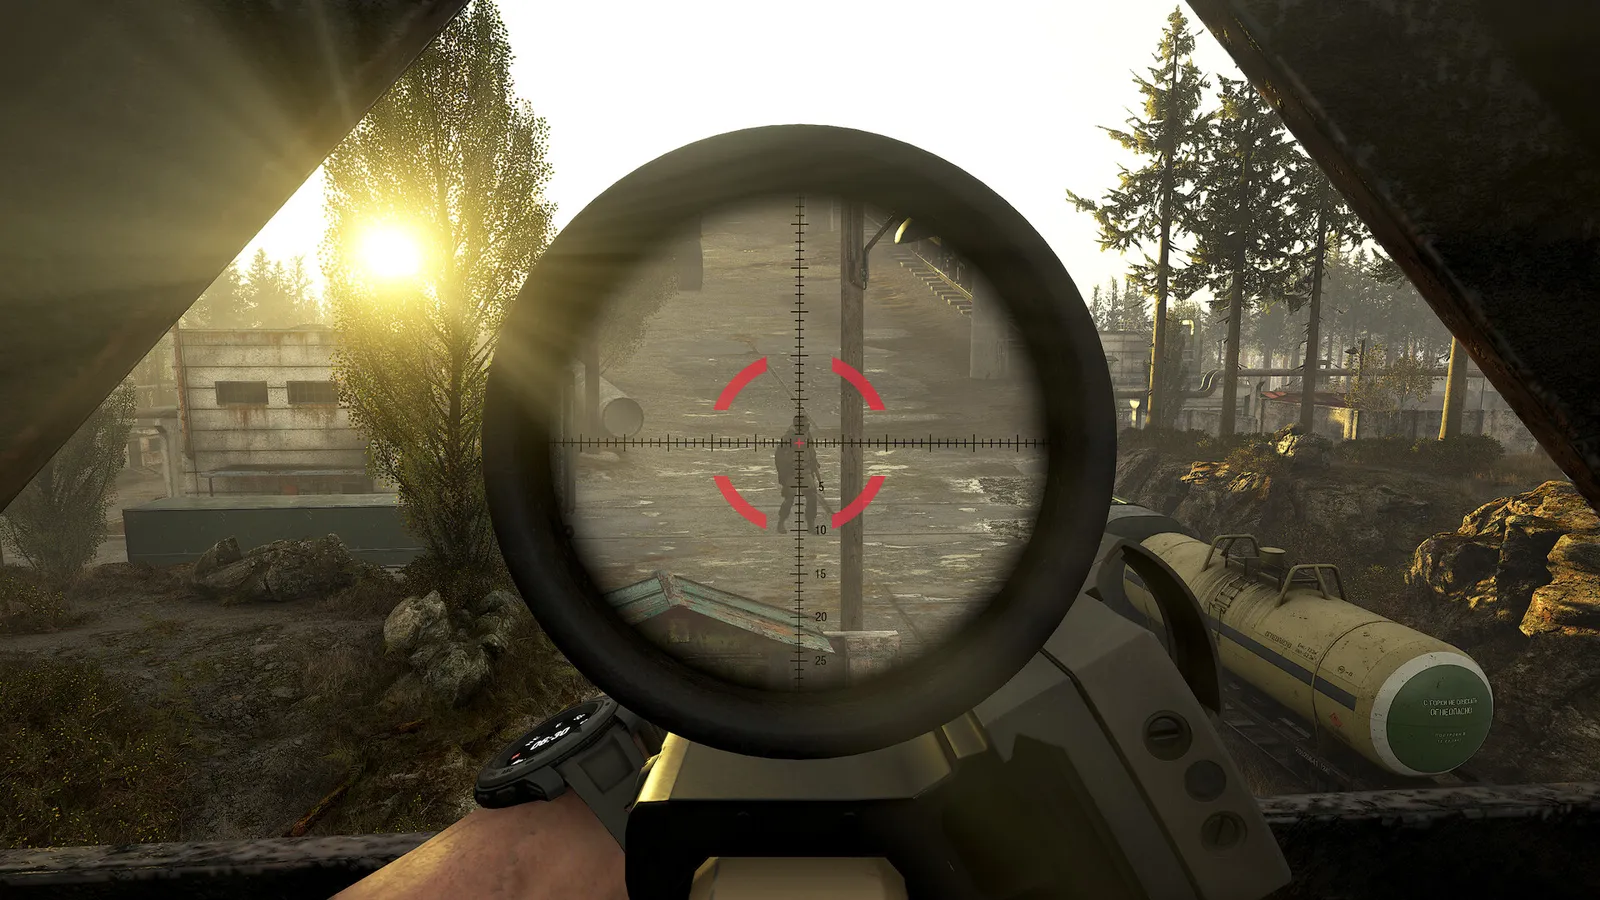
A useful 20-minute CQB drill: set up the killhouse, run one configuration solo while practicing the full sequence — stack approach, slice the frame, threshold check, enter, corner ownership, clear call — then repeat it with a buddy playing pointman so the entry order becomes muscle memory. When you're confident, jump into a Terrorist Hunt on a map like Small Town or Power Station to practice against AI that now takes cover and flinches (see the missions & modes guide for map suggestions). The mechanics that make the killhouse honest — arm strength, stamina, height over bore — are all covered in the realism mechanics guide.
Frequently Asked Questions
How do I clear a room in Ground Branch?
Slice the door frame in small angles, do a threshold check before crossing, enter on the order (number one collapses into the first corner, number two the opposite), own your sector, clear dead space, and call "room clear." Never stand in the open doorway.
What CQB formations should I use in Ground Branch?
A single-side or split stack at the door, single file in corridors, and double column in wide halls and open courtyards. Whatever you use, every operator owns a sector — nobody should be watching the back of the person in front of them.
How do I stack on a door in Ground Branch?
Line up on the hinge side of the door in entry order, off the frame, so only number one is exposed at the threshold. A split stack (both sides) gives a better first peek but needs discipline about who crosses first.
Can you play Ground Branch CQB solo?
Yes — Lone Wolf mode runs every PvE mission solo. But solo CQB means more angles of exposure than coverage: slice everything, use the high ready and point shooting at thresholds, and avoid entering rooms unless the objective demands it.
Where do I practice CQB in Ground Branch?
The Farm (Camp Peary). It has indoor and outdoor shooting ranges and a killhouse with multiple floor plans. Set up a configuration, run the entry order solo or with a buddy, then graduate to Terrorist Hunt on Small Town or Power Station.
What is slicing the pie in Ground Branch?
Working a corner or doorway in small incremental angles so you reveal a thin wedge of the room at a time. It minimizes how much of your body is visible to an enemy and is the core technique of Ground Branch room clearing.
Related Guides
- Ground Branch Tactics Guide: CQB Formations, Breaching & Entry
- Ground Branch Squad Tactics — Formations, Roles & Comms
- Ground Branch How to Play: Controls, Combat Flow & Objectives
- Ground Branch Beginners Guide — Start Your First Session Like an Operator
- Ground Branch Loadout Guide: Best Kits, Gear & Attachments
- Ground Branch Missions & Modes: Operations, PvE and PvP
- Ground Branch Realism Mechanics: True First Person, Ballistics & No Medkits
Last updated: August 14, 2026.
More GROUND BRANCH Guides
Ground Branch weapons guide: every weapon class in V1.0, caliber notes, the no-unlock system, attachments, and recommended primaries for CQB and long range.
Ground Branch has zero Steam achievements at V1.0. What the developers said about adding them, why the store lists none, and what to track instead.
Ground Branch best settings for V1.0: video options, DLSS 3.7 and frame generation, FPS-boosting console commands, sensitivity, and stutter/crash fixes.
Ground Branch how to play: default controls, stance and weapon-handling basics, the engage loop, mission flow from Ready Room to exfil, and training habits.
Ground Branch missions and modes: the Operations campaign Prologue, PvE quick missions, PvP modes, training areas, every map, and server mission setup.
Ground Branch has official mod support: Steam Workshop, the UE4 Mod Kit SDK, and hundreds of mods — weapons, missions, game modes. Install steps + top mods.
How GROUND BRANCH multiplayer works: 16-player servers, 8-player co-op, server browser (no matchmaking), joining friends, ping, and crossplay.
Ground Branch realism mechanics: no minimap, no HUD ammo, muzzle-origin ballistics, zeroing, limb damage, first aid, weapon positions and arm strength.