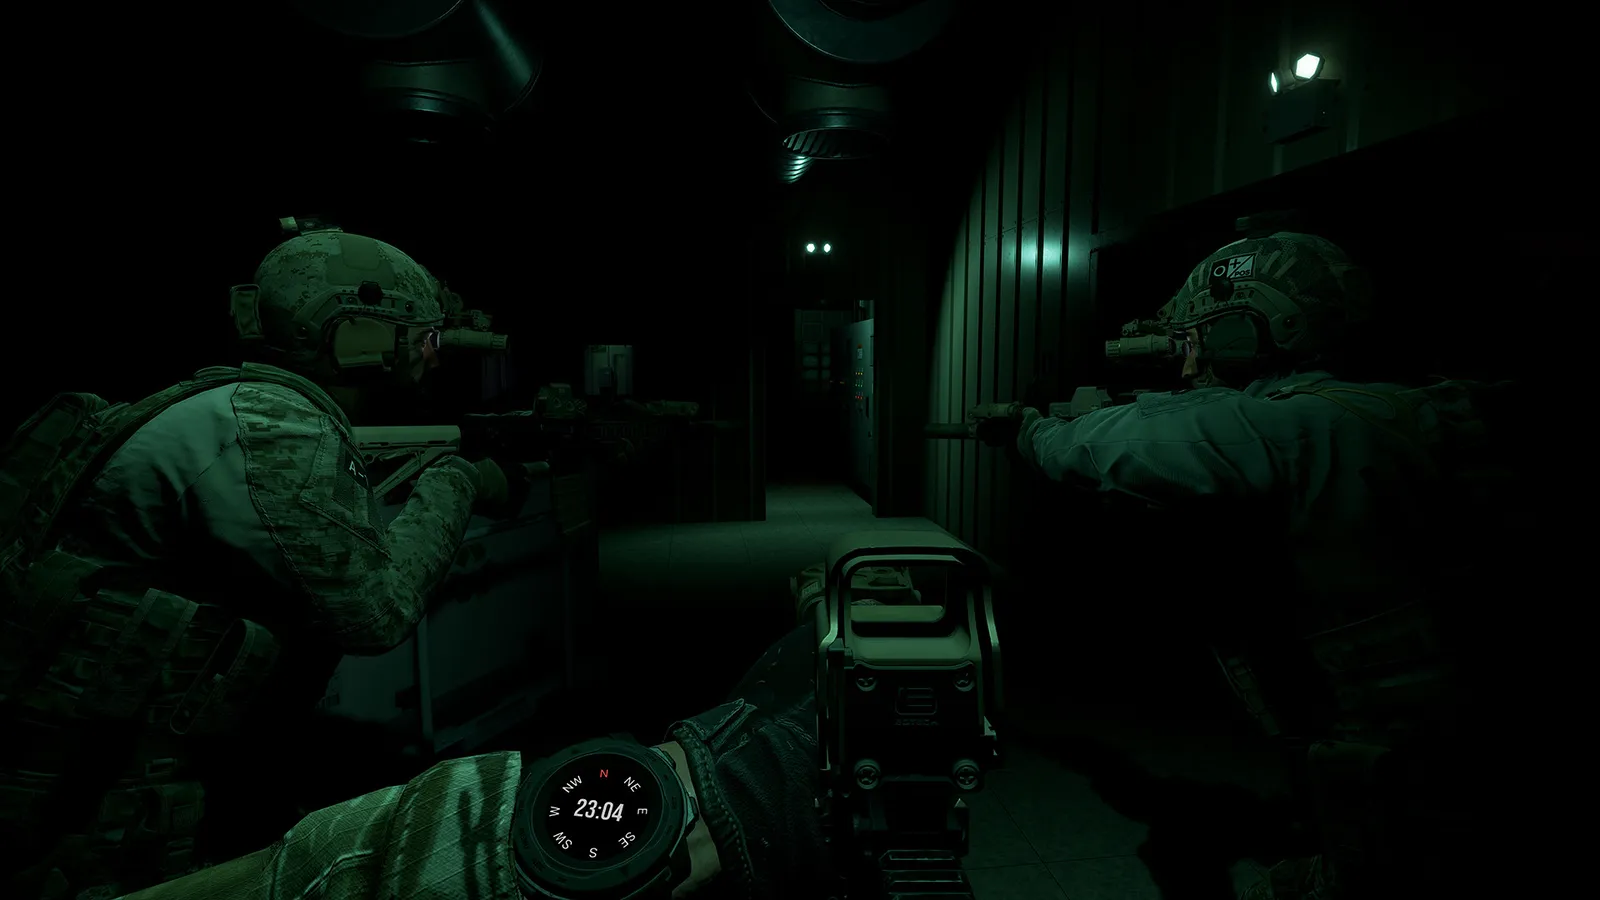
Ground Branch tactics guide: CQB formations, breaching and entry techniques, area of responsibility, movement discipline, and solo-versus-squad play.
Ground Branch Tactics Guide: CQB Formations, Breaching & Entry
Ground Branch is a game of room-by-room decisions, and the difference between a dead squad and a clean clear is procedure. The game borrows real small-unit tactics — formations, breaching methods, entry techniques and responsibility sectors — and V1.0's new door system makes them matter more than ever. This guide translates the jargon into a playbook you can actually use with a pickup squad.
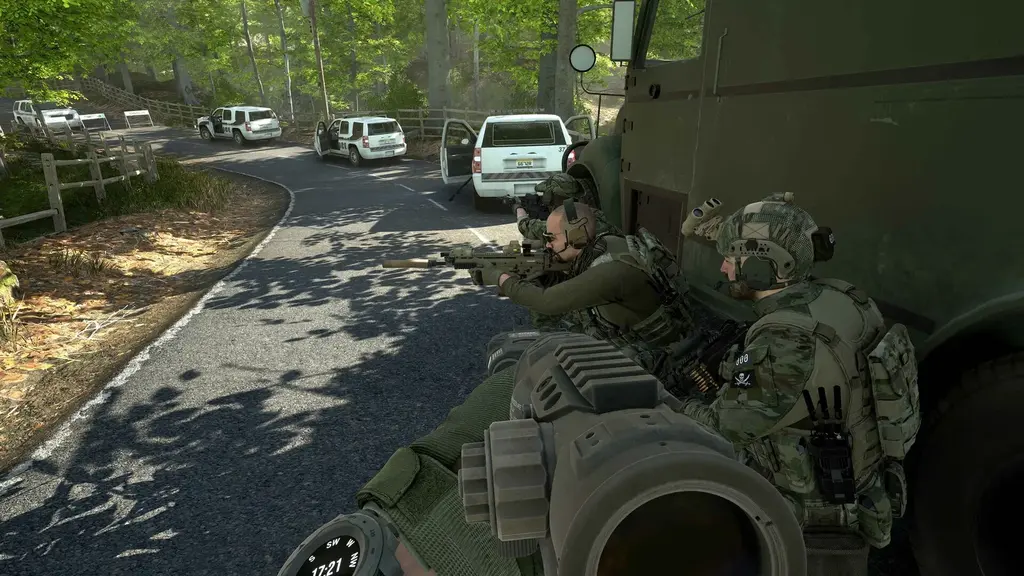
Here's what you'll learn:
- The formations: column, staggered column, double column and Y
- Breaching: when to open-and-clear vs. ballistic vs. explosive
- Entry techniques: door assist, buttonhook, coordinated entry
- AOR: splitting responsibility so nobody watches nothing
- Movement discipline: muzzle control, slicing, sound
- Solo tactics and how to lead a squad of strangers
Official resources: Steam store page · Official wiki · IGN game page · V1.0 release notes
Formations: How a Squad Moves
Formations are pre-agreed positions that keep a squad from stacking into one bullet. The community-documented doctrine (from the Tactical Operations Center wiki) covers the standards:
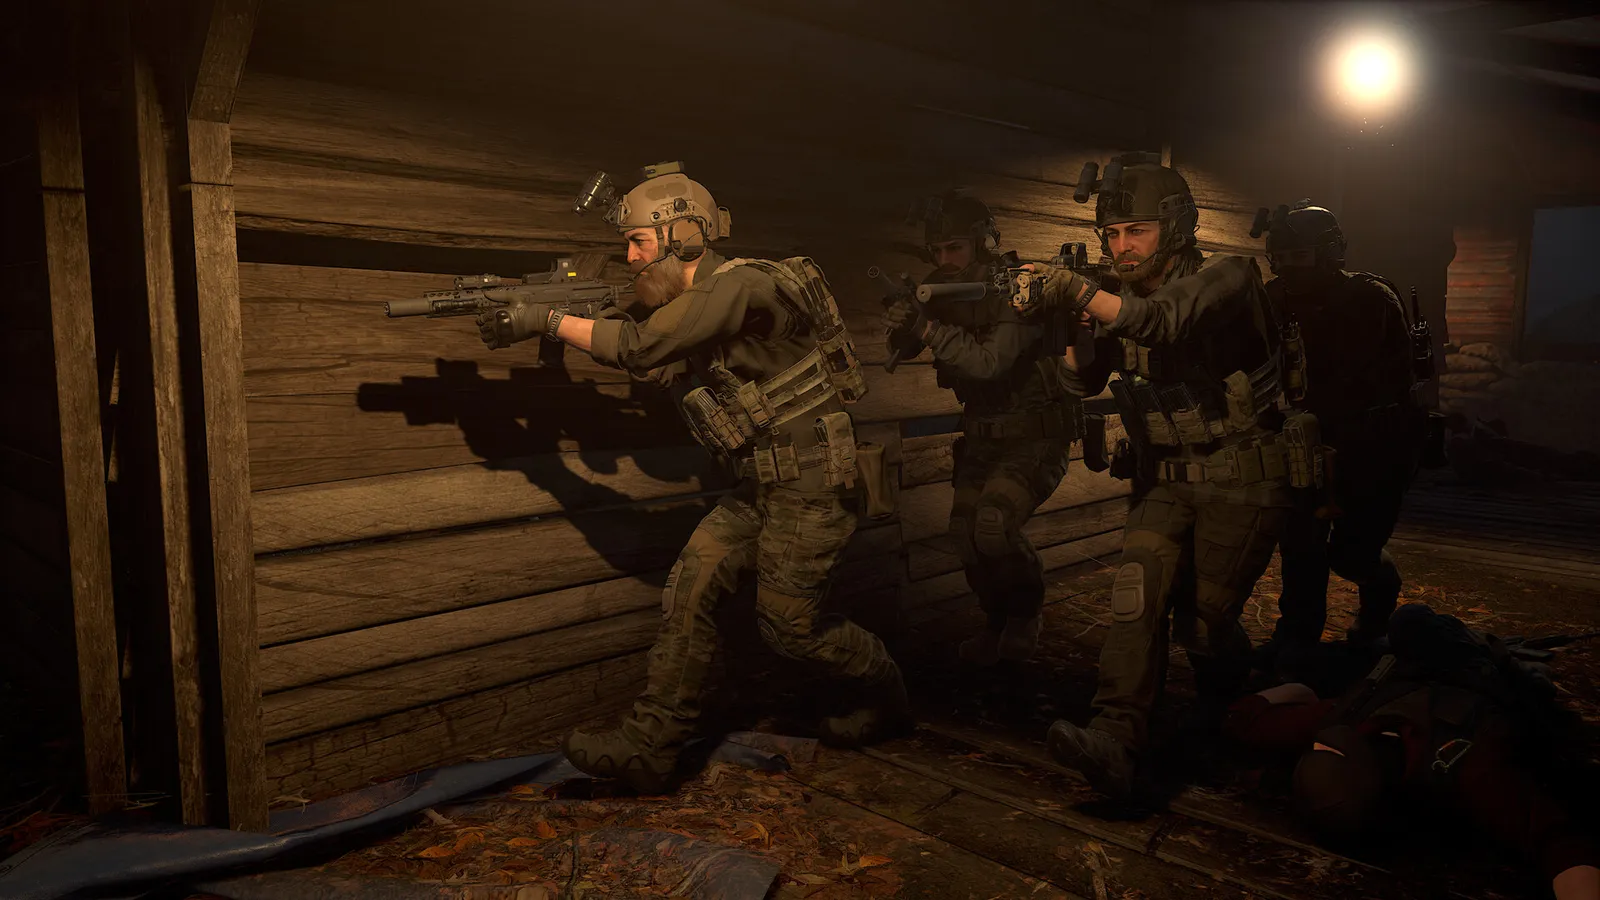
- Column / single file — the mobile stack: pointman, operator(s), rear guard. Use it in hallways, alleys and dense terrain. Minimum 3, scales to 6+.
- Staggered column — same spine, offset spacing so a single burst doesn't take two people. The default for outdoor movement.
- Double column — two files for wider streets or when expecting fire from both flanks.
- Y formation (3-man and 4-man) — two pointmen spread wide with a rear guard anchoring: maximum sector coverage while moving fast.
Roles that make any formation work: pointman (negotiates terrain, decides pace), leader (direction and calls), rear guard (the most ignored and most important — your flank), plus specialists like a breacher or marksman when you have them.
In any formation, each operator should watch a different sector and nobody should be closer than two seconds of movement behind the person ahead. When the pointman stops, everyone stops — the stack is not a queue for a doorway.
Breaching: Getting In Without Getting Killed
V1.0 rebuilt the door system: doors can be locked, barricaded, open or blocked, and you choose how to enter. Doctrine splits breaching into:
- Unassisted — open the door (or window) normally, quietly, after a check. Always the first option: silent, no resources spent.
- Assisted — when the door is locked or barricaded: ballistic (shooting locks), mechanical (tools), thermal, or explosive (breaching charges — the fastest, loudest option).
The decision flow for a team at a door:
- Door check (pointman): locked? booby-trapped? noise inside? Can we get in without a bang?
- If quiet entry works — "Open and Clear": pointman checks, opens, team flows in on the entry order.
- If the door is locked and time matters — breaching charge or ballistic lock work, then immediate entry while the enemy is disoriented.
- If the room is known-hostile — "Grenade and Clear": flashbang (blind/stun) or frag first, then entry on the bang.
Breaching a door with nobody stacked is how rooms kill you. The flash or explosion tells every AI in the building exactly where you are — your entry must be immediate, or you've just announced your position for nothing. Call it, stack, then breach.
Entry Techniques: The First Two Seconds
Once the door opens, the first two operators decide the room:
- Door assist — the pointman "pies" the door (slicing the angle to see inside) while the second operator guards the doorway; then the team flows in on the established order.
- Linear buttonhook — entryman 1 hooks inwards along the near wall, entryman 2 hooks along the opposite wall, clearing the hard corners immediately; the rest consolidate the center of the room.
- Coordinated entry — bigger buildings: detached clearing (two teams clear parallel rooms and leapfrog, each confirming before advancing) or room-by-room (one team confirms every room before moving, with door guards posted — the low-numbers standard).
Entry order, corners, sectors: the first thing you do in a room is clear the near corner in your lane, then the far corner, then the center. Everyone owns a slice — nobody watches the doorway once they're in (that's the rear guard's job outside).
AOR: Area of Responsibility
AOR — Area of Responsibility — is the sector each operator owns. Two operators in a hallway with both watching the same window are one operator; an AOR split (left/right, or front/back) covers the whole space. The doctrine scales by team size (2-man, 3-man, 4-man, 5-man, 6-man variants are all documented): more operators means narrower slices, not more people looking at the same thing.
In practice: when stacked on a door, number yourselves — "I'm 1, left corner. 2, right. 3, center-back." When moving outdoors, split the horizon into left/right sectors for the pointmen and have the rear guard cover 180° behind. AOR discipline is the single cheapest way to improve a pickup squad — it costs nothing but a sentence at the start of the round.
Movement Discipline: Slow Is Smooth
Everything else is noise if your movement is sloppy:
- Ready stance when walking — low ready, not ADS. You'll see threats you'd miss through a sight.
- Muzzle discipline — your barrel around a corner is visible and shoots first. Keep it tight to the wall or tucked.
- Slicing the pie — step out in small increments and scan the sector edge-to-edge; never walk a full doorway.
- Sound matters — sprinting is a homing beacon. V1.0 AI reacts to footsteps, doors and gunfire; Outpost's high-wind ambience masks noise, use it.
- Contact drill — if you're ambushed: return fire from cover, communicate ("contact, two o'clock, second floor"), and relocate — do not fight from where you were first shot at.
The reworked AI throws frag grenades, smokes its own retreats, reacts to flashlights and lasers, and patrols unpredictably. Cover-based frontal pushes will get your squad flanked. Keep an escape route, keep sectors, and treat suppression (LMGs, frags) as a real tool.
Solo Tactics and Leading Strangers
Solo (Lone Wolf): you have no rear guard — so you bring fewer risks. Clear one room at a time, never advance past a door you haven't checked, use grenades to clear before entry, and use AI enemy counts you can manage (10–15 recommended). Suppressors and night vision are force multipliers alone; a long unsuppressed rifle is a map-wide announcement.
Leading a pickup squad: before the Ready Room timer ends, do a 30-second brief — who's point, who's rear, which AOR everyone owns, and the contact callout format ("direction, distance, target"). Ground Branch squads that survive are not the ones with the best aim; they're the ones that agreed on procedure for 30 seconds. The full loadout and role guidance is in the weapons guide, and the mission types you'll run these tactics in are covered in the missions & modes guide.
Frequently Asked Questions
What are the best tactics in Ground Branch?
Slow, procedural play beats reflexes: use formations with assigned sectors (AOR), slice doors instead of sprinting through them, enter rooms with an order (buttonhook corners first), communicate in short factual callouts, and relocate after firing.
What CQB formations are used in Ground Branch?
The standard doctrine: single column, staggered column, double column and the 3/4-man Y formations, each with a pointman, operators and a rear guard. The stack is the mobile version of a column.
How do you breach a door in Ground Branch?
V1.0 doors can be opened quietly (unassisted), shot open (ballistic), or blown with breaching charges (explosive). Check the door first, decide based on lock/barricade and stealth needs, then breach only with the team stacked and ready to enter.
What are entry techniques in Ground Branch?
Door assist (pie the door, guard the doorway), linear buttonhook (entrymen hook opposite walls to clear hard corners), and coordinated entry (detached clearing with two teams, or room-by-room with door guards).
What is an AOR in Ground Branch?
Area of Responsibility — the sector each operator watches. Splitting AORs (left/right, front/back) ensures full coverage; failing to is how squads get shot from the sector nobody owned.
How do I play Ground Branch solo?
Run Lone Wolf with 10–15 AI, clear one room at a time, use grenades before entry, suppress your shots, and favor stealth gear (suppressor, night vision) — you have no rear guard to cover your flank.
Related Guides
- Ground Branch Wiki — Complete Game Overview, Modes & 1.0
- Ground Branch How to Play: Controls, Combat Flow & Objectives
- Ground Branch Weapons Guide: Every Class, Ranked & Recommended
- Ground Branch Missions & Modes: Operations, PvE and PvP
- Ground Branch Beginners Guide — Start Your First Session Like an Operator
- Ground Branch Multiplayer Guide: Co-op, PvP & Dedicated Servers
Last updated: August 14, 2026.
More GROUND BRANCH Guides
Ground Branch how to play: default controls, stance and weapon-handling basics, the engage loop, mission flow from Ready Room to exfil, and training habits.
Ground Branch loadout guide: the loadout system, armor plates vs soft armor, encumbrance and weight, plus the best loadouts for every mission type in V1.0.
Ground Branch missions and modes: the Operations campaign Prologue, PvE quick missions, PvP modes, training areas, every map, and server mission setup.
Ground Branch has official mod support: Steam Workshop, the UE4 Mod Kit SDK, and hundreds of mods — weapons, missions, game modes. Install steps + top mods.
Ground Branch multiplayer guide: co-op and PvP modes, 16-player servers, the Ready Room, VOIP, server browser, hosting and dedicated servers with ports.
How GROUND BRANCH multiplayer works: 16-player servers, 8-player co-op, server browser (no matchmaking), joining friends, ping, and crossplay.
Ground Branch realism mechanics: no minimap, no HUD ammo, muzzle-origin ballistics, zeroing, limb damage, first aid, weapon positions and arm strength.
Ground Branch release date: V1.0 launched July 16, 2026 after 8 years of Early Access. Full EA timeline, platforms, price, and the 2026–2027 update roadmap.