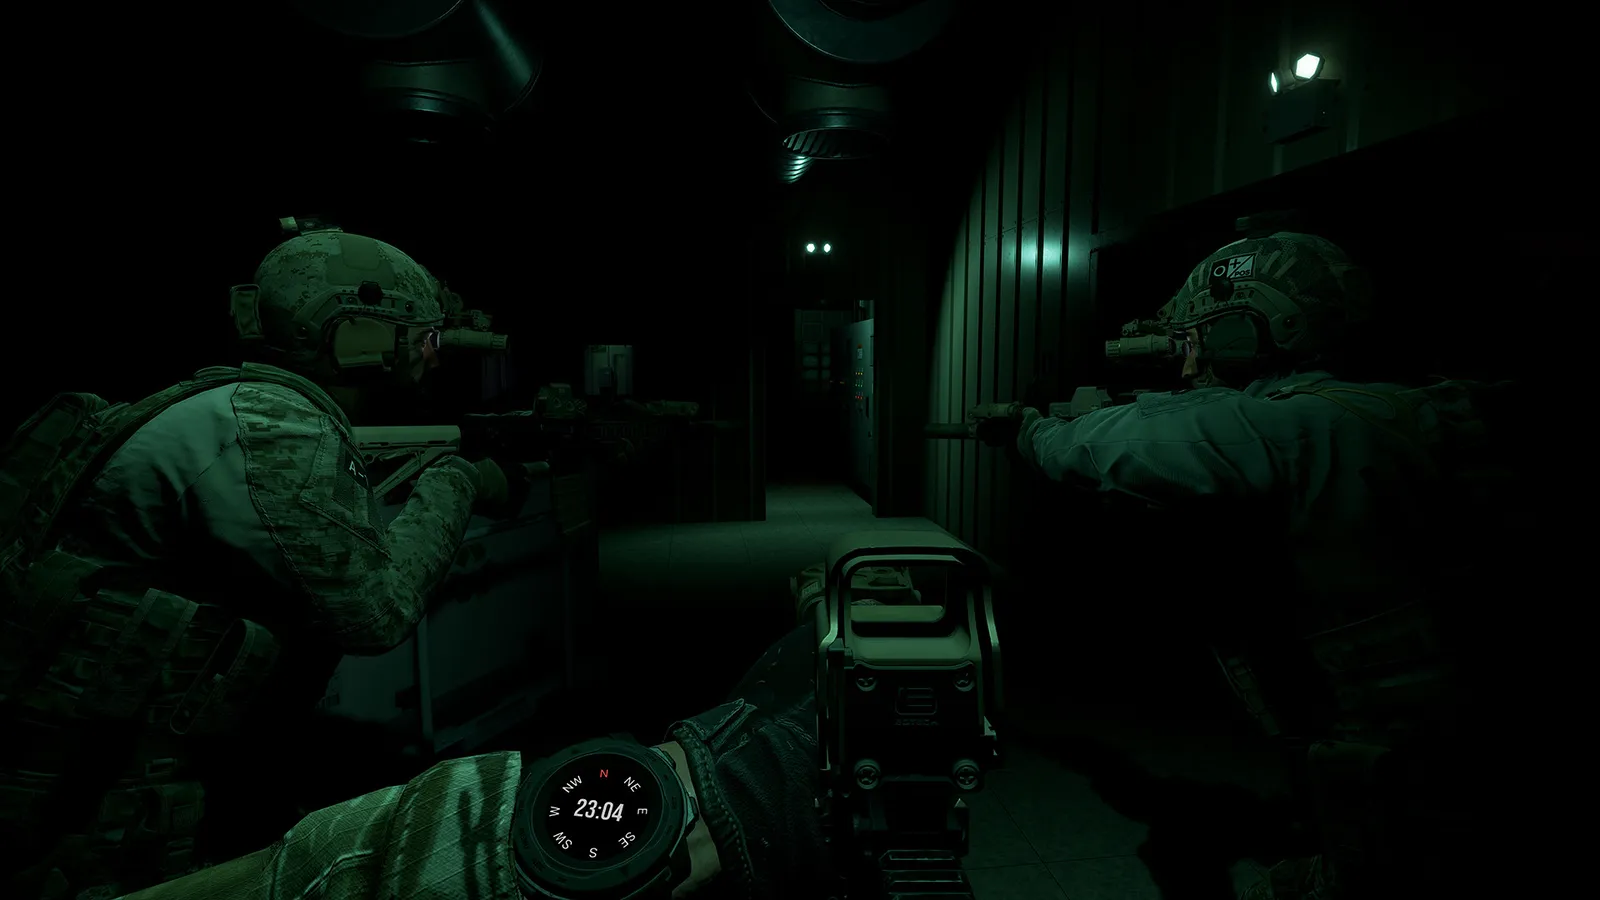
GROUND BRANCH squad tactics for co-op and PvP: fireteam roles, movement formations, sectors of fire (AOR), comms discipline and contact drills that win rounds.
Ground Branch Squad Tactics — Formations, Roles & Comms (2026)
In GROUND BRANCH, one well-organized four-man fireteam beats four skilled lone wolves almost every time. The game's TTK (time-to-kill) is brutally short, there's no regenerating health, and hit reactions flinch you when you're shot first — so the squad that sees the enemy first and fires from mutually supporting positions wins. This guide covers the team structure, movement formations, sectors of fire, and communication discipline that the game's community actually runs.
Here's what you'll learn:
- How to split an 8-player squad into workable fireteams with clear roles
- The movement formations that match each situation (stack, wedge, line, bounding)
- Areas of Responsibility (AOR) — how to sector the squad's eyes and guns
- The comms habits and Command Menu binds that keep a squad alive
- Contact drills: react to fire, break contact, and coordinated room entry

Official resources: Steam store page · Official FAQ · Official modding wiki (mission design)
Building the Squad — Fireteams and Roles
GROUND BRANCH co-op runs up to 8 players; PvP is 8v8. The community standard is to split into two 4-man fireteams, each with a clear internal structure:
- Team Lead (TL) — calls the plan, sets the route, owns the AOR assignments. In GB terms, the TL decides insertion, order of movement, and when to enter/breach (see the tactics guide for the entry-and-breaching fundamentals).
- Point Man — walks first through unknown terrain, scanning ahead in short bounds. The point man's rifle should be short and ready (CQB-oriented loadout — see the loadout guide); their job is detection, not heroics.
- Overwatch / Rear Guard — covers the back or an exposed flank. In four-man teams, player 4 holds rear security during movement and covers the team's back during entries.
- Support / Breacher — carries the long gun or breaching kit (shotgun, explosive charges, or just the door-handle shot). The breacher moves second in the stack during door work.
Roles don't need to be permanent — rotate on death or between missions. What matters is that every player knows their slot in the current move, so nobody stands in someone else's field of fire.
The most common squad death in GROUND BRANCH is two teammates dying to the same angle because nobody was covering it. Give every player a direction before crossing open ground ("Smith takes front, Jones left, you right, I'll cover rear") — then move.
Movement Formations — Matching the Formation to the Situation
Single file / stack — for hallways, stairwells, and covered routes. Everyone's gun points in one direction; the stack leader controls the speed. Never stack tighter than one door-width apart — a single grenade or burst from ahead kills the whole file.
Wedge — for open ground with unknown threats. TL at the point, two players spread to the sides, one behind. The wedge gives 360-degree coverage with all-around firepower; it's the default formation when crossing fields or moving between buildings (think Creek, Border exteriors).
Line / skirmish — for a deliberate assault across known enemy positions. Maximum firepower to the front, used for the final push. In GROUND BRANCH, use it sparingly — a line of operators is a target-rich environment for a defending AI squad.
Bounding overwatch — the formation that wins firefights. Split into two pairs: one pair moves while the other watches, then swap. The moving pair bounds from cover to cover; the watching pair is ready to fire on anything that engages them. In GROUND BRANCH's no-regen, no-armor-regeneration economy, this is the difference between a clean advance and a wipe.
GROUND BRANCH has no mini-map and no third-person peek — running into an unknown corner hands the enemy the first-shot advantage, and with hit reactions flinching your aim, losing the first exchange usually loses the fight. Walk or jog unless you're crossing a truly exposed gap under cover fire.
Areas of Responsibility (AOR) — Sectoring Eyes and Guns
AOR is the game's core team concept: every player owns a sector, and everyone else can trust that sector is covered. The practical application:
- While moving: each member watches a compass direction or a terrain feature (the bridge, the compound gate, the treeline). Announce your sector so the team knows the coverage is complete.
- While clearing: one player watches the corridor while another checks the room; the watcher's AOR is the threat the room-clearers can't see.
- At a halt: the squad forms a perimeter — every direction is covered by exactly one gun, and the TL is in the middle with the plan.
The result is that fire comes from the direction nobody was watching — which is exactly the failure AOR discipline prevents. Our tactics guide has the general movement and positioning fundamentals this builds on.
Communication — The Comms That Win
Voice is the primary tool; the game's systems support it:
- In-game VOIP — Settings > Audio > Communications: choose Voice Input Mode (Toggle or Push-to-Talk). Use PTT; open mic feeds your keyboard clicks and background noise to the whole squad at the worst moments.
- Command Menu (default K) — interact with objectives, hostages, and give context orders (Follow Me / Move To / Take Cover). It's essential for the Extraction mode's hostage handling.
- Callout discipline — say what you see, where it is, and what you're doing about it: "Contact, two hostiles, north side of the blue building, engaging." Use landmarks, not just clock directions — clocks drift as you move.
Standard brevity that keeps the squad alive: "moving" / "set" (bounding), "contact front/left/right/rear" (immediate threat direction), "one down" (a kill), "reloading" (before you go empty), "clear" (sector or room checked). The whole point is short, unambiguous statements — nobody should need to ask "which side was that?"
"Clear" is the most expensive word in GROUND BRANCH. A room or sector called clear by someone who skipped a corner gets the entire squad killed when the missed threat fires into everyone's back. Check the corner. Then call it.
Squad Drills That Win Rounds
React to contact: return fire immediately, seek hard cover, then report. The TL decides within seconds: suppress-and-advance (if the mission demands the position), or break contact (fall back to cover in bounds, rear guard covering). In V1.0, remember enemy AI now flees and seeks cover when wounded — a wounded contact is still a contact.
Crossing danger areas: use bounding overwatch — one element covers, the other crosses. Cross one or two at a time, never the whole squad in one burst.
Room clearing as a team: this is its own discipline — see the tactics guide for formations and movement drills, plus how to play for the controls and aiming basics the entry order builds on. The short version: the stack works the threshold, the point man takes the near corner, number two takes the far corner, and the last man holds the hall. Breaching the door is a deliberate technique covered in the tactics guide, not an impulse.
Post-V1.0 specifics: armor plates (MPC/JPC) give your front plate maybe 2-3 rifle-round stops — call out "my plate's gone" after heavy fire so the team knows you're fragile. Hit reactions mean whoever fires first lands the flinch; coordinated volleys (two shooters, same target) end fights before they start.
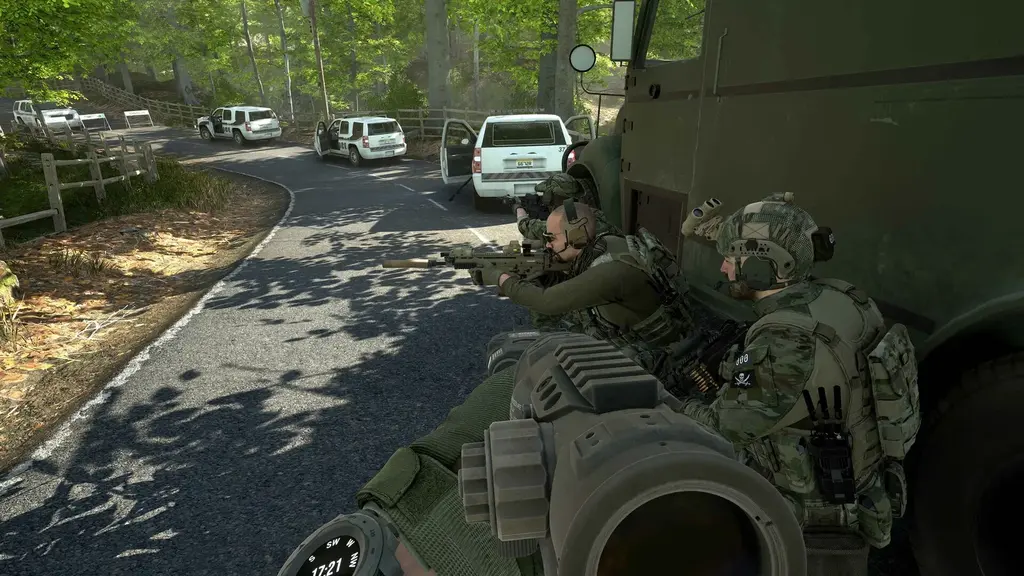
The V1.0 Ready Room at Camp Peary includes the firing range and the killhouse with multiple floor plans. Run your squad through a few stack-and-entry rotations there — the muscle memory transfers directly to Small Town, Hospital, and the Prologue operations. Full co-op practice guidance is in our multiplayer FAQ.
FAQ
What are the best GROUND BRANCH squad tactics?
Split into 4-man fireteams with assigned roles (TL, point, overwatch, breacher), move in bounds with bounding overwatch across open ground, assign AOR sectors before moving, and keep comms to short standard callouts. Coordination beats aim.
What roles should a GROUND BRANCH squad have?
Team Lead (plan and AOR assignments), Point Man (front security, short CQB weapon), Overwatch/Rear Guard (flank and rear coverage), and Support/Breacher (long gun or breaching kit). Rotate on deaths.
How do I communicate with my GROUND BRANCH squad?
Use in-game VOIP with push-to-talk (Settings > Audio > Communications), the Command Menu (K) for interactions, and standard brevity: moving/set, contact + direction, one down, reloading, clear.
What formation should a GROUND BRANCH squad use?
Single file/stack for hallways, wedge for open ground, line for deliberate assaults, and bounding overwatch whenever contact is possible. Match the formation to terrain and threat.
How do I clear rooms as a squad in GROUND BRANCH?
Stack at the threshold, point man takes the near corner, second takes the far corner, last man holds the hall; breach deliberately (charge or door-handle shot), never call a room clear without checking every corner. See the CQB and entry guides for the full sequence.
Related Guides
Last updated: August 14, 2026.
More GROUND BRANCH Guides
Ground Branch how to play: default controls, stance and weapon-handling basics, the engage loop, mission flow from Ready Room to exfil, and training habits.
Ground Branch loadout guide: the loadout system, armor plates vs soft armor, encumbrance and weight, plus the best loadouts for every mission type in V1.0.
Ground Branch missions and modes: the Operations campaign Prologue, PvE quick missions, PvP modes, training areas, every map, and server mission setup.
Ground Branch has official mod support: Steam Workshop, the UE4 Mod Kit SDK, and hundreds of mods — weapons, missions, game modes. Install steps + top mods.
Ground Branch multiplayer guide: co-op and PvP modes, 16-player servers, the Ready Room, VOIP, server browser, hosting and dedicated servers with ports.
How GROUND BRANCH multiplayer works: 16-player servers, 8-player co-op, server browser (no matchmaking), joining friends, ping, and crossplay.
Ground Branch realism mechanics: no minimap, no HUD ammo, muzzle-origin ballistics, zeroing, limb damage, first aid, weapon positions and arm strength.
Ground Branch release date: V1.0 launched July 16, 2026 after 8 years of Early Access. Full EA timeline, platforms, price, and the 2026–2027 update roadmap.