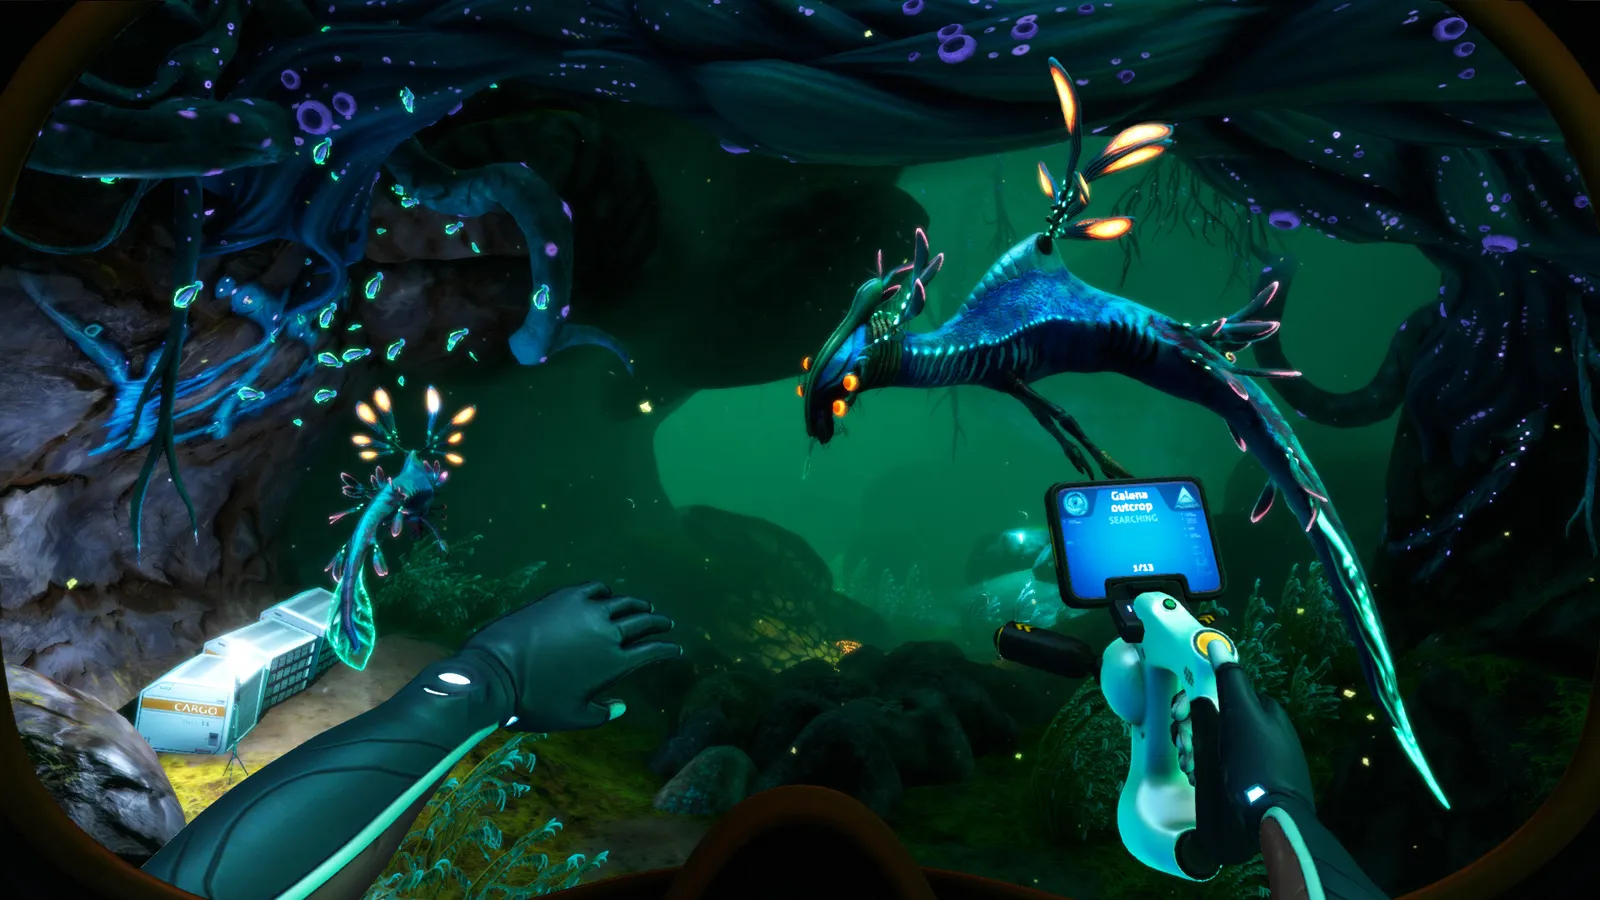
Complete Subnautica walkthrough: the order to do everything — Aurora, Sunbeam, Degasi bases, Lost River, lava zones, the Sea Emperor and the rocket ending.
Subnautica Walkthrough — Full Story Progression and Order of Operations
Subnautica has no quest log — the story advances through radio signals, PDAs and databank entries, and most players finish it in 30–45 hours by following the signal chain: repair the Aurora's reactor → ride the Sunbeam's rescue attempt → follow the Degasi survivors' trail → dive the Lost River → cross the lava zones → hatch the Sea Emperor's eggs → build the Neptune rocket. This walkthrough lays out the correct order for every major beat, what to bring to each phase, and the exact triggers that move the story forward — so you never wander the deep asking "what am I supposed to do now?"
Here's what you'll learn:
- The eight phases of the story in the correct order
- What triggers each phase (radio, PDA, or story event)
- The gear and vehicle requirements per phase
- Vehicle progression: Seamoth → Cyclops → Prawn Suit
- A resource checklist for each phase, including Ruby, Silver, Table Coral and more
- The fastest route to the ending and how many endings exist
Official resources: Steam store page · Official Subnautica Wiki — Story · Official Subnautica Wiki — Aurora · IGN Subnautica page
Phase 1 — The First Day: Survive and Listen
You wake in Lifepod 5 in the Safe Shallows with one goal: don't die. The story engine at this stage is the Radio in the lifepod:
- Day 1–2: build the basics — Survival Knife, Scanner, Seaglide, Repair Tool (1 Silicone Rubber + 1 Cave Sulfur + 1 Titanium), then the Fabricator and water purifier loop (Bladderfish → Filtered Water, cooked fish → food).
- Answer the radio: every signal adds a Lifepod beacon to your HUD. Visit them in order — each contains PDAs, databoxes and the fragments you need (Lifepod 3, 17, 6, 7, 4, 13, 12, 19 are the main chain).
- Build a first base: a Multipurpose Room with a Fabricator, lockers and a Bioreactor is plenty for this phase. The Multipurpose Room guide covers the build.
- Collect early resources: Table Coral Samples (knife the coral in the shallows — needed for Computer Chips, which need Copper Wire + Gold + Table Coral Sample), Copper, Silver from Sandstone Outcrops, and Cave Sulfur from the Safe Shallows caves.
Craft the Compass (1 Copper Ore + 1 Titanium) before anything else cosmetic. Subnautica has no map, and knowing which way is north turns every "where am I?" moment into a route. Coordinates work too — press F1 on PC — but the compass works underwater without a menu. Our console commands guide shows the F1 coordinate window.
Phase 2 — The Aurora and the Radiation
Around in-game day 1–3 the Aurora's drive core explodes (you'll see and hear the shockwave), and a radiation zone envelops the Crash Zone. This is the first real story gate:
- The radio unlocks the Radiation Suit blueprint automatically after the explosion — craft the full set (suit + gloves + helmet).
- Board the Aurora through the bow breach with the suit, a Repair Tool, a Laser Cutter and batteries, and fix the drive core — the repair takes several cycles, and completing it ends the radiation zone.
- While inside, grab the four door codes: 1454 (cargo bay), 1869 (Cabin 1), 6483 (lab, which unlocks the Repulsion Cannon blueprint) — and later 2679 for the captain's quarters, which contains the Neptune rocket blueprints. The full loot map is in our Aurora codes guide.
The Aurora also contains Seamoth fragments and the Prawn Bay, which conveniently sets up the next phase.
Phase 3 — The Sunbeam and the Mountain Island
Shortly after the radiation work, the trading ship Sunbeam radios in with a rescue plan and a 40-minute countdown to its landing on the Mountain Island:
- Follow the HUD marker to the Mountain Island (northeast) before the countdown ends.
- Watch the Quarantine Enforcement Platform — the alien tower on the island — shoot the Sunbeam down. The rescue fails, the crew dies, and the player learns the platform is a planetary quarantine weapon.
If you don't play the radio messages after the third Sunbeam transmission, the countdown never starts and the Sunbeam never lands — Avery will instead report that orbital debris makes landing impossible. The outcome is the same (no rescue), but you keep the option of a clean timeline. The story continues normally either way.
- Explore the Mountain Island and the platform's interior: you need the Purple Tablet to reach the control room, and trying the deactivation terminal while infected fails — the PDA then points you to the Disease Research Facility in the Lost River. This is the story's explicit "go deeper" moment.
Phase 4 — The Degasi Trail
The radio and the wrecks tell a parallel story: the Degasi crew crashed before you, and their trail leads through three seabases. Follow it in order — each one holds fragments and a databox you'll want:
- Lifepod 19 (Deep Sparse Reef, triggered by fabricating a Mobile Vehicle Bay) — Officer Keen's last position; databox for the Ultra High Capacity O₂ Tank.
- Degasi Base 1 — Floating Island (southwest): the surface base; Multipurpose Room fragment.
- Degasi Base 2 — Jellyshroom Cave (under the Safe Shallows, ~250 m): second Multipurpose Room fragment source, plus Magnetite everywhere (see our Magnetite guide).
- Degasi Base 3 — Deep Grand Reef (~450 m): the last base; Crabsquid territory; the third Multipurpose Room fragment location.
The Degasi logs are the emotional backbone of the story — read them as you go; they explain Marguerit's fate and set up what you'll find in the Lost River.
Phase 5 — The Lost River
The Disease Research Facility is the Lost River's centerpiece, and the Lost River itself is the game's great depth gate. You need a vehicle with a depth module before this phase — see the vehicle progression below. Four entrances exist (Blood Kelp Trench is the standard first route; the wiki lists it alongside the Northern Blood Kelp Zone, Deep Grand Reef and Mountains/Bulb Zone border).
Per the official Subnautica Wiki — Lost River: "It can be accessed through four entrances found in the Northern Blood Kelp Zone, the Deep Grand Reef, the border between the Mountains and the Bulb Zone, and the Blood Kelp Trench."
Inside the Lost River, in order of discovery:
- Collect Nickel Ore — it's everywhere here and nowhere else; every deep upgrade needs it. Routing and deposits are in our Nickel Ore guide.
- Find the Disease Research Facility (coords -252 -814 316): scan the data terminals and the inactive Warper inside — the entry explains the Kharaa Bacterium, the Precursors' research, and why the Warpers hunt you. The Warper guide covers the creature in full.
- Crystalline Sulfur and the blood kelp — you'll need Crystalline Sulfur later for the Cyclops Fire Suppression; the Lost River brine pools have it.
Phase 6 — The Lava Zones
Beyond the Lost River lie the Inactive Lava Zone, the Lava Castle and the Lava Lakes — the deepest water in the game. Story order:
- Kyanite — only found in the lava zones (and the Tree Spires equivalent in Below Zero — that's the other game; this is the original). You need it for the deepest depth modules and the Blue Tablet.
- Alien Thermal Plant (inside the Lava Castle): grab the Blue Tablet (or craft one: 1 Ion Cube + 2 Kyanite) and the Prawn Suit thermal upgrade.
- The Lava Lakes and the Primary Containment Facility (coords 200 -1440 -222): insert the Blue Tablet to open the facility.
Phase 7 — The Sea Emperor and the Hatching
The Primary Containment Facility holds the last Sea Emperor Leviathan and her five eggs, and this is where the story pays off:
- Enter the aquarium, talk to the emperor (she's telepathic — screen distortion signals her speech), and use a second Blue Tablet to unlock the Moonpool room.
- Activate the four Alien Arches inside the facility — they teleport you to the Crag Field (Eye Stalk), the Lost River Ghost Forest (Ghost Weed), the Mushroom Forest (Fungal Sample) and the Bulb Zone (Bulb Bush).
- Craft Hatching Enzymes = Eye Stalk Seed + Ghost Weed Seed + Fungal Sample + Bulb Bush Sample + Sea Crown Seed. The Sea Crowns grow in the aquarium's own trenches (locations and farming in our Sea Crown guide).
- Insert the enzymes into the Incubator Device — all five eggs hatch at once, the babies release Enzyme 42, the quarantine ends, the Warpers go passive, and the emperor dies peacefully. The full sequence is in our Sea Emperor guide.
The facility door consumes the first Blue Tablet; the Moonpool to the aquarium needs a second one. If you arrive with only one, you must backtrack to the Alien Thermal Plant to craft another (1 Ion Cube + 2 Kyanite). Bring two from the start.
Phase 8 — The Neptune Rocket and the Ending
After the quarantine lifts, the rocket becomes launchable:
- Return to the Aurora captain's quarters (code 2679) if you haven't — the Neptune blueprints live in the high-security terminal there.
- Build the Neptune Launch Platform with the Mobile Vehicle Bay, then the Gantry, Ion Boosters, Fuel Reserve and Cockpit on top of it. The Ion Boosters need Nickel Ore and Aerogel (see our Aerogel guide).
- Board and launch. The rocket cannot launch while the Quarantine Enforcement Platform is active — after the hatching it shuts down on its own, and the launch sequence plays out to the ending.
How many endings? One real ending — you escape 4546B in the Neptune. There are also two optional "content" branches that don't change the ending (the Sunbeam's fate and whether you visit the Degasi bases in order), plus a hidden Cuddlefish egg easter egg for the aquarium. The full game clocks in around 30–45 hours for a normal playthrough (shorter if you rush the signal chain, longer if you build big bases).
Vehicle Progression (Seamoth → Cyclops → Prawn Suit)
Subnautica's vehicles unlock in a strict order, and knowing the depth ceiling of each one tells you exactly when to progress:
| Vehicle | Built at | Base depth | Max depth (MK3) | Role |
|---|---|---|---|---|
| Seamoth | Mobile Vehicle Bay | 200 m | 900 m (MK1 300 / MK2 500 / MK3 900) | Fast scouting, all the way to the Lost River entrance |
| Cyclops | Mobile Vehicle Bay | 500 m | 1,700 m | Mobile base; carries a vehicle; the deep-travel workhorse |
| Prawn Suit | Mobile Vehicle Bay | 900 m | 1,700 m | Drilling, walking the lava floors, endgame |
The Seamoth's MK3 (900 m) reaches the Lost River floor but not the lava zones — that's the point where the Cyclops and Prawn become mandatory. Nickel Ore (Lost River) unlocks the deep modules on both; Kyanite (lava zones) unlocks the final ones. The Seamoth's upgrade console (Moonpool + Vehicle Upgrade Console) is covered in our Multipurpose Room guide, and the Cyclops's own full lifecycle — fragments, energy, noise and stealth — lives in the Cyclops guide.
Resource Checklist by Phase
A few resources trip players up because they're only abundant in one biome. Track these:
| Phase | Resource | Where | Why |
|---|---|---|---|
| 1–2 | Table Coral Sample | Safe Shallows coral (knife it) | Computer Chips, Scanner Room |
| 2 | Silver Ore | Sandstone Outcrops, barnacles, large deposits in the Lost River/Dunes | Wiring Kits, scanner upgrades |
| 3–4 | Magnetite | Jellyshroom Cave, Mountains | Stasis Rifle, sonar, Thermal Plant |
| 4 | Ruby | Grand Reef, Blood Kelp, thermal vents | Aerogel, depth modules |
| 4 | Gel Sack | Blood Kelp / deep cave walls | Aerogel |
| 5 | Nickel Ore | Lost River (only) | Prawn MK1, Cyclops MK2, Orange Tablet |
| 5 | Lithium | Lost River, Mountains, Mountain Island caves | Plasteel Ingots — the alloy behind everything deep |
| 6 | Kyanite | Inactive Lava Zone, Lava Castle | Final depth modules, Blue Tablet |
The Crag Field (between the Grassy Plateaus, Grand Reef and Crash Zone) is worth one mid-game detour: it's dense with Limestone/Sandstone/Shale outcrops, hosts Lifepod 7, and its rocky towers hide Cyclops engine fragments — the safer alternative to farming the Crash Zone, as our Cyclops guide notes.
FAQ
How long does it take to beat Subnautica?
A normal playthrough is 30–45 hours: roughly 10 hours to the Lost River, 10 more through the lava zones and endgame, with the rest spent on bases and exploration. Speedruns finish under 2 hours, but they skip almost everything.
What order should I do things in Subnautica?
Follow the signal chain: repair the Aurora reactor → Sunbeam event → Degasi bases (Floating Island → Jellyshroom → Deep Grand Reef) → Lost River (Disease Research Facility) → lava zones (Thermal Plant, Blue Tablet) → Primary Containment Facility (Hatching Enzymes) → Neptune rocket. Each phase's trigger is a radio signal or PDA entry.
What are the main story objectives in Subnautica?
Fix the Aurora's drive core, survive the Sunbeam's failed rescue, follow the Degasi trail, reach the Disease Research Facility, collect the Blue Tablet, hatch the Sea Emperor's eggs with Hatching Enzymes, and launch the Neptune Escape Rocket.
What is the fastest way to beat Subnautica?
Prioritize the radio signals, skip base building beyond a multipurpose room, rush the Seamoth MK3 and Prawn Suit, and farm the Lost River for Nickel Ore in one trip. Console commands (warp, item) can skip travel and resources entirely — see our console commands guide — but they disable achievements.
How many endings does Subnautica have?
One main ending (launching the Neptune and leaving 4546B after the quarantine lifts). Side branches like the Sunbeam's fate change dialogue, not the ending.
Related Guides
- Subnautica Aurora Codes — All 4 Door Codes
- Subnautica Sea Emperor — Story and the Aquarium
- Subnautica Nickel Ore — Where to Find It
- Subnautica Cyclops Guide — Fragments, Build, Upgrades
- Subnautica Below Zero Map — Biomes & Coordinates
Last updated: August 13, 2026.
More Subnautica Guides
Every leviathan in Subnautica and Below Zero: sizes, aggression, spawn biomes, health and how to deal with each — plus the extinct giants.
How to enter the Aurora in Subnautica: every door code (1454, 1869, 6483, 2679), the radiation suit requirement, what tools you need and all the loot inside.
All Subnautica Aurora door codes: 1454, 1869, 2679 and 6483, where each code is found, and exactly what's worth looting behind every door.
Subnautica Below Zero map explained: how big Sector Zero is, every biome with depth ranges, key coordinates, navigation tips and the best map mods.
Is Subnautica Below Zero multiplayer? No official co-op — but a full story-synced mod exists for Windows. Plus Nitrox and Subnautica 2's official co-op.
Subnautica Below Zero Picture Frame guide: the 16:9 aspect ratio you need for photos, where to get the blueprint, and how to load custom images.
Official Subnautica Below Zero pictures and 16:9 wallpapers: where to download store screenshots, wiki art and community shots in full HD.
The Subnautica map explained: all 18 aquatic biomes with depth ranges, resources and dangers, plus how to navigate without an in-game map.