Subnautica Below Zero map explained: how big Sector Zero is, every biome with depth ranges, key coordinates, navigation tips and the best map mods.
Subnautica Below Zero Map — All Biomes, Coordinates and Navigation Tips
Subnautica: Below Zero ships with no in-game map, just like the original — you navigate Sector Zero with beacons, landmarks and coordinates pulled up from the debug menu. The map itself is roughly half the area of the original Subnautica's map, with about a third of its depth, but it is cut into more distinct regions: eleven major aquatic biomes, four above-water zones and eleven cave systems that are easy to get lost inside. This guide is the full map breakdown — every biome with its depth range, the coordinates that matter, where to find the resources you need, and how to actually get around without a minimap.
Here's what you'll learn:
- Whether Below Zero has a map at all (and the mods that add one)
- How big Sector Zero is and how it compares to the original map
- Every biome and cave with its depth range, resources and dangers
- Coordinates for every story-critical location
- Where to find diamonds, lithium, magnetite and kyanite
- The best base spots and how to navigate without getting lost
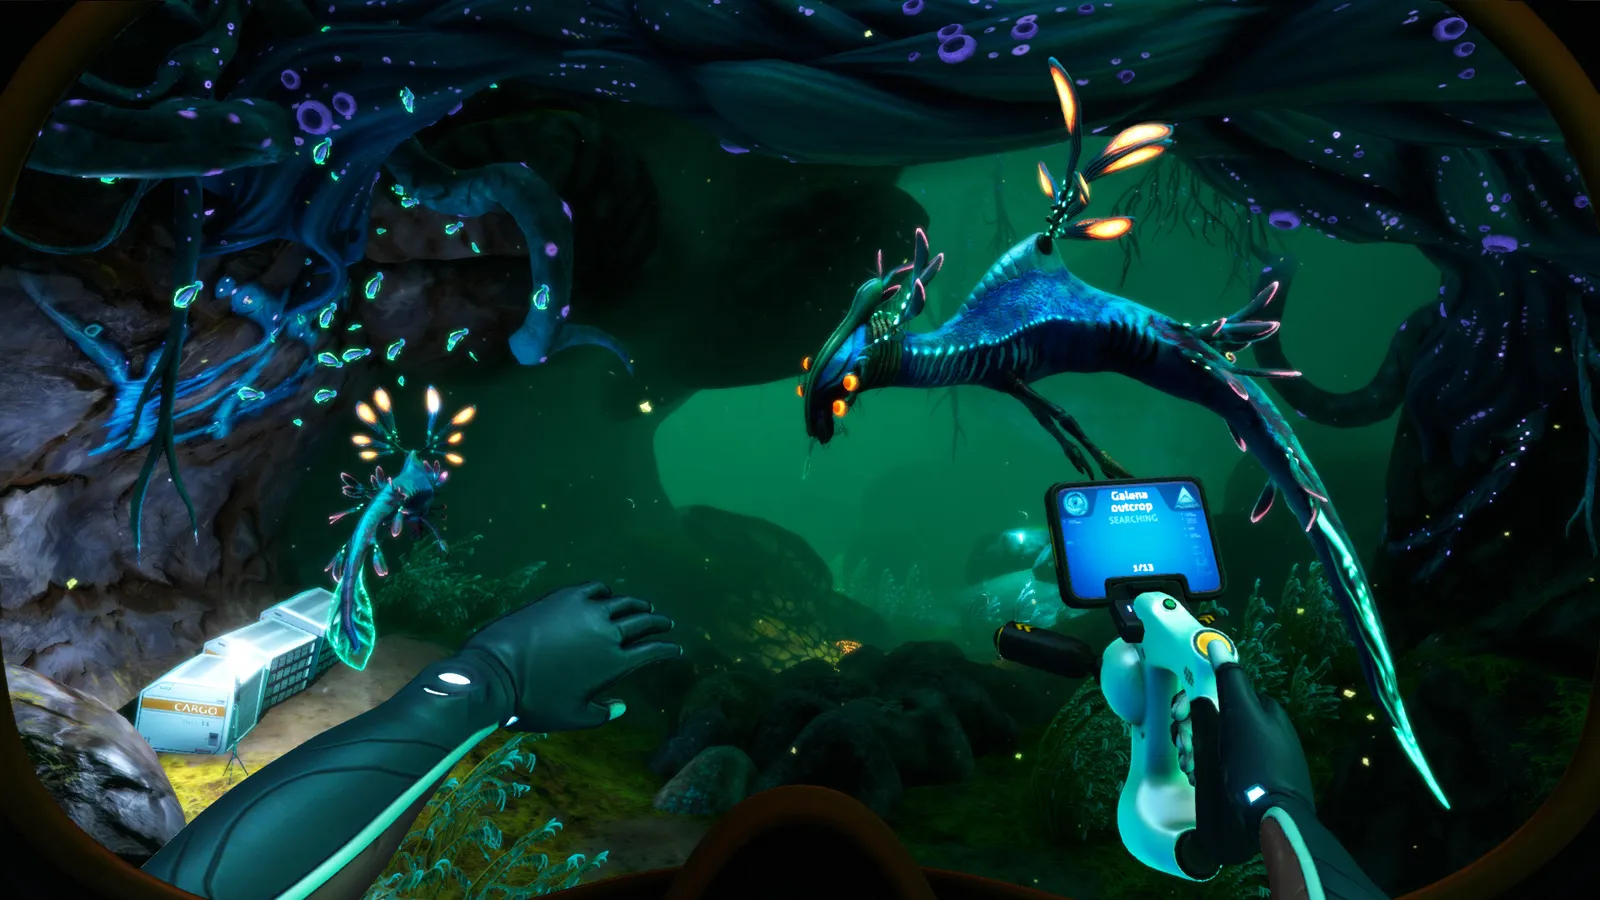
Official resources: Steam store page · Official Subnautica Wiki — Biomes (Below Zero) · IGN Subnautica: Below Zero guide · Wikipedia
Per the official Subnautica Wiki: "Subnautica: Below Zero features a similar style of map as Subnautica, wherein the map is separated into individual biomes, each with their own unique set of landscapes, fauna, and flora."
Does Below Zero Have a Map?
No. Unknown Worlds never added a map screen to either Subnautica game, and Below Zero is no exception. The PDA has no cartography tab, the pause menu has no world map, and no craftable item reveals the terrain. This is a deliberate design choice: the game wants you to navigate by landmarks, beacons and memory, the way a real diver would.
That said, you get four navigation tools that together replace a map:
- Coordinates — press F1 (PC) to open the debug window, which shows your current X/Y/Z position and the biome name. On consoles, open the pause menu and enter the console (hold LB+RB on a controller) and type
whereto print your coordinates, per the official Below Zero help center. - Beacons — craft them early and drop them at every point of interest. Beacons stay on your HUD with a label and a distance readout, and they are the closest thing the game has to a map marker.
- The Compass — a cheap tool that shows heading on the HUD. Crafting the compass early is the single best navigation decision you can make in the first hour.
- The Scanner Room — build one in a central base and install the Scanner Room HUD Chip upgrade. The chip projects scan results (resources, creatures, fragments) onto your screen in real time, which effectively maps resource nodes around your base.
It also shows your camera position, biome ID and render information. Nothing breaks if you use it to navigate — the community treats it as the game's "map." The where console command does the same thing on console versions.
If you want an actual map, the community has you covered: the Map mod by newman55 adds a full topographic map to the PDA with biome labels, pings and your position, and it is still maintained in 2025. It's detailed in our Subnautica mods guide, along with the install steps.
How Big Is the Below Zero Map?
The honest answer: smaller than the original, but denser and more vertical. Exact square-kilometer figures for Sector Zero are hard to verify — one guide estimates roughly 8 km² of explorable space, but that number is an estimate, not an official figure. What is well established from community map comparisons (players overlay the two games' biome maps in image editors) is the relative scale:
| Aspect | Subnautica (4546B crater) | Below Zero (Sector Zero) |
|---|---|---|
| Horizontal area | ~2 km by 2 km core, largest map | A little less than half the original's area |
| Underwater-only space | Huge continuous ocean | About a quarter of the original |
| Landmass | Two small islands | Large land masses (Glacial Basin, Arctic Spires, Delta Island) |
| Maximum story depth | ~1,500 m (Lava Lakes) | ~950 m (Fabricator Caverns) |
| Map structure | One open sea with a few caves | Segmented regions joined by tunnels and ice shelves |
| In-game map | None | None |
What this means in practice:
- You can cross the map in minutes with a Seatruck, whereas the original demanded long, planned expeditions. The Cyclops-sized logistics problem doesn't exist here — see our Subnautica Cyclops guide for how different the original's deep-travel game is.
- The depth is compressed too. Below Zero's deepest story area, Fabricator Caverns, bottoms out around 950 m — that's about 550 m shallower than Subnautica's Lava Lakes. You will reach the bottom of the world much earlier in the run.
- Land breaks the map into chapters. The Glacial Basin and Arctic Spires sections force you out of the water, change your movement rules (cold, snow storms, Snowfox), and act as walls between ocean regions.
Sector Zero's biomes are packed with vertical relief — cliffs, ice shelves, caves and tunnels stack on top of each other. You will regularly travel 300 m down, then find a cave entrance that drops another 400 m. Distance on the surface means little; vertical distance is what kills your oxygen and your bearings.
Every Biome in Below Zero (With Depth Ranges)
Sector Zero splits into four above-water biomes, ten aquatic biomes, and eleven underwater caves. Depth ranges below come from the official Subnautica Wiki.
Above-Water Biomes
| Biome | Depth range | What's there | Danger level |
|---|---|---|---|
| Delta Island | Above sea level | Delta Station, Communications Tower, Material Analysis Station, hot springs, diamonds in a Spy Pengling cave | Low |
| Glacial Basin | Above sea level | Outpost Zero, Parvan's Bunker, Phi Excavation Site, Snow Stalkers, thumpers | Medium |
| Glacial Bay | Above sea level to 70 m | Energy Generator, Alterra structures, vibrant flora | Medium |
| Arctic Spires | Above sea level | Ice Worm territory, Arctic Spires Cache, Architect cabling, Greenhouse | High |
Aquatic Biomes
| Biome | Depth range | Key resources | Danger level |
|---|---|---|---|
| Shallow Twisty Bridges | 0–40 m | Copper, gold, lead, titanium, Ribbon Plant | Low |
| Twisty Bridges | 50–240 m | Same plus Sea Monkey nests, deep rock | Low–Medium |
| Arctic Kelp Forest | 20–150 m | Creepvine (Lubricant, Silicone), copper, lead | Low |
| Sparse Arctic | 0–140 m | Titanium, quartz, tech sites | Low |
| Thermal Spires | 0–280 m | Lithium, diamonds, magnetite, Rock Puncher / Cryptosuchus | Medium |
| Purple Vents | 0–160 m | Lithium, magnetite, silver; Chelicerate patrols | High |
| Lilypad Islands | 0–340 m | Silver, magnetite; cave entrance to Deep Lilypads | Medium |
| Tree Spires | 70–460 m | Kyanite at depth, Ventgarden, Chelicerate patrols | High |
| Eastern Arctic / Western Arctic | 0–~200 m | Sparse seabed, icebergs; Eastern has a resource-rich caldera | Low–Medium |
| World Edge | 0–8,192 m | Nothing but Void Chelicerates — this is the map border | Extreme |
Underwater Caves
| Cave | Depth range | Why you'll go there |
|---|---|---|
| Twisty Bridges Caves | 170–200 m | Early fragments, Sea Monkey nests |
| Arctic Kelp Caves | 40–140 m | Seaglide fragments, quartz |
| Deep Twisty Bridges | 250–380 m | Diamonds, Booster Tank databox, Squidshark territory |
| Koppa Mining Site | 90–300 m | Story: Sam's investigation, Crystalline Sulfur, gold |
| Thermal Spires Caves | 50–245 m | Magnetite, lithium, mineral distillery |
| Deep Purple Vents | 160–480 m | Fossil Excavator, deep ore, Chelicerate |
| Lilypads Crevice | 180–380 m | Route to Deep Lilypads Cave |
| Deep Lilypads Cave | 320–630 m | Deep Lilypads Cave Cache, magnetite |
| Glacial Connection | 0–230 m | Under-ice tunnel between ocean and Glacial Basin |
| Crystal Caves | 320–720 m | Kyanite, Crystal Caves Cache, Shadow Leviathan |
| Fabricator Caverns | 630–950 m | Endgame: Fabricator Base, AL-AN's body |
Beyond the playable border, the seafloor drops into a pitch-black abyss patrolled by Void Chelicerates that will shred the Seatruck in seconds. There is no loot out there, no story, no reason to go. If the water turns dark and the floor vanishes, turn around.
Key Locations and Coordinates
Coordinates below are in-game world units (X/Y/Z), read from the F1 debug window. They are consistent across the two independent coordinate guides we cross-checked (Dexerto and GamerTweak), and the biome centers match the official wiki's own coordinate listings.
Story and Base Locations
| Location | Coordinates | What it is |
|---|---|---|
| Drop Pod (start) | ~-390 0 -247 | Your lifeline for the first hours; beacons lead you back |
| Delta Island dock | -130 -3 -572 | Main landing point, central hub of the map |
| Delta Island (biome center) | -3 0 -678 | Per the official wiki's biome entry |
| Delta Station | -249 43 -779 | Early story: Marguerit, Alterra comms |
| Outpost Zero | -72 9 301 | Glacial Basin outpost, SAM Ayou's site |
| Phi Robotics Center | -1185 17 -686 | Deep Twisty Bridges area, story-critical |
| Omega Lab | 554 -191 -1050 | Lilypad Islands region research lab |
| Parvan's Bunker | -1604 19 -822 | Glacial Basin shelter, thumper network |
| Marguerit's Greenhouse | 998 30 -873 | Above Lilypad Islands |
| Marguerit Maida's Base | 102 -366 -922 | Tree Spires hideout |
| Koppa Mining Site entrance | -381 -95 -818 | Under Delta Island |
| Sanctuary Zero entrance | -634 -194 -413 | Architect ruin in the Crystal Caves region |
Architect Locations
| Location | Coordinates |
|---|---|
| Architect Phase Gate Facility | -37 26 524 |
| Arctic Spires Cache | -1011 21 720 |
| Crystal Caves Cache | 545 -807 -649 |
| Deep Lilypads Cave Cache | 541 -619 -1099 |
| Fabricator Base | 1214 -945 -302 |
Coordinates tell you where a place is, not how to get there safely. Marguerit's Base, for example, sits at depth -366 in Tree Spires — a Chelicerate-heavy zone. Plan your approach (Seatruck, Silent Running, or a distraction) before you dive on a coordinate.
Where to Find Important Resources on the Map
Because the map has no markers, most players get stuck on the same four resources:
- Diamonds — Deep Twisty Bridges (scattered on walls), Thermal Spires (along the vents), and the Crystal Caves (in crystal spires, guarded by Shadow Leviathans). The safest early source is the cave on Delta Island: send a Spy Pengling through the narrow gap near the Delta Station sign to reach five diamonds and heavy Calaverite outcrops.
- Lithium — Thermal Spires, Purple Vents and Tree Spires. It is used in everything from the Prawn Suit to the Seatruck depth modules, so stock up the moment you reach Thermal Spires.
- Magnetite — Glacial Basin, Deep Lilypads Cave and the Western Arctic. Needed for the Modification Station and various upgrades.
- Kyanite — only in the deep: Tree Spires at depth and the Crystal Caves. This is your endgame gate — you cannot craft the final depth upgrades without it, and you need those upgrades to reach the Fabricator Caverns.
Early game, the Shallow Twisty Bridges, Twisty Bridges and Arctic Kelp Forest triangle gives you copper, gold, lead, titanium, quartz and Creepvine — everything needed for the first two tiers of equipment. Don't chase exotic ores until your Seatruck exists; the map's resource tiers map cleanly onto your vehicle progression.
Best Base Locations on the Map
Where you build changes how much of the map you actually explore, so this matters more than it does in most survival games. The community consensus, from the GameRant base-location breakdown and Reddit threads, settles on three spots:
- Delta Island shallows (south shore) — the map's geographic center. You can reach almost every biome within a few hundred meters, solar panels work, and the Koppa Mining Site's thermal activity sits right below for a geothermal backup. Best all-round first base.
- Mid-level Twisty Bridges — between the shallow reef and the Deep Twisty Bridges, this gives quick access to both top-level food sources and deep lead/silver deposits. The view is also the prettiest on the map.
- Purple Vents (near the thermal fumaroles) — late-game forward base. Geothermal power is free and unlimited, the biome is central to the southern map, and the Chelicerate is manageable once you learn its patrol route. Use it as your staging point for Tree Spires and Crystal Caves runs.
How the Map Opens Up: A Typical Progression Route
The Below Zero map is gated by oxygen, cold and depth modules, so it reveals itself in distinct phases. Knowing the intended flow stops you from swimming into a Shadow Leviathan with a Seaglide:
- Hour 0–3 (Shallow ring): Shallow Twisty Bridges, Twisty Bridges, Arctic Kelp Forest and Delta Island. Everything you need for the Seaglide, Compass, and basic tools is in this ring. Your drop pod is the base until you beach a few lockers on Delta Island.
- Hour 3–8 (First deeper ring): With the Seatruck built, the map opens sideways: Thermal Spires (lithium, magnetite), Deep Twisty Bridges (diamonds, Phi Robotics), the Koppa Mining Site under Delta Island, and the Glacial Connection tunnel into the Glacial Basin. This is the ring where you build your real base.
- Hour 8–15 (Story ring): The Glacial Basin and Arctic Spires land sections become mandatory — Outpost Zero, Parvan's Bunker, the Ice Worm zones. On the water side, Purple Vents and the Lilypad Islands unlock the southern map, and the Deep Lilypads Cave starts dropping you toward the deep.
- Hour 15+ (Deep ring): Tree Spires and the Crystal Caves at 320–720 m demand the Seatruck depth upgrades, which demand kyanite, which lives at the bottom of those same caves. The final drop into Fabricator Caverns at 950 m is the deepest point of the map and the last region you'll see.
If you find yourself fighting leviathans with two-tank oxygen gear, you've skipped a ring — go back, build up, and the map's difficulty curve flattens out.
Above-Water Navigation: the Land Sections
The land biomes are where Below Zero's map stops behaving like the original game, and where most players get lost or die:
- Glacial Basin is a snowfield maze of cliffs, ravines and sub-biomes (Glacial Forest, Blue Ice Caves, Temperate Caves). The Snow Stalkers here are aggressive, but they are the only predator — the real killer is getting turned around in a whiteout and freezing to death. The Snowfox hoverbike is built for exactly this: it's fast, and its hop module turns the Basin from a slog into a five-minute crossing.
- Arctic Spires adds the Ice Worm, which attacks anything that spends time on the surface. The trick is the thumper — a craftable device that vibrates the ice and draws Ice Worm attacks to itself, letting you run past. Ice Worm Attack Reduction modules exist for the Snowfox as well. Keep moving; standing still on the Spires is how you become worm food.
- Delta Island is the safe hub: no predators, hot springs for warmth, the Communications Tower for orientation, and a cave full of diamonds if you've unlocked the Spy Pengling.
Cold is the map's second health bar: stand still in the open on the land sections and your body temperature drains until you take damage. Thermal Lilies, hot springs, the Cold Suit and the Prawn Suit's environment protection are your counters, and every land route should be planned as a round trip with a warm spot at the far end.
Navigation Tips: Getting Around Without a Map
- Drop beacons early and label them. A beacon costs one Titanium. Every time you find something you'll need again — a wreck, a cave entrance, a mining site — drop one. Players who skip this spend hours lost; players who don't sail the map.
- Craft the compass before the Seaglide. Heading is more valuable than speed for the first two hours.
- Use the icebergs as landmarks. The surface is dotted with distinct ice formations; the big one behind your Drop Pod, the Glacial Bay bridge, and Delta Island's Communications Tower are visible from far away. Orient yourself on them, not on the uniform open water.
- Scanner Room + HUD Chip = a radar. In a central base, this combo shows every nearby resource node on your screen. It's the closest legitimate tool to a real map.
- Learn the two "highways." The Glacial Connection tunnel links the ocean to the Glacial Basin without a long surface swim, and the Deep Twisty Bridges canyon funnels you to Phi Robotics and the Koppa site. Most of the map is reachable through these two corridors.
- If lost, surface. Below Zero's surface is easier to read than the seabed. Come up, look for Delta Island's tower, re-orient, dive again. It costs nothing.
If navigation frustration is killing your playthrough, the Map mod (by newman55, maintained through 2025) adds a full PDA map with biome colors, your position, pings and coordinates, opened with the M key. It doesn't remove the exploration — it removes the lost-in-the-dark part. Installation steps are in our Subnautica mods guide.
For a fully interactive browser-based version of the Below Zero map, subnauticamap.io/belowzero mirrors the game's data — biomes, wrecks, databoxes, cave entrances, leviathan spawns — and is the best companion tool while you play.
FAQ
Does Subnautica Below Zero have a map?
No. Neither Subnautica nor Below Zero has an in-game map. You navigate with coordinates (F1 debug window on PC, the where console command on consoles), beacons, the compass and the Scanner Room HUD chip. The community Map mod adds a proper map screen.
How big is the Below Zero map compared to Subnautica?
Roughly half the horizontal area of the original, with the underwater portion smaller still (community map overlays put it around a quarter of the original's ocean). The deepest story area, Fabricator Caverns, reaches about 950 m versus Subnautica's ~1,500 m.
How do I see coordinates in Below Zero?
Press F1 on PC to open the debug window showing your X/Y/Z position and biome. On console, open the pause menu, bring up the console (hold LB+RB on controller) and type where.
Where do you start in Below Zero?
Your Drop Pod lands in the Twisty Bridges region, south-east of Delta Island. The first story objective, Delta Station, is on the island — swim roughly 600 m toward the large iceberg with the tower and you can't miss it.
What is the deepest biome in Below Zero?
Fabricator Caverns (630–950 m), the endgame cave holding the Fabricator Base. It is reached through the Crystal Caves and requires the Seatruck with full depth upgrades — and nerves, since Shadow Leviathans patrol the route.
Related Guides
- Subnautica Cyclops Guide — Fragments, Upgrades and Pilot Tips
- Subnautica Mods Guide — Best Mods and How to Install
- Valheim Biomes Guide — Every Zone Explained
- ARK Survival Ascended Maps Guide — Every Map and DLC
Last updated: August 13, 2026.
More Subnautica Guides
The best games like Subnautica in 2026: Raft, Stranded Deep, Outer Wilds, No Man's Sky, Grounded, Barotrauma and more, sorted by what you loved most.
Subnautica 2 early access status, Steam price and wishlist history, platforms, co-op, BioMods, roadmap and launch numbers.
All 17 Subnautica achievements in order with exact unlock conditions: from Getting Your Feet Wet to Go Among the Stars, plus how mods and commands affect them.
How to reach the Active Lava Zone in Subnautica: the exact entrances from the Inactive Lava Zone, gear you need, and every story location inside.
Aerogel in Subnautica is 1 Ruby + 1 Gel Sack in the Fabricator. Where to find both ingredients fast, plus every late-game recipe that needs Aerogel.
Subnautica Alien Containment guide: where to get the blueprint, the 5 Glass + 2 Titanium recipe, how breeding and egg hatching work, and the best fish to breed.
Every leviathan in Subnautica and Below Zero: sizes, aggression, spawn biomes, health and how to deal with each — plus the extinct giants.
How to enter the Aurora in Subnautica: every door code (1454, 1869, 6483, 2679), the radiation suit requirement, what tools you need and all the loot inside.