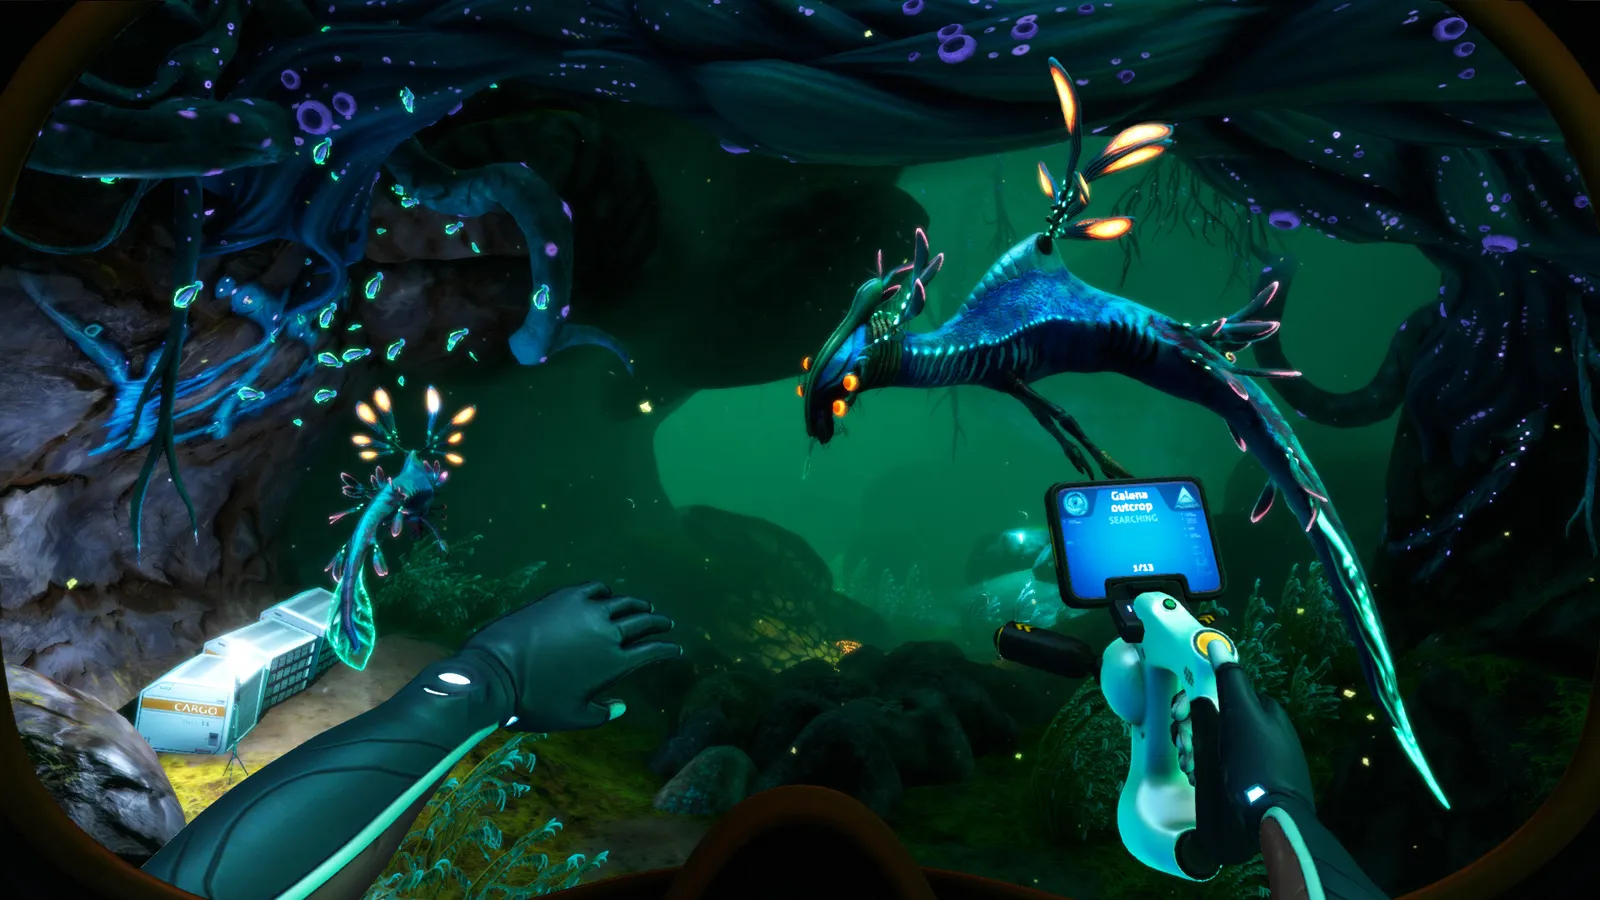
Complete Subnautica Cyclops guide: all fragment locations, the build recipe, every upgrade module, energy and noise stats, and how to survive leviathans.
Subnautica Cyclops Guide — Fragments, Build, Upgrades and Pilot Tips
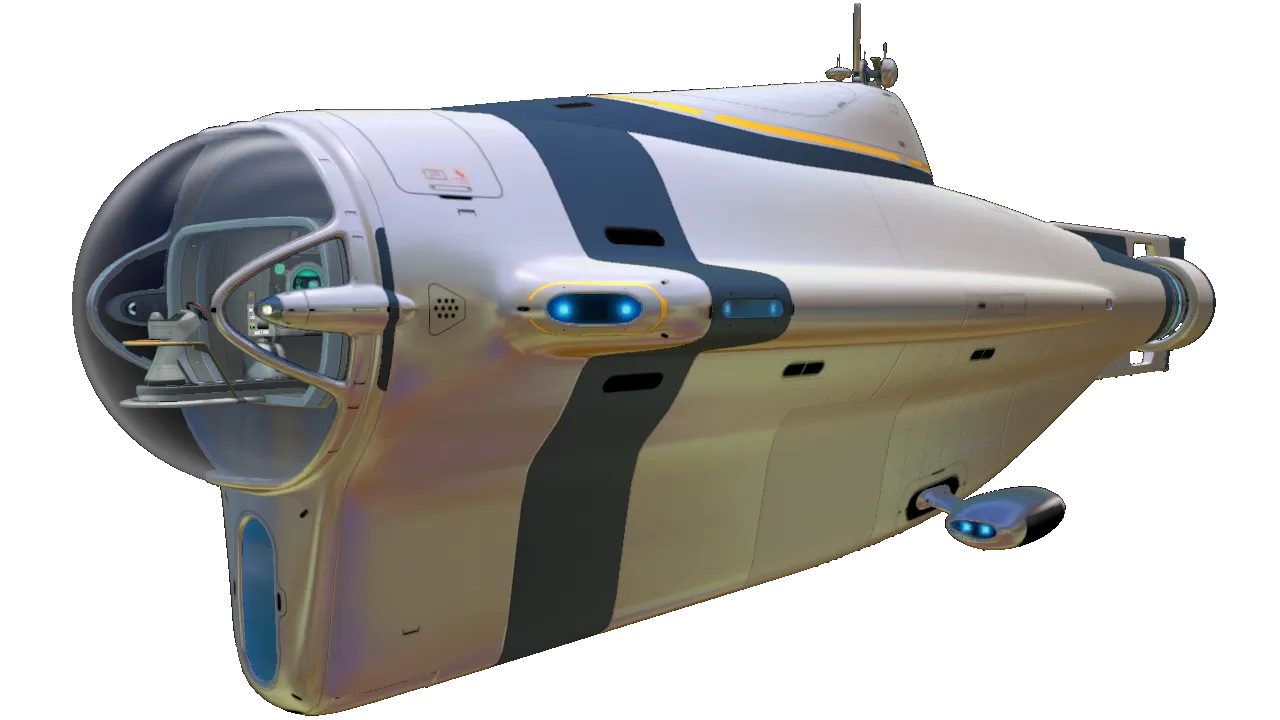
The Cyclops is Subnautica's 54-meter mobile base: a three-speed submarine that carries a Seamoth or Prawn Suit in its belly, prints its own upgrade modules, and turns the deep ocean from a series of dangerous dives into one long expedition. Getting one requires scanning nine fragments across three blueprint sets, then a pricey build, and then — this is the part most guides skip — actually learning to drive it without a Reaper Leviathan turning it into a fireball. This guide covers the full lifecycle: where every fragment spawns, what the build costs, all eight upgrade modules with real numbers, how energy and noise actually work, and the pilot habits that separate a mobile base from an underwater coffin.
Here's what you'll learn:
- All nine Cyclops fragment locations, and the safest route to collect them
- The exact build recipe and what it costs in practice
- Every upgrade module with its real effect and energy cost
- Energy consumption and noise ranges for all three speeds
- How to handle Leviathan attacks, fires and power emergencies
- The mistakes that sink first-time Cyclops captains
Official resources: Steam store page · Official Subnautica Wiki — Cyclops · IGN Subnautica page · Wikipedia
What Is the Cyclops?
Built at the Mobile Vehicle Bay and launched like a ship, the Cyclops is the largest vehicle in the game — and the only one you can walk around inside. It comes with an onboard AI that announces threats, a beacon so you can find it, a docking bay for one smaller vehicle, five built-in storage lockers, and enough interior space to grow food and craft gear while submerged.
| Stat | Value |
|---|---|
| Dimensions | 54 m long, 12 m wide, 14 m tall |
| Health | 1,500 total; top ~10% is a regenerating overshield |
| Base crush depth | 500 m |
| Max crush depth (MK3) | 1,700 m |
| Power cells | 6 (1,200 energy standard, 6,000 with Ion Cells) |
| Vehicle bay | 1 Seamoth or Prawn Suit (docks from below) |
| Speed settings | Ahead Slow / Standard / Flank |
| Speeds | 6.7 / 8.9 / 10.4 m per second |
| Build location | Mobile Vehicle Bay |
Per the official Subnautica Wiki: "At 54 meters long, 12 meters wide and 14 meters tall, the Cyclops is the largest vehicle available and capable of diving to depths of 500 meters, or 1700 meters fully upgraded."
You control it from the bridge like a ship, with cameras on the keel, sail and stern for tight maneuvers. It cannot strafe or pitch, only turn and dive — think ocean liner, not fighter jet. Everything about the Cyclops rewards planning over reflexes, which is exactly why the noise-and-energy system exists.
How to Get the Cyclops — All Fragment Locations
Unlike most blueprints, the Cyclops requires scanning three separate component blueprints, each needing three fragments — nine scans total. Each component is 33% of the full blueprint. The three sets spawn in different biomes (locations verified against the official wiki, the Fandom wiki, MapGenie and community guides):
Cyclops Hull Fragments (3)
| Location | Notes |
|---|---|
| Mushroom Forest (both zones) | The safest source; fragments litter the seafloor around the giant mushroom trees |
| Sea Treader's Path | Scattered along the vine-strewn seafloor |
| Northwestern Mushroom Forest wreck | Fragments inside and around the wreck |
Cyclops Bridge Fragments (3)
| Location | Notes |
|---|---|
| Mushroom Forest (both zones) | Same floors as hull fragments — you'll often grab both sets in one trip |
| Sea Treader's Path | Around the wreck and along the path |
| Crash Zone | Near the Aurora's bow; Reaper Leviathans patrol here |
Cyclops Engine Fragments (3)
| Location | Notes |
|---|---|
| Aurora (cargo bay) | Fragments in crates inside the ship; the only source with guaranteed spawns, but the ship is radioactive until you fix the reactor |
| Crag Field | The community's favorite farm spot — engine fragments are plentiful and relatively safe |
| Crash Zone trench / Mountains | More fragments, more Reapers |
| Underwater Islands wreck | Engine fragments near and inside the wreck |
Head to either Mushroom Forest first — you'll collect all three hull and most bridge fragments on the seafloor without fighting anything. Then go to the Crag Field for the engine fragments. If the Crag Field is dry, the Aurora's cargo bay has guaranteed engine fragments (bring a Laser Cutter and radiation gear). This route avoids the Crash Zone entirely and takes about an hour.
The east side of Mountain Island concentrates all three fragment types, which sounds convenient — but a Reaper Leviathan patrols the drop-off and the fragments sit below 200 m. It's the fastest theoretical route and the fastest way to lose a Seamoth. Only take it late-game.
Cyclops Recipe and Materials
Once all nine fragments are scanned, the Cyclops blueprint is complete and you build it at the Mobile Vehicle Bay (which you need to deploy on the surface or in open water):
| Component | Amount |
|---|---|
| Plasteel Ingot | 3 |
| Enameled Glass | 3 |
| Lubricant | 1 |
| Advanced Wiring Kit | 1 |
| Lead | 3 |
In practice, the Plasteel Ingots (2 Titanium + 1 Lithium each) are the bottleneck — that's 6 Titanium and 3 Lithium just for the ingots, plus the Advanced Wiring Kit's gold and computer chip. Collect lithium at the Mushroom Forest while you're fragment-hunting and you'll have most of it done. A newly built Cyclops launches with six Power Cells already inserted, two fire extinguishers, and a creature decoy loaded.
All Cyclops Upgrade Modules
Modules are crafted at the Cyclops Upgrade Fabricator inside the engine room and installed in the six-slot panel on the opposite side. You unlock the Engine Efficiency and Decoy Tube recipes by building your first Cyclops; everything else comes from data boxes in wrecks.
| Module | Effect | Energy cost | Where to get the blueprint |
|---|---|---|---|
| Depth Module MK1 | +400 m crush depth (to 900 m) | None | Data box (Dunes wreck, Grand Reef wreck, Lifepod 2) |
| Depth Module MK2 | +400 m (to 1,300 m) | None | Crafted from MK1 |
| Depth Module MK3 | +400 m (to 1,700 m) | None | Crafted from MK2 |
| Engine Efficiency Module | Cuts movement power use to 1/3 (300% efficiency) | None | Found free in the Aurora's drive room; also craftable after first Cyclops |
| Thermal Reactor Module | Charges power in water above 30°C; max 1⚡/s at 60°C | None | Data box in thermal zones |
| Sonar Module | Pulse sonar shows terrain and creatures on HUD | ~120⚡/min while on | Data box |
| Fire Suppression System | Auto-extinguishes all fires (recharge ~2 min) | None | Data box |
| Docking Bay Repair Module | Auto-repairs the docked vehicle | None | Data box |
| Decoy Tube Upgrade | Decoy capacity 1 → 5 | None | Data box (Grand Reef, Sea Treader's, Mountains wrecks) |
| Shield Generator | Invulnerability bubble; repels fauna | ~600⚡/min while on | Data box (Dunes wreck, Sea Treader's wreck, Deep Grand Reef Degasi base) |
Each Depth Module replaces the previous one — MK1 gives 900 m, MK2 gives 1,300 m, MK3 gives 1,700 m. Slotting two MK1s does nothing. The same non-stacking rule applies to the Engine Efficiency and Thermal Reactor modules.
Priority order for upgrades: Engine Efficiency (free from the Aurora, doubles your range instantly) → Depth MK1 → MK2 → Shield Generator → MK3 → Fire Suppression → Docking Bay Repair → Sonar → Decoy Tube. The Engine Efficiency and Shield modules have the biggest impact on how the sub feels; depth modules just unlock more map.
Energy and Power Management
The Cyclops runs on six Power Cells in the engine room — 1,200 total energy with standard cells, or 6,000 with Ion Power Cells (found in the Alien Thermal Plant and crafted from Ion Cubes late-game). Cells drain sequentially, not in parallel, so you can swap the dead one for a fresh spare mid-expedition. The engine only drains power while moving or turning; stationary is free.
Here are the real consumption numbers (from the official wiki's tables, measured in energy per minute):
| Speed | Energy use | Top speed | Efficiency | Noise reach |
|---|---|---|---|---|
| Ahead Slow | 4.5⚡/min | 6.7 m/s | 88.9 m/⚡ | 82.5 m |
| Ahead Standard | 9.9⚡/min | 8.9 m/s | 53.9 m/⚡ | 105 m |
| Ahead Flank | 19.8⚡/min | 10.4 m/s | 31.5 m/⚡ | 150 m |
| Slow + Silent Running | 64.5⚡/min | 6.7 m/s | 6.2 m/⚡ | 41.25 m |
| Standard + Silent Running | 69.9⚡/min | 8.9 m/s | 7.6 m/⚡ | 52.5 m |
| Flank + Silent Running | 79.8⚡/min | 10.4 m/s | 7.8 m/⚡ | 75 m |
What the table doesn't show directly:
- The Engine Efficiency Module cuts all movement costs to a third — 1.5⚡/min at Slow. It does not reduce the cost of Sonar, Shield, Silent Running, or recharging docked vehicles.
- Silent Running costs a flat 1 energy per second (60⚡/min) on top of movement, and halves your noise reach. It is not affected by the Engine Efficiency module.
- The Shield Generator adds ~600⚡/min — six times your flank-speed burn. Flick it on for a specific attack, not as a cruising state.
- The Sonar costs ~120⚡/min while active.
- Docked vehicles recharge at the same rate as a Power Cell Charger, straight from your cells. A half-dead Prawn Suit will quietly drain your reserves.
- Interior and exterior lights are free. Leave them on.
At 0% power the lights die, the oxygen stops, and the Cyclops cannot dock a vehicle — a returning Prawn Suit will just bump the underside. Your cells stay in place and you can still swim out through the hatches. Keep one charged spare cell in a locker and never let the bar hit zero on a deep run.
Speed, Noise and Stealth
Every speed setting emits a noise "sphere" that hostile creatures can hear — 82.5 m at Slow, 105 m at Standard, 150 m at Flank. Any creature inside that sphere becomes aware of the Cyclops and may attack. This is the core tension of the vehicle: flank speed is nearly double slow's pace but triple the noise and four times the power burn.
Stealth tools, in order of usefulness:
- Kill the engine. A stationary Cyclops with the engine off makes zero noise — creatures that heard you before will lose interest and stop attacking. This is the single best defense and costs nothing.
- Silent Running — halves noise for 60⚡/min. Use it for slow sneaking past a Leviathan patrol zone.
- Decoys — launch one and hostile creatures investigate it instead of you. One loaded by default, five with the Decoy Tube Upgrade.
- Shield Generator — flick it on when an attack connects; it negates damage and repels the creature. Never leave it on.
- Floodlights off — lights don't affect noise, but turning them off in dark zones keeps you less visible to you being spotted by your own... actually, lights are cosmetic for stealth in this game; the real lever is speed and the engine.
When the AI says "Warning: Creature Attack," your instinct is to floor it. The pro move is the opposite: kill the engine, let the creature circle, and wait for the whooping alarm to stop. Once the sonar blips turn back to yellow, restart at Slow. The Cyclops can sit in Reaper territory indefinitely this way.
Surviving Leviathan Attacks
Only the largest predators can actually damage the Cyclops — medium threats like Bonesharks and Stalkers chew on it without doing harm (Stalkers may even drop a tooth doing so). The five that hurt are:
| Creature | Biomes | Threat behavior |
|---|---|---|
| Reaper Leviathan | Crash Zone, Dunes, Mountains | Grabs and shakes the hull; the classic Cyclops killer |
| Ghost Leviathan | Grand Reef, Lost River, Blood Kelp, Crater Edge | Charges and slams; common in the deep |
| Sea Dragon Leviathan | Inactive Lava Zone, Lava Lakes | Spits fireballs that start onboard fires |
| Crabsquid | Deep Grand Reef, Lost River | EMP blasts that knock out power systems |
| Ampeel | Blood Kelp, Bulb Zone | Electric attacks |
When an attack lands: hull damage shows on the port-side hologram, and breaches must be repaired from outside with the Repair Tool. If damage continues, fires break out inside and spread — extinguish them with the wall extinguishers, or slam the Fire Suppression System if installed (it locks all bulkheads and takes about two minutes to recharge). Lava Larva attach to the hull in the lava zones and leech power — remove them by knife, Propulsion Cannon, or a quick shield flick.
If the Cyclops reaches crush depth (no module: 500 m), the AI warns and the hull melts fast. Surface immediately — depth is measured from the sub's centerline, so even a shallow dive past the limit bleeds HP. The Mk1 module (900 m) is the difference between the Lost River being reachable and being a death trap.
Running Flank for more than 20 seconds overheats the engine and starts fires in the engine room — guaranteed, not just a risk. Use Flank in short bursts to escape an attack, then drop back to Standard. Veterans bind Flank for emergencies only.
Using the Cyclops as a Mobile Base
The Cyclops is a seabase that moves. With the Habitat Builder you can place a Fabricator, Modification Station, lockers, an indoor growbed, a Power Cell Charger and even an aquarium inside — everything draws from the same 1,200/6,000 energy pool, so keep the power math honest. Exceptions: the Bioreactor and Water Filtration Machine can't be built inside.
The practical loadout for a deep expedition:
- Fabricator + Modification Station — craft and upgrade mid-run (upgrades need a Modification Station, which the Cyclops upgrade fabricator doesn't replace).
- Indoor growbed with Bulbo Trees or Marblemelons — food and water solved for days, no storage pressure.
- Power Cell Charger + 2 spare cells — hot-swap dead cells instead of aborting the expedition.
- One locker of repair supplies — Titanium, glass, computer chips, so hull repairs and module swaps never require a trip home.
- Beacons — drop one every kilometer; the Cyclops beacon only shows the sub itself.
The docking bay holds one vehicle at a time and it recharges automatically; with the Docking Bay Repair Module it repairs too. Remember the docked vehicle shares your energy pool, and that you can swap vehicles at a Moonpool base — park the Cyclops, take the Seamoth for shallow scouting, return, re-dock.
Cyclops Mistakes That Get You Killed
- Flank everywhere. Overheating fires, triple noise, quadruple drain. Standard is the default; Slow in populated zones.
- Ignoring the sonar's red blips. Yellow = heard-adjacent, red = attacking. Red blips that stay red mean you keep making noise — kill the engine and wait.
- No depth module in the Lost River. The entrance is ~500 m; the river floor is deeper. The Mk1 is mandatory, MK2 before the Lava Zones.
- Running on one cell. 1,200 energy sounds like a lot until the shield, sonar and a recharging Prawn eat it. Carry spares.
- Fighting instead of dodging. You have a horn, decoys, a shield and 1,500 HP — but no weapons. The Cyclops is never a battleship.
- Docking in the dark. Without a Moonpool, park the Cyclops near your base and swim — don't try to thread the docking bay in a panic.
- Saving mid-fire. Fires spread and the save keeps them. If you must quit during an attack, kill the engine, extinguish everything, then save.
Is the Cyclops in Below Zero?
No. The Cyclops does not exist in Subnautica: Below Zero — the Seatruck replaces it (and the Seamoth) as the modular vehicle: a cab you attach modules to (fabricator, storage, aquarium, docking) and detach in emergencies. The Seatruck's map and depth game is entirely different, and it's covered in our Subnautica Below Zero map guide. If your whole reason to play Below Zero was the Cyclops, manage expectations: the Seatruck is faster and nimbler, but it will never be a rolling base the same way.
And if the Cyclops' quirks annoy you — the docking bay accepting only one vehicle, the noise curve, the power thirst — the mod scene has answers: the Cyclops Docking Mod lets it carry both a Seamoth and a Prawn simultaneously, which is the single most popular vehicle fix. That mod and its install path are in our Subnautica mods guide.
FAQ
How do I get the Cyclops in Subnautica?
Scan nine fragments (3 Hull, 3 Bridge, 3 Engine), then build it at the Mobile Vehicle Bay with 3 Plasteel Ingots, 3 Enameled Glass, 1 Lubricant, 1 Advanced Wiring Kit and 3 Lead. Hull and bridge fragments are safest in the Mushroom Forest; engine fragments in the Crag Field or Aurora's cargo bay.
Where are the Cyclops fragments?
Hull: Mushroom Forest and Sea Treader's Path. Bridge: Mushroom Forest, Sea Treader's Path and Crash Zone. Engine: Aurora cargo bay, Crag Field, Crash Zone, Mountains and the Underwater Islands wreck.
How deep can the Cyclops go?
500 m stock, 900 m with MK1, 1,300 m with MK2, 1,700 m with MK3 depth modules. Below the limit the hull takes rapid damage, so the MK1 is mandatory for the Lost River and MK2+ for the Lava Zones.
How do I stop leviathans attacking my Cyclops?
Make less noise: Slow speed, Silent Running, or a full engine stop (zero noise — creatures lose interest). Launch decoys to redirect attacks, flick the Shield Generator for the seconds an attack connects, and repair hull breaches from outside with the Repair Tool.
Is the Cyclops in Below Zero?
No. Below Zero replaces it with the modular Seatruck, which covers both the Seamoth's and the Cyclops' roles. If you want the Cyclops experience in the original game with better docking, the Cyclops Docking Mod is the community favorite.
Related Guides
- Subnautica Below Zero Map — Biomes, Coordinates & Navigation
- Subnautica Mods Guide — Best Mods and How to Install
- Valheim Biomes Guide — Every Zone Explained
- Rust Beginners Guide — Surviving Your First Week
Last updated: August 13, 2026.
More Subnautica Guides
Every leviathan in Subnautica and Below Zero: sizes, aggression, spawn biomes, health and how to deal with each — plus the extinct giants.
How to enter the Aurora in Subnautica: every door code (1454, 1869, 6483, 2679), the radiation suit requirement, what tools you need and all the loot inside.
All Subnautica Aurora door codes: 1454, 1869, 2679 and 6483, where each code is found, and exactly what's worth looting behind every door.
Subnautica Below Zero map explained: how big Sector Zero is, every biome with depth ranges, key coordinates, navigation tips and the best map mods.
Is Subnautica Below Zero multiplayer? No official co-op — but a full story-synced mod exists for Windows. Plus Nitrox and Subnautica 2's official co-op.
Subnautica Below Zero Picture Frame guide: the 16:9 aspect ratio you need for photos, where to get the blueprint, and how to load custom images.
Official Subnautica Below Zero pictures and 16:9 wallpapers: where to download store screenshots, wiki art and community shots in full HD.
The Subnautica map explained: all 18 aquatic biomes with depth ranges, resources and dangers, plus how to navigate without an in-game map.