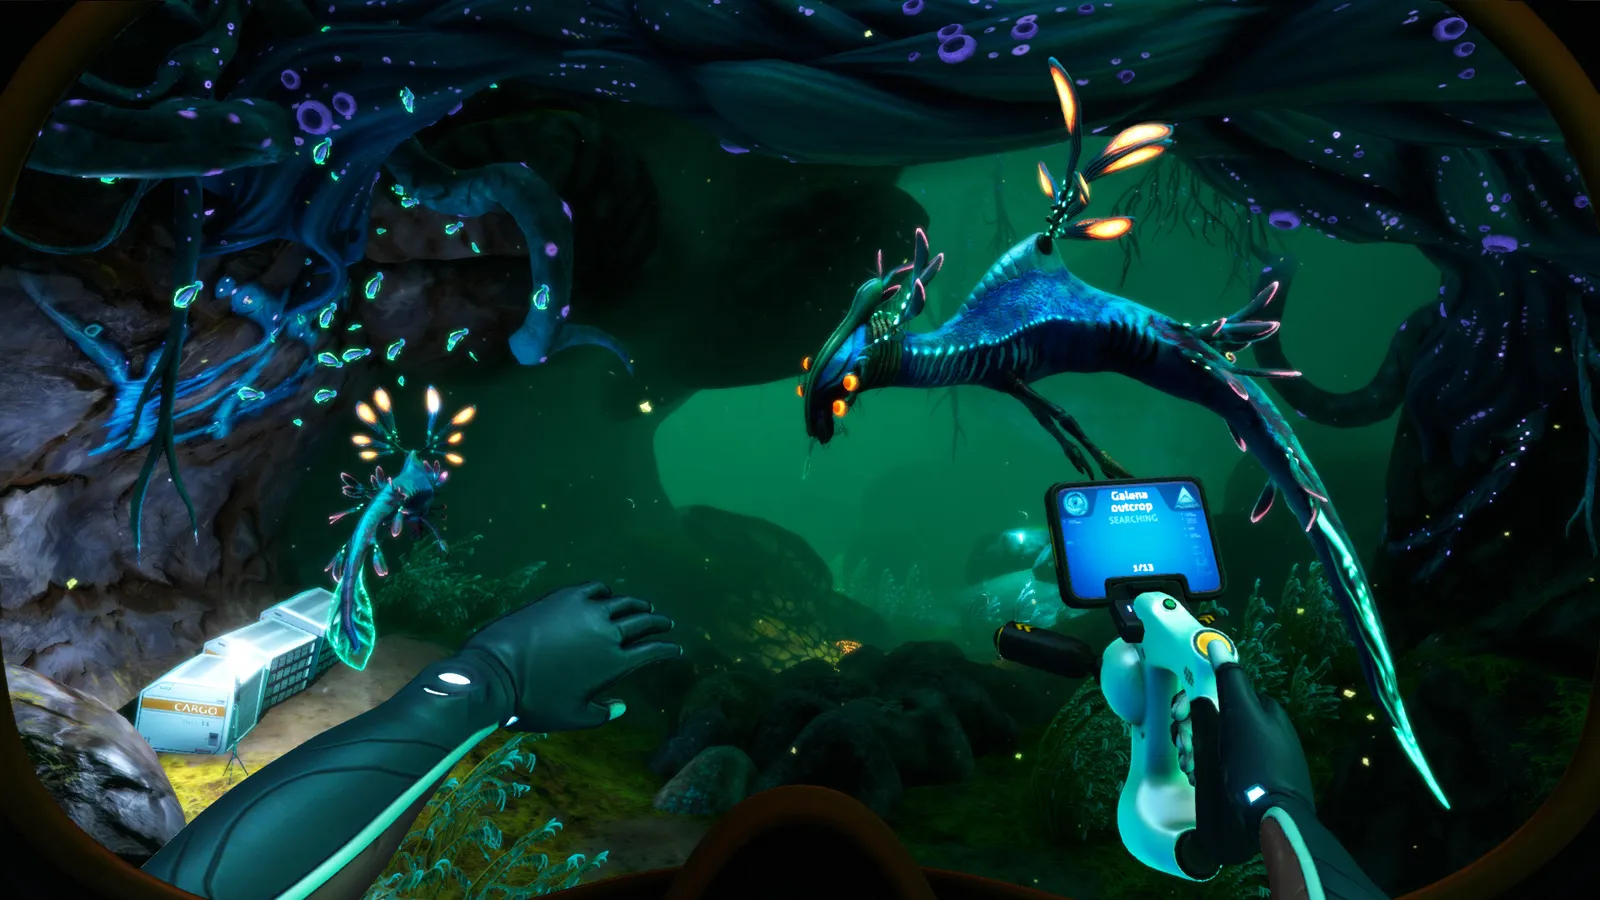
Subnautica Sparse Reef biome guide: where it is, every resource (lithium, ruby, sandstone), the Deep Sparse Reef, and how dangerous it really is.
Sparse Reef Subnautica — Biome Guide, Resources and Dangers
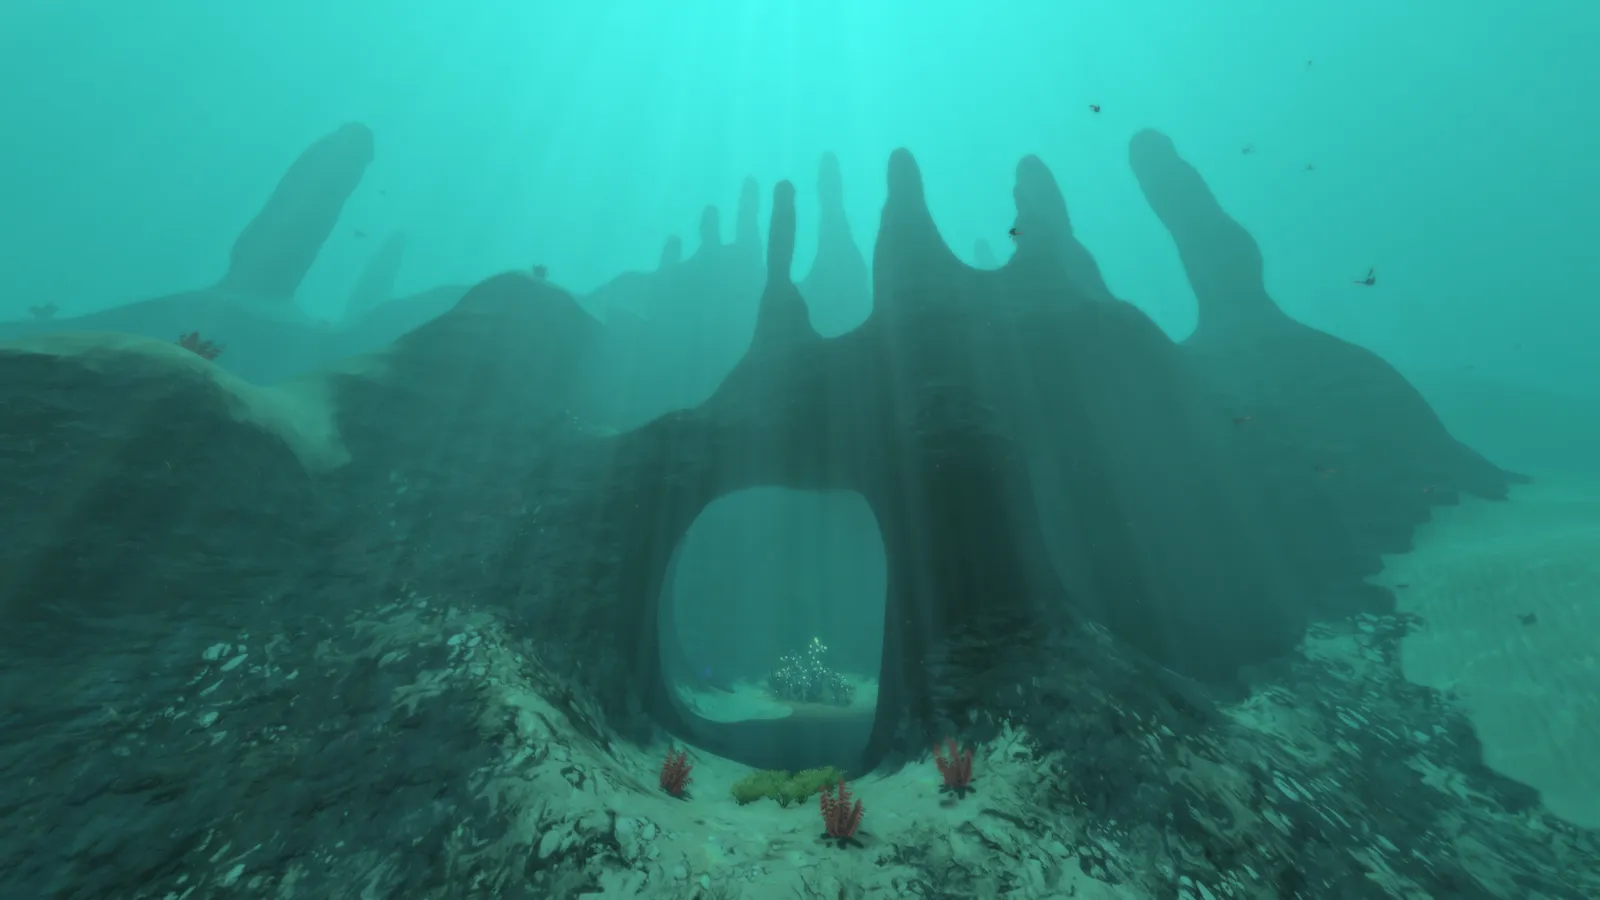
The Sparse Reef is the quiet biome southwest of Lifepod 5 — a 40-to-310-meter zone of green mounds, Eye Stalks and open water that the game deliberately left empty. It looks boring and it's secretly one of the best early-game resource stops: loose lithium littering the Deep Sparse Reef floor, Ruby on the cave walls, Sandstone Outcrops for silver and lead, and Shale for diamonds, plus Lifepod 19 and an entrance to the Blood Kelp Trench that leads straight to the Lost River. Its only real dangers are Tiger Plants in the deep pockets and the occasional wandering Boneshark.
Official resources: Steam store page · Official Subnautica Wiki — Sparse Reef · IGN Subnautica page · Interactive map — Sparse Reef
Per the official Subnautica Wiki: "The Sparse Reef is a biome located southwest of Lifepod 5, bordering one of the Grassy Plateaus, the Blood Kelp Trench, the Sea Treader's Path, the Grand Reef and Kelp Forests. As its name implies, this gloomy area is sparsely populated... The main hazard in the Sparse Reef are the small clusters of Tiger Plants found in the deeper portions of the biome."
Where Is the Sparse Reef?
Spawn a compass early (or use the F1 coordinate trick) and head southwest from Lifepod 5. The biome borders:
- Grassy Plateaus (to the north)
- Blood Kelp Trench (west — this is the important one)
- Sea Treader's Path (south)
- Grand Reef (east)
- A Kelp Forest on the approach
Depth range is 40–310 m — entirely reachable with a stock Seamoth, and mostly swimmable with just a Seaglide if you watch your O₂. The shallow spires near the Grassy Plateaus border are the recognizable landmark; the biome opens into flat green-mound plains beyond them.
Is the Sparse Reef Safe?
Mostly — and that's exactly why it's a good early base. The confirmed danger list:
- Tiger Plants — the only resident threat that matters. They cluster in the deeper areas (below ~200 m) and in the Deep Sparse Reef, shooting spiked projectiles that hurt a lot without the Reinforced Dive Suit. Easy to spot: spiky pink/red blobs on the seafloor.
- Bleeders — small parasites in the Deep Sparse Reef caves. Annoying, not deadly; knife them off.
- Wandering fauna — Bonesharks occasionally drift in from the Grand Reef side, and a Crabsquid or Ampeel can wander down from the Blood Kelp Trench. None of them spawn here; they're visitors.
The community debates "safest biome" constantly — the Sparse Reef is genuinely calm, but the Cove Tree inside the Lost River has zero hostile spawns at all, and the Grassy Plateaus are arguably calmer since nothing dangerous wanders in. What the Sparse Reef uniquely offers is calm plus resources: the Grassy Plateaus has no lithium or ruby, and the Cove Tree is deep in the mid-game. For a first or second base, the Sparse Reef is the resource-forward choice.
Resources — the Real Reason to Go
| Resource | Where in the biome | Notes |
|---|---|---|
| Lithium | Loose on the Deep Sparse Reef floor, near Lifepod 19 | The famous ~12-piece sweep; also large deposits in the same area |
| Ruby | Walls of the Deep Sparse Reef | Needed for Aerogel and the Power Cell Charger |
| Silver + Lead | Sandstone Outcrops (37.5% each) | Sandstone is everywhere in the shallower reef |
| Gold / Diamond / Lithium | Shale Outcrops (30% / 38.5% / 31.5%) | Shale on the seafloor and around the spires |
| Gel Sacks | Deep Sparse Reef | Gel Sack + Ruby = Aerogel, and this biome has both — the fastest early Aerogel route in the game |
| Quartz | Seabed | Base building glass |
Aerogel needs 1 Gel Sack + 1 Ruby. The Deep Sparse Reef spawns both within a 200-meter radius, which makes it the community's standard first Aerogel farm — you'll need Aerogel for the Prawn Suit, Cyclops modules and Seamoth MK2. Grab a stack of each before you leave and you've skipped the game's most annoying mid-game hunt.
The Deep Sparse Reef
The cave system under the main reef (210–290 m) is where the biome's real content lives:
- Lifepod 19 — Officer Keen's pod, a story beacon and the anchor point for the resource fields around it.
- Sanctuary Cache — a Precursor cache you'll return to late-game (needs the appropriate tablets).
- Blood Kelp Trench entrance — the tunnel at the bottom connects to the Blood Kelp Trench, which is one of the four gates into the Lost River. This makes the Sparse Reef the western back door to the deep game — and the lost river guide explains the full route from here.
- Massive resource fields — the Sandstone/Shale/ruby/lithium concentration is the biome's reason to exist.
The Blood Kelp Trench is the game's "stop" sign: it's dark, cold, full of Blood Crawlers, and a Crabsquid or Ampeel patrols the junction. If you're using the Sparse Reef as your Lost River gate, bring a depth-upgraded Seamoth or the Cyclops — the trench floor sits well below 300 m and the mid-section has no light. Don't be the diver who treats the peaceful reef as permission to ignore the trench.
Base-Building in the Sparse Reef
The community consensus (from the GameRant base-location breakdown and Reddit threads) rates it as a top-three mid-game base spot:
- Pros: quiet, central access to Grassy Plateaus (early-game everything), Sea Treader's Path (lithium/diamond farm), the Blood Kelp Trench (Lost River gate), and thermal vents for free geothermal power.
- Cons: gloomy light, few fish for food (bring a growbed), and you'll eventually outgrow it for the Lost River/Lava Zone forward bases.
Best spot: the middle depression with the thermal vent, just south of the spires — flat, warm, defensible, and five minutes from the Trench entrance. It pairs naturally with the lithium farm described in our lithium guide, since the Deep Sparse Reef floor you're farming is literally your backyard.
Build the Scanner Room in your Sparse Reef base and install the HUD Chip: it pings every Shale, Sandstone, Ruby and lithium node in range onto your screen. The Sparse Reef's flat floor means the Scanner Room's range covers almost the entire biome — you'll be swimming from node to node instead of wandering. The same trick powers the Below Zero map guide's navigation advice for Sector Zero.
FAQ
Where is the Sparse Reef in Subnautica?
Southwest of Lifepod 5, between the Grassy Plateaus, Blood Kelp Trench, Sea Treader's Path and Grand Reef. It spans 40–310 m deep and is reachable with a stock Seamoth.
Is the Sparse Reef safe?
Largely yes — the only resident threats are Tiger Plants below ~200 m and Bleeders in the caves. Bonesharks and Crabsquids can wander in from neighboring biomes but don't spawn there.
What resources are in the Sparse Reef?
Loose lithium (Deep Sparse Reef), Ruby on cave walls, Sandstone for silver/lead, Shale for gold/diamond/lithium, Gel Sacks, and quartz. It's the fastest early Aerogel farm since Gel Sack + Ruby both spawn there.
How do I get to the Deep Sparse Reef?
Descend through the large openings near the Sparse Reef wreck — the cave system sits at 210–290 m below the main reef, holding Lifepod 19, the Sanctuary Cache, and the entrance to the Blood Kelp Trench.
What is at Lifepod 19 in the Sparse Reef?
Officer Keen's lifepod sits in the Deep Sparse Reef surrounded by loose lithium, Sandstone and Shale fields. It's a story beacon, a resource anchor, and the landmark for the Sparse Reef's resource farming.
Related Guides
- Subnautica Lithium — Where to Find It and Crafting Uses
- Subnautica Lost River — Entrances, Biomes and Resources
- Subnautica Modification Station — Fragments, Recipe & Upgrades
- Subnautica Cyclops Guide — Fragments, Upgrades and Pilot Tips
Last updated: August 13, 2026.
More Subnautica Guides
Subnautica Alien Containment guide: where to get the blueprint, the 5 Glass + 2 Titanium recipe, how breeding and egg hatching work, and the best fish to breed.
Every leviathan in Subnautica and Below Zero: sizes, aggression, spawn biomes, health and how to deal with each — plus the extinct giants.
How to enter the Aurora in Subnautica: every door code (1454, 1869, 6483, 2679), the radiation suit requirement, what tools you need and all the loot inside.
All Subnautica Aurora door codes: 1454, 1869, 2679 and 6483, where each code is found, and exactly what's worth looting behind every door.
Subnautica Below Zero map explained: how big Sector Zero is, every biome with depth ranges, key coordinates, navigation tips and the best map mods.
Is Subnautica Below Zero multiplayer? No official co-op — but a full story-synced mod exists for Windows. Plus Nitrox and Subnautica 2's official co-op.
Subnautica Below Zero Picture Frame guide: the 16:9 aspect ratio you need for photos, where to get the blueprint, and how to load custom images.
Official Subnautica Below Zero pictures and 16:9 wallpapers: where to download store screenshots, wiki art and community shots in full HD.