
The Pass the Fear build system explained: weapon parts, relic fusion and the Forge, tarot cards, the five affixes, transmutation chains and Mythic rarity.
Pass the Fear Build System Explained — Five Loot Systems, One Build
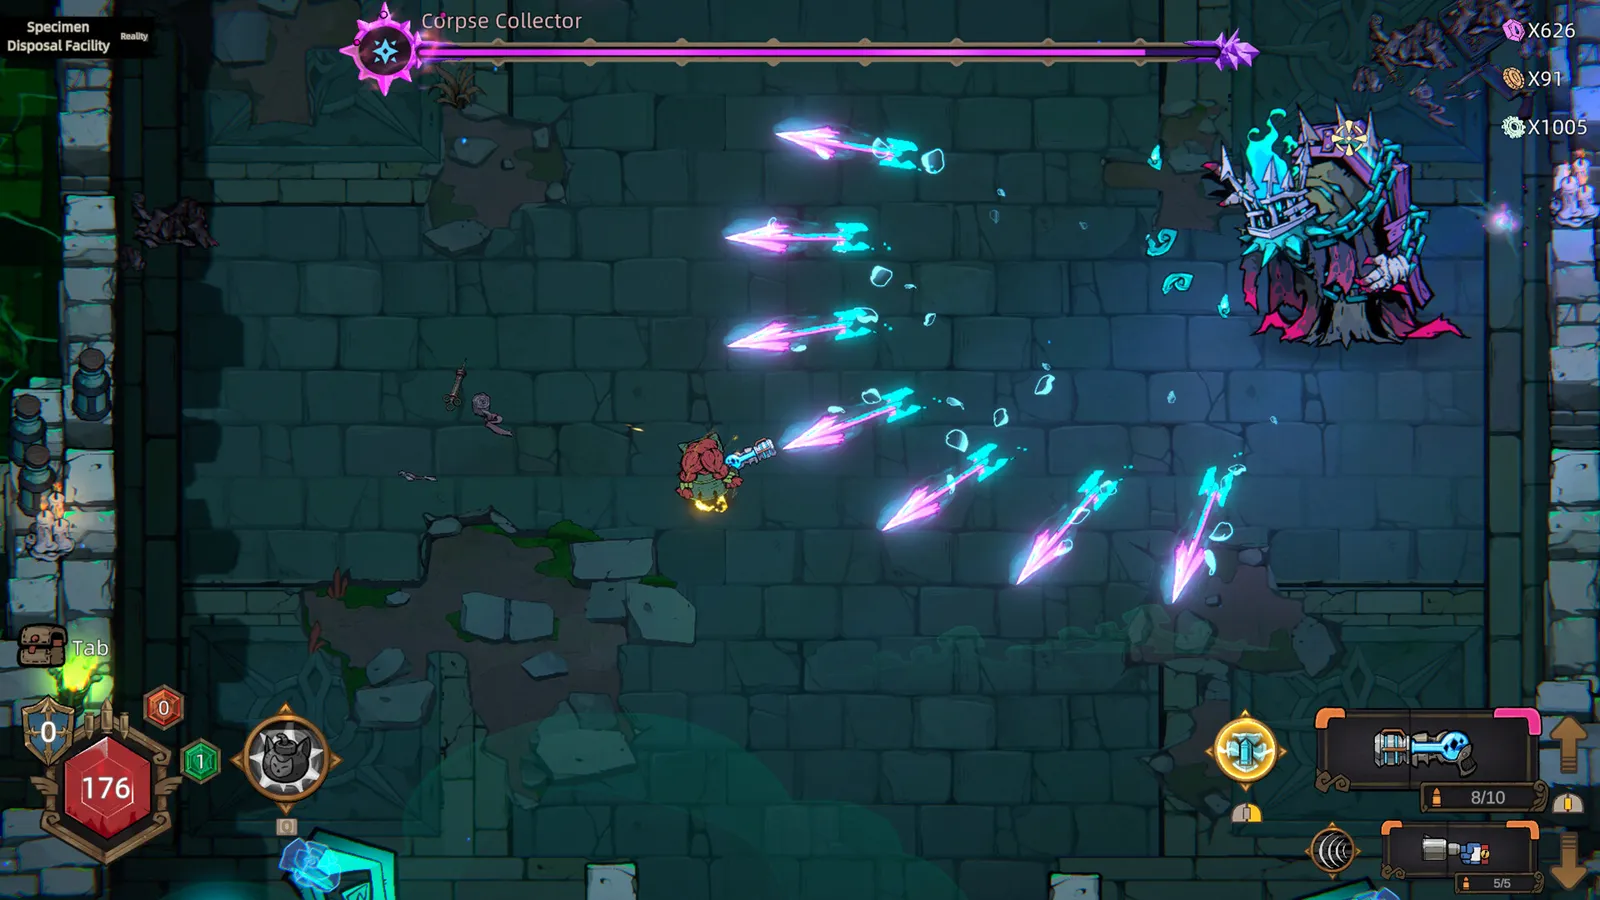
Pass the Fear markets itself as "build your own bullet hell," and the build layer is genuinely the product: five loot systems stack into one build, and the community shorthand "Enter the Gungeon meets Brotato" undersells how much of the game lives in how these systems connect. This guide explains each layer — weapon parts, relics and the Forge, tarot cards, affixes, and elemental status effects — and then shows how they chain into the Transmutation chains and looping Ultimates that define the endgame.
The Five Layers at a Glance
Every run gives you two weapon slots and ten relic slots (per the launch-era community guides), and each layer modifies what the others do:
| Layer | What it is | How it connects |
|---|---|---|
| Weapons + Weapon Parts | Your two guns, modded by parts that change fire rate, projectile count, element, and behavior | The chassis every other layer amplifies |
| Affixes | Trigger conditions like Growth, Final Shot, Shatter, Embarkation, Disruption | The grammar that decides what chains into what |
| Relics + Forge | Passive build pieces, upgradeable and fusable at the Forge | The long-term investment layer |
| Tarot Cards | Run-defining modifiers with their own slot rules | Bend or break the rules of the run |
| Elemental Status Effects | Hemorrhage, Freeze, Disruption, Corrosion, Ignition | The reaction system that makes damage exponential |
Weapon Parts: The Chassis
You carry two weapons and switch between them mid-run. Weapons have part slots; parts change fire rate, projectile count, spread, element, and special behavior. The demo-era press material listed 30 weapons and parts; the full release added "dozens" more plus reworks of demo classics, including weapons that summon allies and shots that curve back at you.
The economy trick is the recycle loop: dismantling parts that do not fit your build feeds the system — tokens/Ember that fund Forge upgrades, and for Jenny, literally a new part every 7 dismantles. The weapons guide covers the full loop and the element families.
Affixes: The Grammar of Builds
The store page names five core affixes: [Shatter], [Embarkation], [Growth], [Final Shot], [Disruption]. Community guides describe them as trigger conditions, not stat sticks:
- Growth — a scaling trigger that compounds with each proc; the backbone of "exponential damage" builds (10 Growth stacks even convert into bonus health in some relic interactions).
- Final Shot — a finisher payoff that rewards emptying the magazine at the right moment; the core of One-Shot Melt builds.
- Shatter — interaction-based, often tied to dismantling or breaking things; some relics trigger "Shatter effects fire multiple times."
- Embarkation — trigger-based effects (entering a stage/room); can cascade when a trigger fires all Embarkation effects twice.
- Disruption — electric/lightning-flavored trigger that chains with elemental buildup; patch 7.28 made Disruption deal one instance of direct damage on trigger.
Per the official Pass the Fear store description: "Mix and match them to create Transmutation chains, endless Ultimates, looping triggers, exponential damage scaling, and more."
The rule players repeat: read affixes before rarity. A lower-rarity weapon with the correct affix family outperforms a shinier replacement that breaks your trigger chain.
The in-game UI tells you what each affix does in isolation; it does not explain long-chain synergies. That is where runs die — builds that look strong on paper collapse when the pieces do not actually trigger each other.
Relics, the Forge, and Mythic Rarity
Relics are passive build pieces. The demo shipped 170+; the full release expanded the roster substantially (community databases catalogued several hundred by early August). The Forge is where relics and weapons get serious:
- Relic fusion — combine relics into compounded effects; a "weak" relic is often one fusion away from being a keystone.
- Forge upgrades — unwanted weapons and parts become upgrade material, so an early high-roll weapon can become the chassis of the whole run.
- Dual-element relics — the launch revamp's headline addition: one relic can carry fire and frost instead of forcing a choice, which enables hybrid builds.
- Charge Weapon relics — support relics that make slow charge weapons viable (charge speed, instant-charge windows, payoff scaling).
- Red rarity and Mythic — the endgame tiers. Red-rarity items have multiple paths (rare drops, forging up, natural red uniques), and Mythic weapons can come from forging at the Blacksmith (patch 7.26 added a cooldown on rerolling after a Mythic forge result).
Per the official June 14 launch announcement: "The Forge system has also been fully revamped. What's more, Relics for Charge Weapon and Dual-Element Relics make their debut! Fire or frost? You no longer have to choose — master both elements!"
Tarot Cards: Run-Defining Modifiers
Tarot cards are a second passive slot type with their own rules — 22+ cards in the demo era, read as run-defining modifiers rather than stat bumps. Examples from player showcases:
- Judgment — enemies below 10% health are instantly killed when you deal damage to them (a unique passive that turns any chip damage into execution).
- The Wheel of Fate — the Wheel card triggers on character select in Stella's kit, and can grant tarot effects permanently.
- Tarot cards that make your secondary weapon fire automatically while you shoot the primary — the piece that turns the secondary slot into a passive status-applier.
Patch 7.27 relaxed some tarot slot restrictions. The updates page tracks changes to the card list.
Elemental Status Effects and Transmutation
Elemental buildup triggers five statuses — Hemorrhage, Freeze, Disruption, Corrosion, Ignition — and different weapons/elements stack them at different rates:
- Hemorrhage — bleed; can shred enemy resistances (some relics reduce enemy resistance by 2% per Hemorrhage trigger, stacking infinitely).
- Freeze — crowd control; ice launchers apply Freeze automatically every third shot on the same target in some weapon families.
- Disruption — electric; direct damage on trigger since patch 7.28, and the damage cap that lightning builds scale.
- Corrosion — acid; lowers the target's resistances across the board for 5 seconds by default — the amplifier status.
- Ignition — fire; area explosion that scales with Ember stacks (2.5% damage and 2.5% AoE per stack on the Molten Core Orb relic).
Transmutation is the reaction system: when the right statuses meet (fire + frost, acid + electric, bleed + corrosion), the game triggers a transmutation effect that chains into the next. The demo-era "Song of Ice and Fire" build showcase (a Next Fest favorite) demonstrates the loop: freeze everything with an ice launcher, and every Freeze trigger applies a random transmutation — which detonates Ignition explosions across the whole room. The best builds guide has the practical chain-building templates.
Per developer responses in the official Discord (relayed through the community build showcases), relics stack. Two copies of the same relic are not redundant — the Molten Core Orb build famously runs doubles to double-dip Ember scaling.
How It All Fits Together: The Loop
The endgame build loop, per community guides:
- Pick a trigger — an affix family or status pair you want to lean into.
- Let the secondary weapon apply statuses while the primary deals damage (or vice versa).
- Feed the Forge everything that does not belong; fuse relics toward the keystone.
- Scale multipliers before projectiles — fix spread, then add projectile count, so every trigger fires more often.
- Once cooldown reduction and energy generation meet, Ultimates loop — you stop rationing your ultimate and start treating it as a rotation tool.
FAQ
How does the build system work in Pass the Fear?
Five layers stack into one build: weapons with parts, affixes, relics (upgradeable via the Forge), tarot cards, and elemental status effects. Two weapon slots and ten relic slots per run; synergy between layers beats raw stats.
What do the five affixes do in Pass the Fear?
Shatter, Embarkation, Growth, Final Shot and Disruption are trigger conditions that chain into each other — Growth scales with procs, Final Shot rewards magazine emptying, Shatter ties into dismantling, Embarkation triggers on stage entry, and Disruption is the electric damage trigger.
How does relic fusion and the Forge work?
The Forge turns unwanted weapons and parts into upgrade material, fuses relics into compounded effects, and can push items toward Red-rarity and Mythic tiers. Dual-element relics and Charge Weapon relics are launch additions to the system.
What are the five elemental status effects?
Hemorrhage (bleed), Freeze, Disruption (electric), Corrosion (acid, lowers resistances) and Ignition (fire explosion). Transmutation chains trigger when complementary statuses meet.
What is a transmutation chain?
Putting complementary elements on your two weapons and alternating shots so one status triggers a reaction from the other — fire + frost, acid + electric, bleed + corrosion — producing chain reactions that scale exponentially instead of linearly.
Related Guides
- Pass the Fear Best Builds
- Pass the Fear Weapons Guide
- Pass the Fear Characters & Hunters
- Pass the Fear Beginner's Guide
- Pass the Fear Difficulty Levels Explained
- Pass the Fear Updates & Patch Notes
Official resources: Steam store page · Official launch announcement · Official patch notes
Last updated: August 13, 2026 — system details current through Update 8.7 (V1.0.491, August 7, 2026).
More Pass the Fear Guides
The Pass the Fear co-op guide: how to set up Steam and LAN lobbies, join rules, item sharing, revives, the DPS panel, and the best co-op team roles.
The Pass the Fear community guide: r/roguelites discussions, Steam Community hub debates, the official Discord and X account, and where to find builds.
Pass the Fear controller support and keybinds: the default controls table, how to remap with mouse side buttons and stick-press, and keyboard vs pad verdict.
Every Pass the Fear difficulty explained: Journey, Common, Hard, Nightmare, Hell and Reality, with boons, curses, Chaos Battle Scars, Pearls and unlock rules.
The complete Pass the Fear wiki and guide: how the roguelite bullet-hell works, every hunter, the build system, difficulties, co-op, and whether it's worth it.
How long is Pass the Fear? Estimated single-run length, time to beat the main game, 100 percent time, and what affects your playtime, with honest sourcing.
How to play Pass the Fear: controls and keybinds, the camp hub, the full run structure, how the 12-hour clock works, and what you lose when you die.
Pass the Fear mods: the honest state of mod support, no official tools or Workshop, player-made mods status, and the workarounds that actually exist.