
The best Pass the Fear builds: Fireworks Master projectile stacks, One-Shot Melt final-shot damage, transmutation chains, and top hunter loadouts.
Pass the Fear Best Builds — Fireworks, One-Shot Melt and Hunter Specials
There is no single "best build" in Pass the Fear — the official Steam store page says it plainly: "There is no single right answer—only increasingly outrageous combinations." What the community has converged on instead is a set of build families: proven templates with known keystone pieces, flexible enough to adapt to whatever the run hands you. This guide covers the two headline archetypes, the transmutation-chain family that dominates the endgame, and the best-known builds per hunter, with the pieces you are hunting in each.
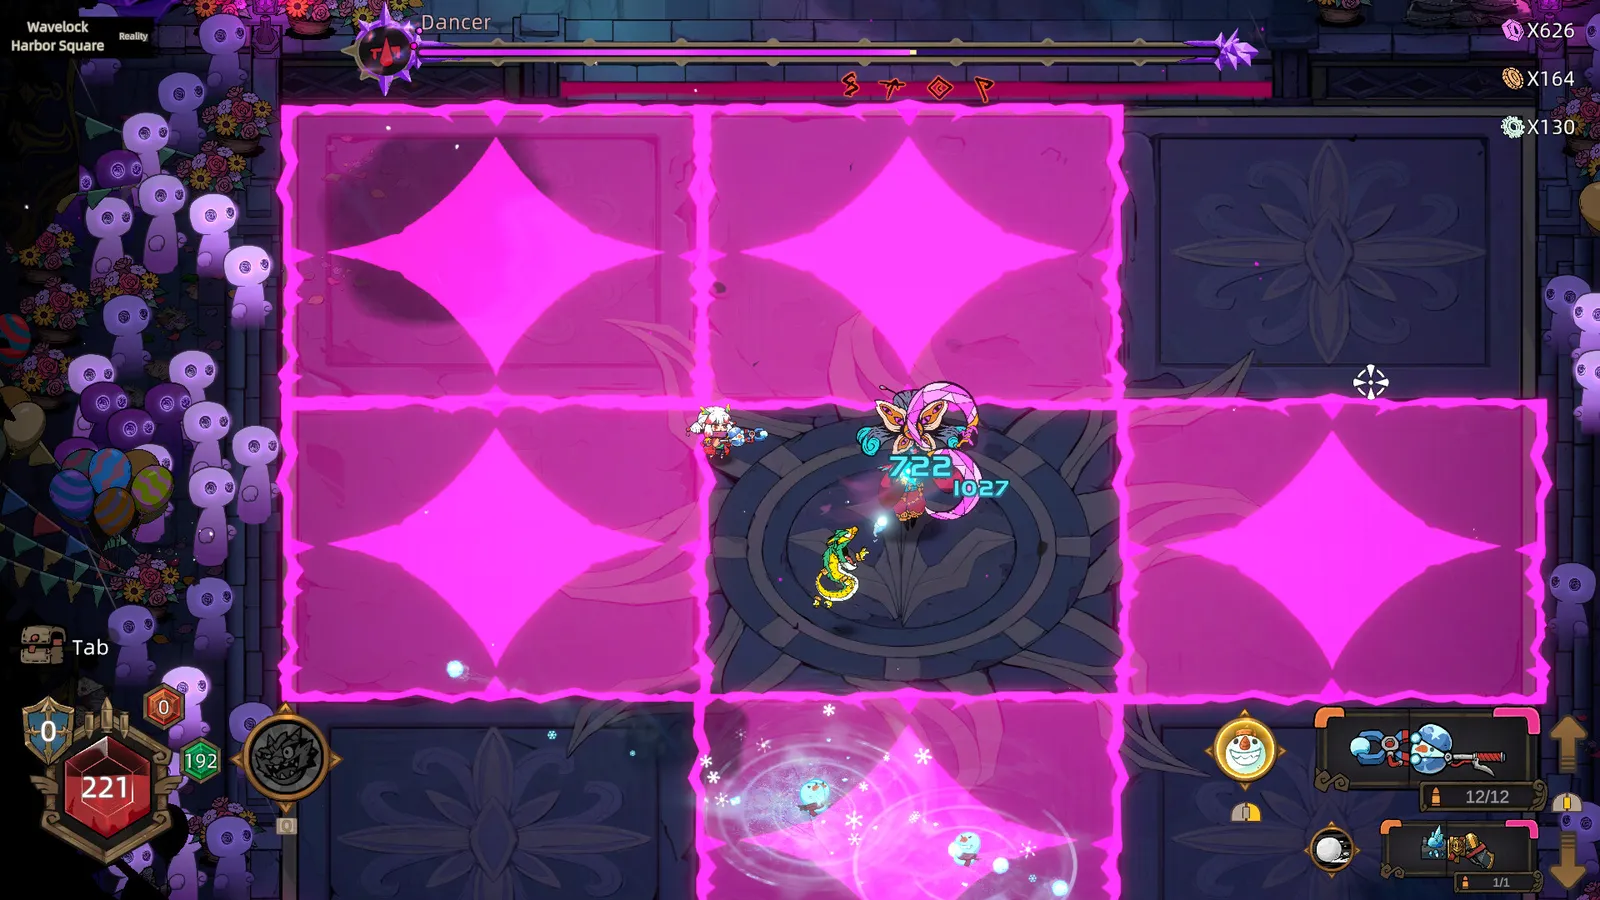
The Two Headline Archetypes
The store description itself names the two poles every build family orbits:
Per the official Pass the Fear store description: "Stack up Projectiles and become a 'Fireworks Master', or pour everything into a single shot and melt an entire health bar—your weapons, your rules."
Fireworks Master — stack projectile count, multishot, and on-hit procs until the screen is your bullet storm. The catch is spread: add too many projectiles without spread control and the build becomes impressive-looking noise. The broken version appears when projectile count, fire rate, reload speed and spread reduction all meet — several projectiles land where one was expected, and every on-hit trigger (elemental application, Shatter, Growth) fires multiple times. Community rule of thumb: remove the accuracy penalty first, then scale projectile count. This is the most accessible god-build fantasy and the best first family to learn.
One-Shot Melt — funnel everything into a single devastating hit (the Final Shot affix family) and delete health bars. Best against bosses, weaker in rooms full of trash. The keystone pieces are Final Shot triggers, single-projectile weapons with huge base damage, and relics that multiply "first shot" or "final shot" damage. Jenny's Wildcat Bomb ultimate (1,000% current weapon damage in a 1,000-range radius) is the one-shot family's ultimate expression.
Transmutation Chains: The Endgame Family
The family that dominates higher-difficulty play is the transmutation chain: put one element on your primary weapon and the complementary element on your secondary, so that applying one status triggers a reaction from the other. Community-tested pairs:
- Fire + Frost — the classic. Ignition plus Freeze reaction chains.
- Acid + Electric — Corrosion lowers enemy resistances (5 seconds by default), which makes the Disruption damage from electric hits hit harder; each trigger feeds the next.
- Bleed (Hemorrhage) + Corrosion — bleed builds stack armor shred on top of damage over time.
The practical trick (from player guides and build showcases): do not keep both weapons firing at the same time — alternate shots so the status from weapon A lands, then weapon B detonates it. A well-timed alternation can trigger three or four reactions in a row, and damage stops being additive and becomes exponential. The build system guide explains the mechanics underneath — affix chains, relic fusion, and how Ultimates can loop if you stack cooldown reduction and energy generation together.
Stacking one element feels safe but scales linearly. The transmutation family doubles and triples your damage for the same slot count — the single biggest damage jump most players will ever feel. If your build has no reaction pair by chapter 3, start hunting one.
Jenny: The Bomb Build
Jenny is consistently rated S-tier at launch (Destructoid's tier list and the community tier lists agree). Two reasons:
- Recycling economy — every 7 weapon parts dismantled pays out a new random part. Over a long run, this becomes a free-flowing part pipeline. Build toward dismantle synergies: relics that grant extra Ember on dismantle and tarot cards that spawn a new item when you dismantle turn Jenny's passive into a value-generation engine.
- The Wildcat Bomb — her ultimate deals 1,000% of current weapon damage to every enemy within a 1,000-range radius. That is a screen-clear and a boss-eraser in one button. Build around ultimate uptime: cooldown reduction, energy generation, and relics that scale your ultimate gauge.
Weapon-wise, Wildcat Bombs inherit your weapon's element (per the character guides), so Jenny works best with an elemental primary that feeds whatever reaction your team or build is running. An elemental shotgun or launcher for crowd application plus the bomb ultimate covers both roles.
Long Tong: The Dragon Companion Build
Long Tong's dragon Amber is the reason she never fights alone. Amber breathes 80% of your main weapon's elemental damage and applies dragon flame (a fire damage-over-time). Her ultimate Fury sends Amber into a rage for 10 seconds, doubling her final damage and attack speed.
The build logic: your main weapon's element is Amber's element, so the dragon build is really an elemental-stacking build. Stack one element hard on the main weapon (fire is the natural fit for dragon flame, but frost and electric also work), and let Amber apply statuses continuously while you focus on position. Amber's constant elemental application makes Long Tong the easiest S-tier pick to pilot — the dragon is effectively a second, autonomous status-applier, which pairs beautifully with the transmutation chain family above.
Elena: The Dodge-Silver Arrow Build
Elena is the highest-skill-ceiling damage dealer: after firing, her next dodge fires a Demon Hunting Silver Arrow at the nearest enemy for 100% of your current weapon's damage. The rhythm is shoot → dodge → shoot, weaving through bullets while outputting double-value shots.
Build considerations: her kit rewards weapon-swap tempo, so a fast-firing primary (to generate arrows) with a hard-hitting secondary works best. Unlock her dash upgrades — they add mobility and raise the payoff of her ultimate. Relics that trigger on dodge or on-hit after a dodge are the missing links; community build showcases pair her with Hybrid / dual-element relics, since her arrow inherits weapon damage and therefore benefits from transmutation stacks.
The most repeated piece of build advice across launch-week guides: a lower-rarity weapon with the correct affix family outperforms a shiny replacement that breaks your trigger chain. Affixes (Growth, Final Shot, Shatter, Embarkation, Disruption) decide what can trigger, spread, and connect. Build causes, not colors.
Co-op Builds: Roles Beat Raw Power
In co-op, the strongest "build" is a role assignment. The 10 Advanced Tips breakdown circulating at launch describes the pattern: use the DPS leaderboard as a decision dashboard — whoever is on top takes the damage modifiers and relic fusions; whoever is at the bottom builds crowd control, status stacking and utility. Community-tested comps (see the co-op guide):
- One player stacks Corrosion/status application (secondary weapon), another detonates with Ignition/transmutation triggers.
- A Long Tong or Jenny as primary DPS, a Jester on utility/boss-dodge duty, and a support player passing traded relics to whoever needs the breakpoint.
- Team Talents synergize with this — individual trees can spec global buffs that lift the whole squad.
FAQ
What is the strongest build in Pass the Fear?
There is no universal best — builds are situational. The two headline families are Fireworks Master (projectile stacking) and One-Shot Melt (Final Shot single-hit damage). At launch the strongest single kits belong to Jenny (Wildcat Bomb) and Long Tong (dragon companion), both rated S-tier by Destructoid and community tier lists.
How do I make a Fireworks Master build?
Stack projectile count, multishot and on-hit procs — but fix spread/accuracy first, then scale projectiles. Every extra projectile multiplies on-hit triggers like elemental application, Shatter and Growth.
What is a transmutation chain build?
Put complementary elements on your two weapons (fire + frost, acid + electric, bleed + corrosion) and alternate shots: one weapon applies a status, the other detonates it, triggering chain reactions that scale exponentially.
What is the best Jenny build?
Jenny lives on recycling: dismantle aggressively (every 7 parts pays a new part), stack dismantle synergies (Ember relics, item-spawn tarot cards), and build ultimate uptime for the Wildcat Bomb — 1,000% weapon damage in a 1,000-range radius.
Which build is best for co-op?
Role-based builds beat raw power. One player stacks status effects, another detonates them; a Long Tong or Jenny carries damage while a Jester handles utility. Use the DPS leaderboard to assign roles mid-run.
Related Guides
- Pass the Fear Build System Explained
- Pass the Fear Weapons Guide
- Pass the Fear Characters & Hunters
- Pass the Fear Beginner's Guide
- Pass the Fear Co-op & Multiplayer Guide
- Pass the Fear Bosses Guide
Official resources: Steam store page · Steam Community hub · Destructoid hunter tier list
Last updated: August 13, 2026 — build families and tier placements reflect the launch meta through Update 8.7 (August 7, 2026).
More Pass the Fear Guides
Every Pass the Fear hunter explained: roles, starting skills and numbers for Jester, Lanny, Marcus, Jenny, Elena, Long Tong and Stella.
The Pass the Fear co-op guide: how to set up Steam and LAN lobbies, join rules, item sharing, revives, the DPS panel, and the best co-op team roles.
The Pass the Fear community guide: r/roguelites discussions, Steam Community hub debates, the official Discord and X account, and where to find builds.
Pass the Fear controller support and keybinds: the default controls table, how to remap with mouse side buttons and stick-press, and keyboard vs pad verdict.
Every Pass the Fear difficulty explained: Journey, Common, Hard, Nightmare, Hell and Reality, with boons, curses, Chaos Battle Scars, Pearls and unlock rules.
How long is Pass the Fear? Estimated single-run length, time to beat the main game, 100 percent time, and what affects your playtime, with honest sourcing.
How to play Pass the Fear: controls and keybinds, the camp hub, the full run structure, how the 12-hour clock works, and what you lose when you die.
Pass the Fear mods: the honest state of mod support, no official tools or Workshop, player-made mods status, and the workarounds that actually exist.