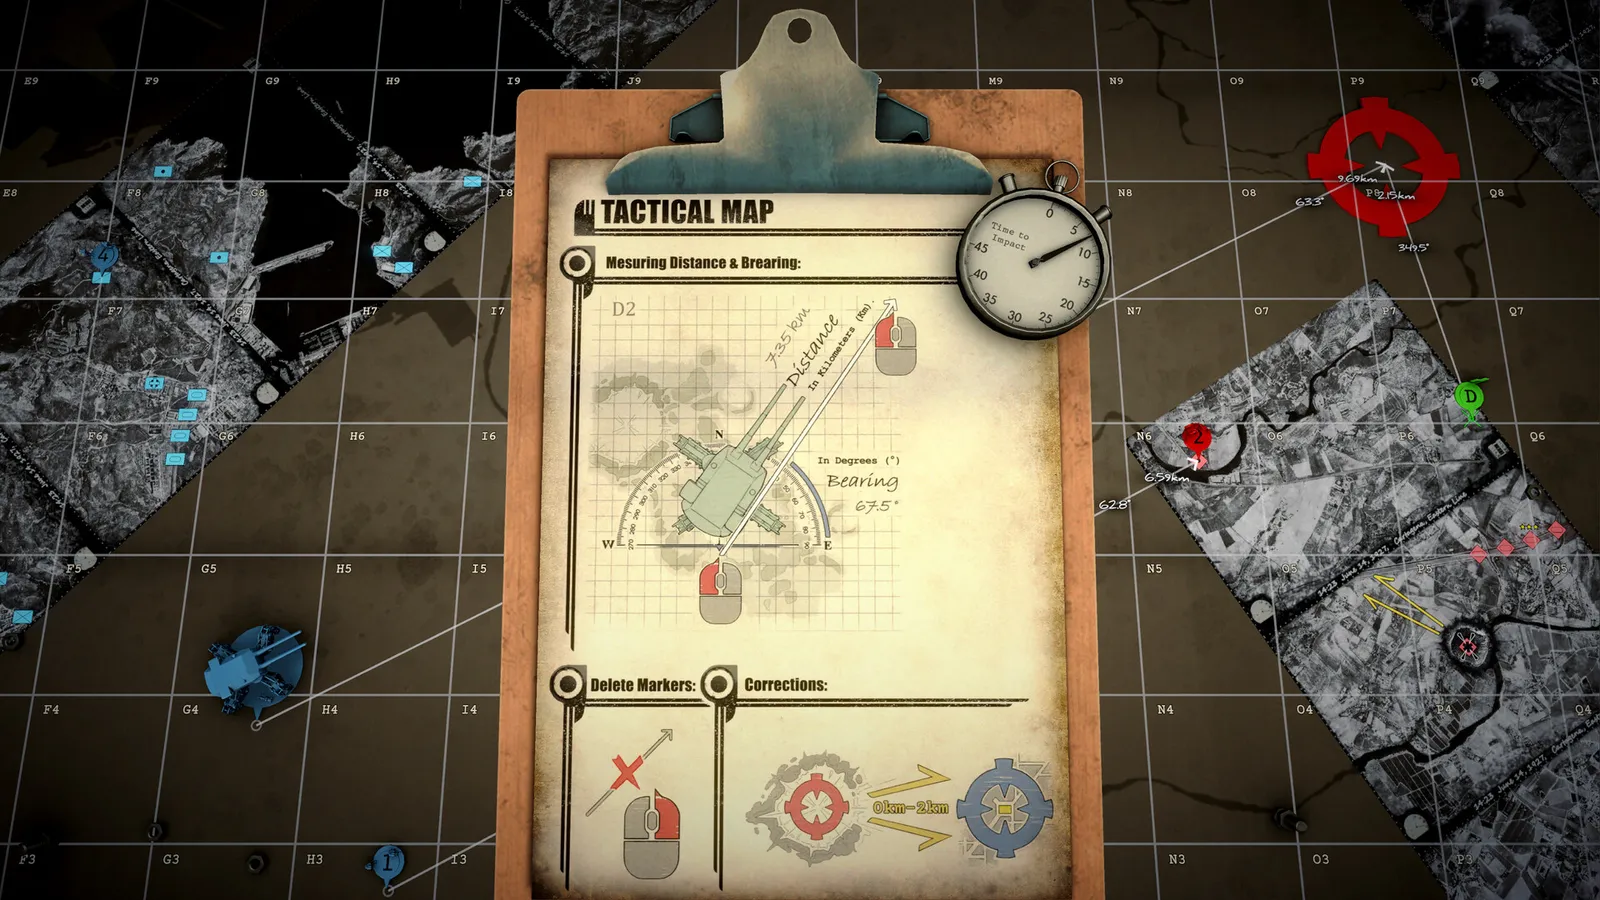
Master observer calibration in IRON NEST: forward spotter reports, triangulation formulas, bearings for Mission 2, Mission 3, and Dead Reckoning.
IRON NEST Observer Guide — Mission 2, 3 & Calibration
In IRON NEST: Heavy Turret Simulator, your artillery battery rarely receives clean grid coordinates handed to you on a silver platter. Instead, field operations rely on forward observers reporting target visual sightings using compass bearings and estimated ranges. This IRON NEST observer guide explains how to calibrate spotter data, read observer reports correctly, and execute accurate triangulation drills in key campaign assignments—including Mission 2: Fire & Light, Mission 3: Liberation, and Mission 9: Dead Reckoning.
For broader campaign context and mission progression, see our complete campaign walkthrough. To master core war table mechanics, review our triangulation guide and check recommended ammunition in our best shells guide.
What you will master in this observer guide:
- The fundamental difference between spotter bearings and turret firing bearings
- Standard forward observer report structure and sub-grid precision
- Step-by-step spotter calibration and map plotting drills
- Observer calibration routes for Mission 2 (Fire & Light) and Mission 3 (Liberation)
- Advanced observer corrections for Mission 9 (Dead Reckoning) and Field Command offsets
- Complete observer calibration reference table for major campaign missions
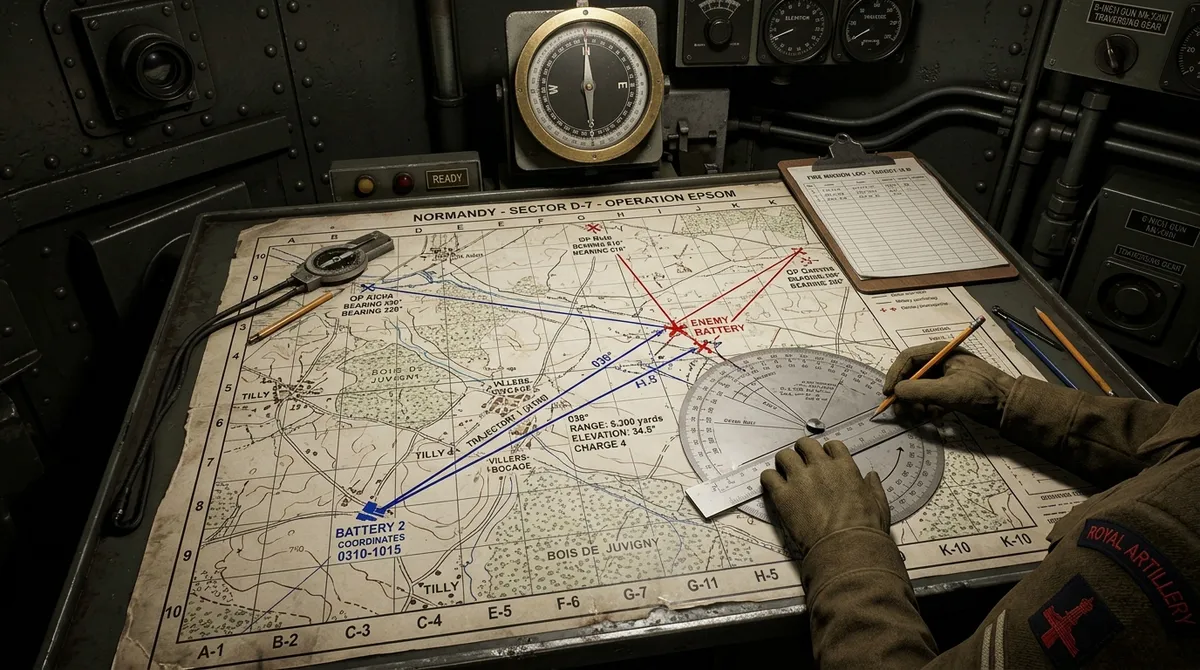
Official source: Tactical observer systems and map plotting mechanics in IRON NEST are detailed in official developer briefings on the Steam store page, verified across community guides on the IGN game portal, and documented at the official site.
Understanding the Forward Observer Report System
Forward observers are your eyes on the battlefield. Positioned on high ground, observation towers, or concealed forward posts, spotters transmit teleprinter messages whenever enemy movement is detected.
A standard forward observer report provides four vital pieces of intel:
- Observer Designation: The blue marker number on your war table map (e.g., Spotter 1, Spotter 2).
- Reported Bearing: The compass direction (0° to 360°) from the observer's position toward the target.
- Reference Landmark or Distance: Nearby terrain features (e.g., church tower, ridge, crossroad) or estimated distance from the spotter post.
- Target Classification: Unit type (infantry squad, armored column, mortar pit, fortified bunker).
The single most common mistake made by new players is typing an observer's reported bearing directly into the gun control console. An observer's bearing is relative to their location. You must plot the observer's line on the map, intersect it with a second report, and then measure the angle from your turret to the intersection.
Step-by-Step Spotter Calibration & Triangulation Drill
Executing a clean observer calibration drill requires systematic tool usage on your war table tactical map (columns A–T, rows 1–10, 10×10 sub-grids).
- Locate Blue Observer Markers: Confirm the exact map coordinates of the reporting spotters (e.g., Spotter 1 at C4, Spotter 2 at F8).
- Draw First Observer Line: Select the yellow construction pencil. Click on Spotter 1's position and extend a line along the reported compass bearing (e.g., 047°).
- Draw Second Observer Line: Click on Spotter 2's position and draw a second line along their reported bearing (e.g., 318°).
- Identify the Intersection Point: Mark the exact location where the two yellow lines cross. This point represents the target's precise map location.
- Measure Firing Distance & Turret Bearing: Select the red pencil tool. Click on the IRON NEST turret marker and draw a line straight to the target intersection. Read the turret bearing in degrees and the distance in meters.
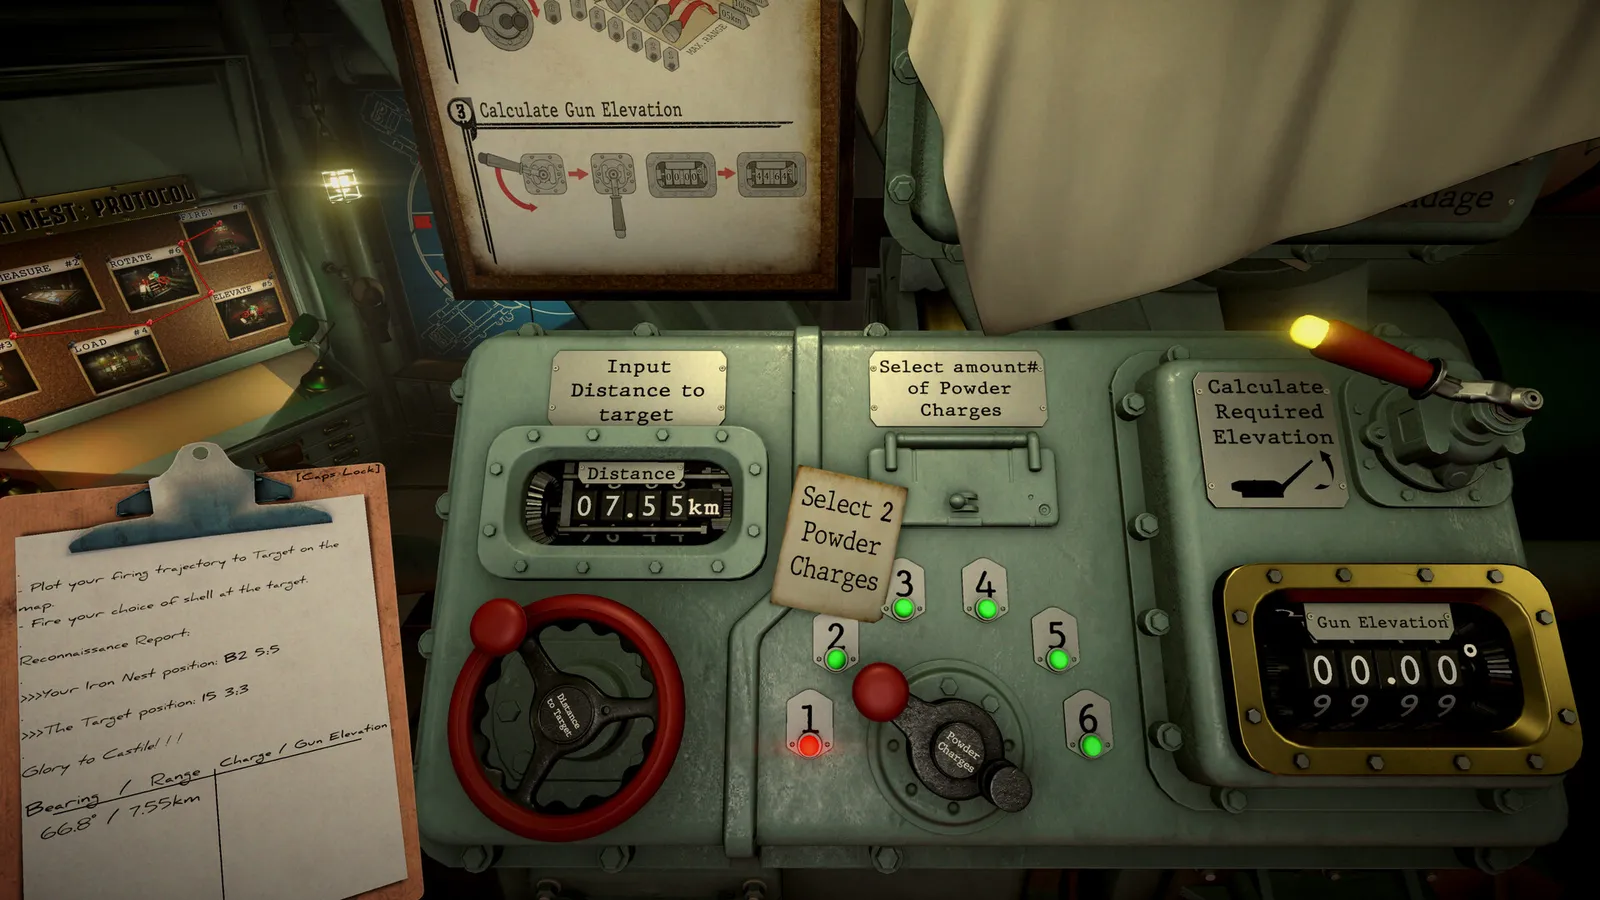
- Look Up Ballistic Solution: Match the measured distance against your shell propellant chart to select elevation angle and charge number before loading your shell.
Mission 2 & Mission 3 Observer Calibration Routes
Early campaign missions are designed to test your ability to convert raw observer text into accurate gunnery solutions.
Mission 2 — Fire & Light Observer Calibration
In Mission 2 (Fire & Light), you operate near Aranjuez. The mission tests multi-observer alignment and night illumination:
- Primary Target Alignment: Spotter 1 reports bearing 047° and Spotter 2 reports bearing 318°. Drawing both yellow construction lines pinpoints the hostile artillery position at sub-cell E8 · 6-4.
- Star Shell Illumination: Because the target is obscured by darkness, fire an illumination star shell into sector E8 first.
- Spotter Confirmation: Once illuminated, spotters transmit a visual confirmation ("Target illuminated, zero error"). Switch to HE shells, set charge 3, and destroy the position.
Mission 3 — Liberation Recon & Cache Calibration
Set in Ciudad Real, Mission 3 challenges you to locate hidden assets near friendly advance columns:
- Underground Ammo Cache: Spotter reports indicate an enemy AP ammunition cache concealed underground. Triangulate the reported bearings from Spotters 3 and 4 to locate the cache at C7 · 4-3.
- Pencil Workflow: Use the yellow pencil to map the spotter lines and verify sub-grid accuracy. Once confirmed, use the red pencil to plot your gun's firing solution.
- Friendly Proximity Calibration: Friendly infantry units are positioned 150 meters west of the cache. Do not use high-blast HE shells. Select AP shells for pinpoint impact without splash damage to friendlies.
Construction lines accumulate quickly on the tactical map. Right-click to clear old yellow and red pencil lines between engagements. Leaving stale lines from previous fire missions causes severe plotting confusion during fast-paced counter-battery calls.
Observer Calibration in Mission 9: Dead Reckoning
In Mission 9: Dead Reckoning, observer calibration becomes more complex because hostile units are dug into reinforced structures and do not appear under visual scouting.
- Tear Shell Probe Calibration: Because spotters cannot provide exact visual fixes, fire Tear Shells into suspected sectors. Tear Shells force hidden troops into the open, generating an observer update icon on your map.
- Ammo Calibration Post-Reveal: Inspect the exposed icon on your tactical map. Standard infantry icons require HE shells; armored bunker icons require AP shells.
- Field Command Offset Calibration: Reports for the Enemy Field Command initially provide conflicting directional clues. After destroying the first two primary positions, spotters issue a corrected offset of 1.86 km northeast. Apply this offset to your map plot to pin the Field Command.
Observer Calibration Reference Table (Missions 2, 3 & 9)
| Mission | Observer Inputs | Reported Bearings | Target Intersection | Recommended Ammunition |
|---|---|---|---|---|
| Mission 2: Fire & Light | Spotter 1 & Spotter 2 | 047° / 318° | Sub-cell E8 · 6-4 | Star Shell (Illumination) → HE |
| Mission 3: Liberation | Spotter 3 & Spotter 4 | 125° / 012° | Sub-cell C7 · 4-3 | AP Shells (Near friendly troops) |
| Mission 6: Cartagena | Forward Post Alpha | 210° (Bridge Sector) | Sector H4 · 2-8 | SMK (Smoke) for friendly screen |
| Mission 9: Dead Reckoning | Tear Shell Probes | Ambiguous Sector Intel | Exposed Icon / 1.86 km NE | Tear Shell → HE / AP per state |
| Mission 14: Phantom Battery | Spotters 1, 2 & Recon | Shifting Angles | Variable / Mobile | Fast HE Counter-Battery Salvo |
Frequently Asked Questions
How do I read a forward observer report in IRON NEST?
Identify the spotter designation (e.g., Spotter 1), read the compass bearing angle (e.g., 047°), locate any reported landmark or distance, and plot a line from the spotter's marker on the war table map.
How do spotter bearings work in Mission 2 and Mission 3?
In Mission 2, intersect bearings from Spotter 1 (047°) and Spotter 2 (318°) to find target E8 · 6-4. In Mission 3, intersect Spotter 3 and Spotter 4 bearings to locate the underground cache at C7 · 4-3.
What is the difference between spotter bearing and turret bearing?
A spotter bearing is measured from the observer's location to the target. A turret bearing is measured from your gun to the target. Never input a spotter bearing directly into your gun console.
How do I calibrate observer reports in Dead Reckoning?
In Mission 9 (Dead Reckoning), fire Tear Shells into suspected sectors to force hidden units into the open. Once an observer icon appears, match HE or AP ammunition to the revealed target state and apply the 1.86 km northeast offset for the Field Command.
What tools are used for observer triangulation in IRON NEST?
Use the blue observer markers for spotter locations, the yellow pencil to draw spotter bearing lines, the intersection point to mark the target, and the red pencil to measure range and bearing from the turret to the target.
Related Guides
- IRON NEST Walkthrough — Mission 2, 3 & Dead Reckoning
- IRON NEST Achievements & Medals Guide — 33 Steam Achievements + Every Gold Medal
- IRON NEST Beginner's Guide — How to Play, Controls & First Missions (2026)
- IRON NEST Best Shells Guide — Every Shell Type Ranked by Mission (2026)
- IRON NEST Dead Reckoning — Mission 9 Walkthrough & Tear Shell Strategy
- IRON NEST Elevation Calculator — Propellant & Angle Guide
- IRON NEST How to Triangulate — Find Every Target Easily
- IRON NEST Missions Guide — All 15 Campaign Missions
More IRON NEST: Heavy Turret Simulator Guides
How IRON NEST: Heavy Turret Simulator actually plays: the fire-mission loop, ballistics and powder charges, plus counter-battery and Phantom Battery strategy.
Complete guide to all 15 IRON NEST campaign missions in order, with objectives, rewards, requisition costs, and tactics for hard missions.
IRON NEST mods: the MelonLoader community, installing mods, the VR/Co-op/PvP multiplayer mod, the IronNestFCS fire-control mod, and mod support status.
How much IRON NEST costs ($19.99): the launch 25% discount, Steam vs GOG vs Epic pricing, Game Pass status, and whether it's worth it.
Every IRON NEST shell type explained: HE, AP, HCHE, SMK, STAR, chemical (PGAS/TGAS), PRPG, White Phosphorus and Atomic — plus tier ratings and when to use each.
Is IRON NEST multiplayer? The official game is solo, but community mods add 4-player co-op, VR crossplay & PvP. Full room calibration guide inside.
How to calculate barrel elevation in IRON NEST: the distance-to-charge formula, manual elevation when your computer dies, and the best artillery calculator.
Complete IRON NEST endings guide: trigger all 4 Mission 15 outcomes (PRPG, White Phosphorus, Atomic, Road Not Taken betrayal) & secret telegram logic.