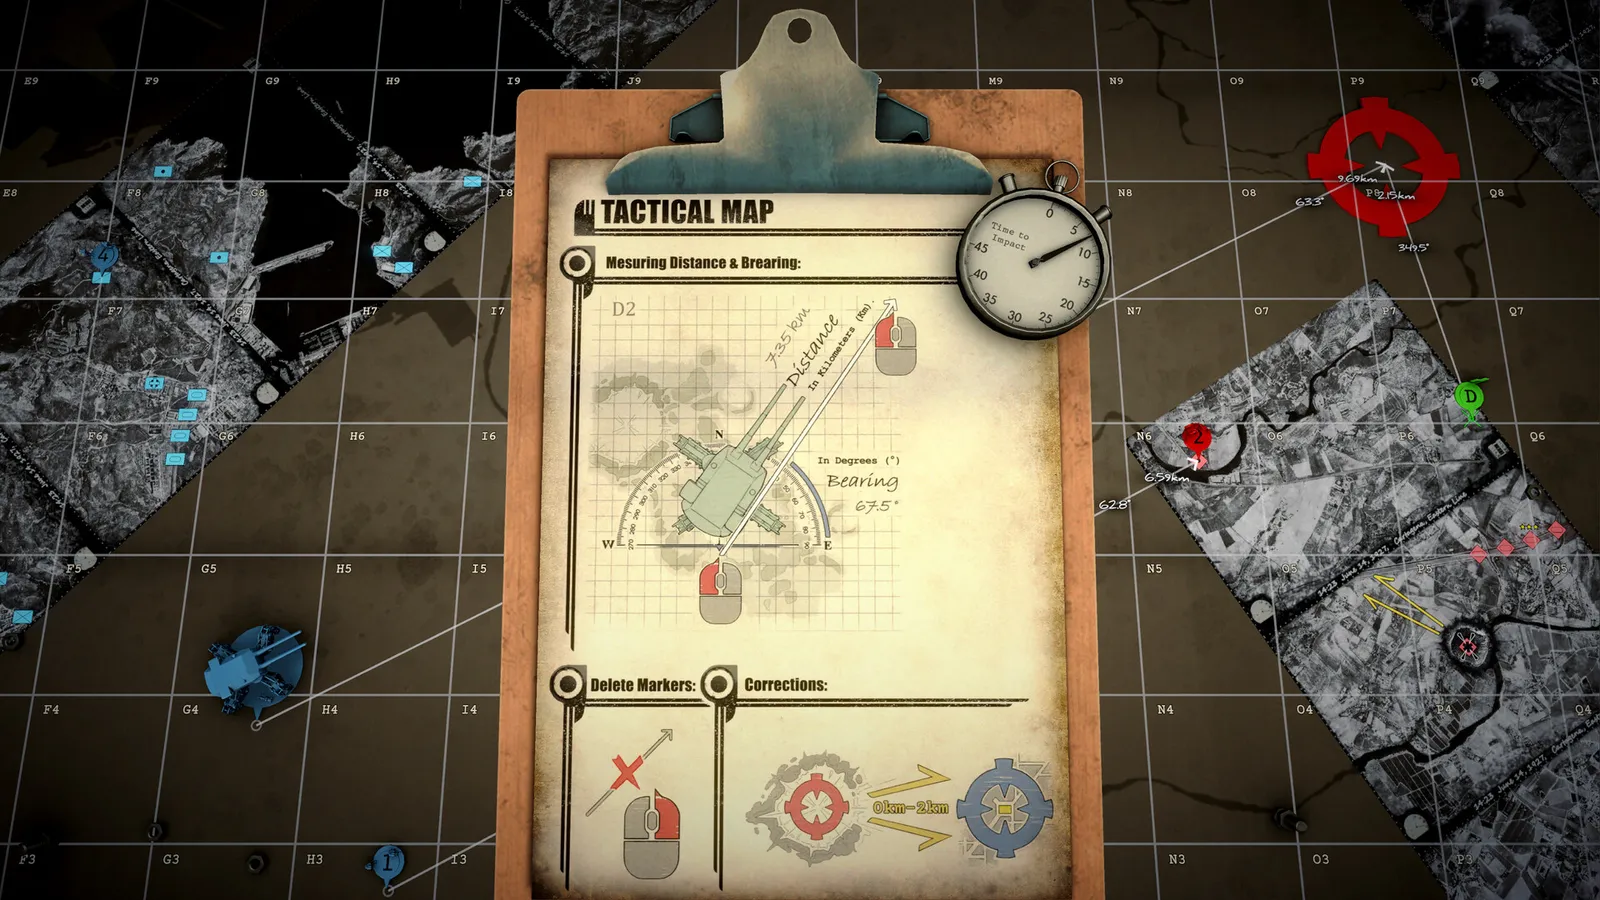
Complete IRON NEST walkthrough: step-by-step route guide for Mission 2, Mission 3, Dead Reckoning, Cartagena, and observer calibration coordinates.
IRON NEST Walkthrough — Mission 2, 3 & Dead Reckoning Guide
This is the complete IRON NEST: Heavy Turret Simulator walkthrough — covering the full campaign structure, key fire-mission routines, spotter triangulation methods, and specific mission beat strategies. Whether you are working through early assignments like Mission 2: Fire & Light and Mission 3: Liberation, or tackling late-game challenges like Mission 9: Dead Reckoning, this guide provides step-by-step tactical solutions.
For specific observer report calibration procedures, check our dedicated observer guide. If you need detailed medal criteria, refer to our achievements guide or review the complete missions list.
What you will master in this walkthrough:
- The 7-step fire-mission sequence for pinpoint firing accuracy
- Observer triangulation techniques to convert spotter bearings into grid solutions
- Mission 2 (Fire & Light) spotter report alignment and star shell placement
- Mission 3 (Liberation) underground cache location and friendly-fire avoidance
- Mission 9 (Dead Reckoning) Tear Shell reveal mechanics and Field Command correction
- Hard-mission cheat sheet covering Cartagena, Phantom Battery, and finale choices

Official source: Per the official Steam store page and developer updates, IRON NEST features 15 campaign missions combining realistic map plotting with heavy artillery simulation on the IGN game hub and official site.
Official resources: Steam store page · IGN game page · Official site
The Fire-Mission Process (Master This, Win Everything)
Every fire mission in IRON NEST follows a disciplined, professional cycle. You must complete your map work before touching the gun controls. Rushing directly to the elevation dials is the single most common cause of wasted ammunition.
- Receive the Order: Read the incoming teleprinter transcript. Note target priority, suspected grid sector, and reporting observer numbers.
- Plot Observer Positions: Locate the blue observer markers on your war table tactical map (columns A–T, rows 1–10).
- Triangulate the Intersection: Use your yellow construction pencil to draw bearing lines outward from each spotter. Where two spotter lines intersect is your target.
- Measure Turret Range & Bearing: Switch to your red pencil tool. Draw a line from the IRON NEST turret marker straight to the intersection point. Read the distance in meters and turret bearing in degrees.
- Calculate Ballistics: Cross-reference distance with your shell propellant tables to select elevation angle and charge count.
- Load Ammunition: Select High Explosive (HE) for infantry, Armor Piercing (AP) for fortified bunkers, or Smoke (SMK) for screening friendly troops.
- Rotate, Elevate, Fire: Turn the turret to the target bearing, adjust elevation, and fire. Plot the next target while the turret traverses.
Experienced players avoid guessing coordinates. Spotters report bearings relative to their own locations, not your gun. Always intersect two observer lines on the war table map first, then measure from your turret to that intersection. This eliminates wasted shells and guarantees high kill ratios.
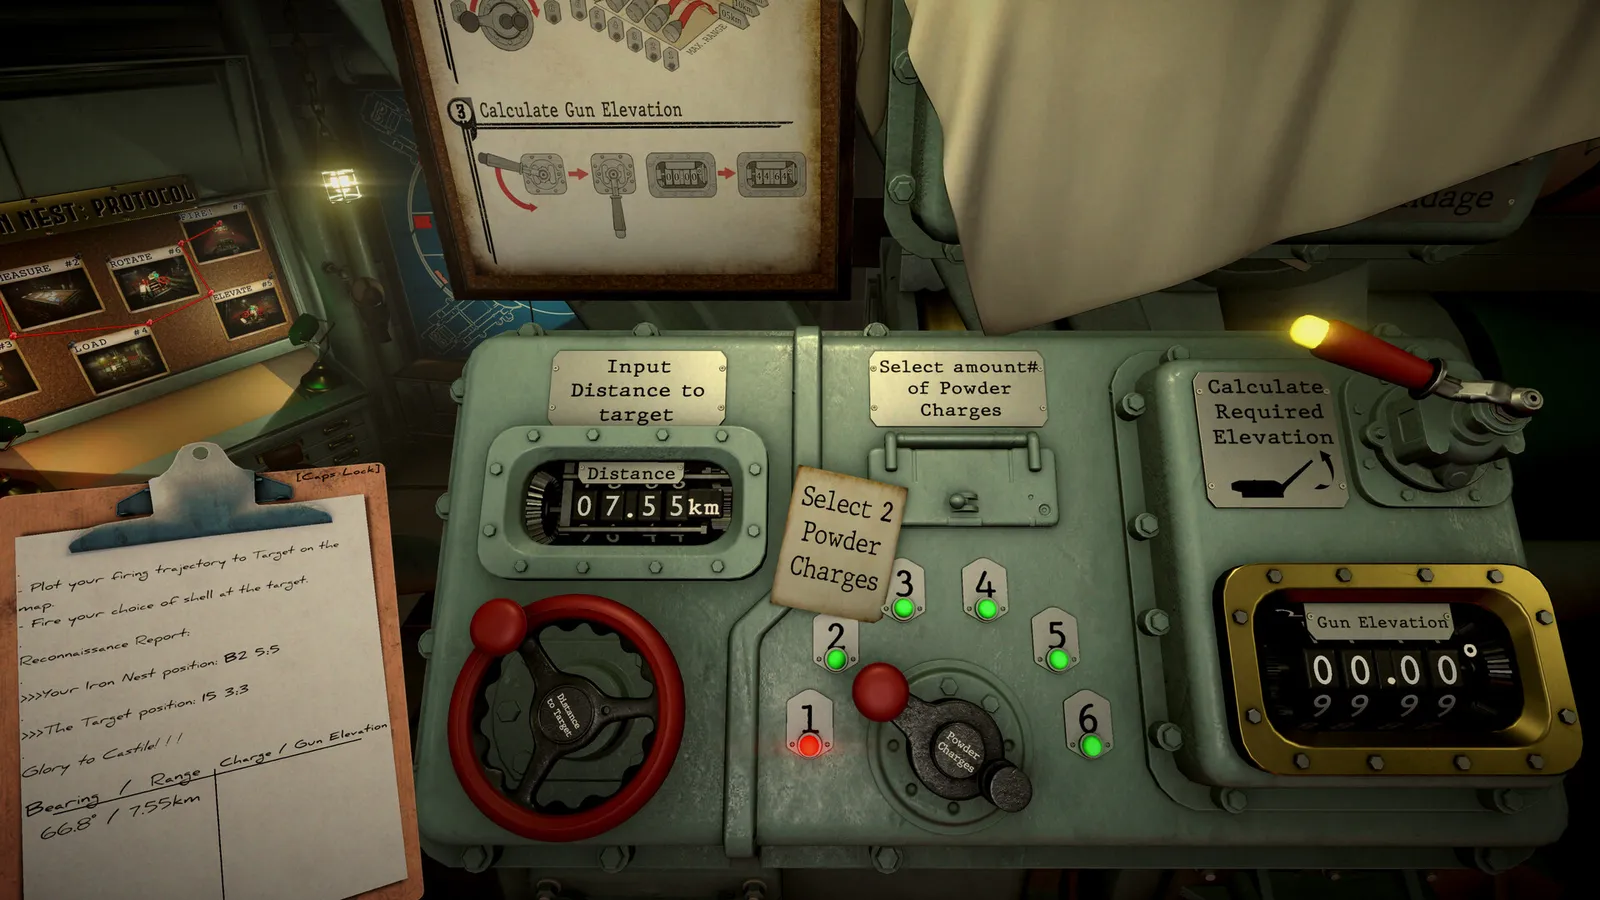
Phase 1: Tutorials & Opening Missions (Missions 1 to 3)
The opening phase introduces basic gunnery, map reading, and requisition spending. Getting clean clears here builds the foundation for harder campaign chapters.
Mission 1 — Calibration Fire
Located on the Aranjuez range, Mission 1 teaches raw gun controls. You receive 7 free shell grants. Practice adjusting elevation dials and firing trial rounds to understand shell drop over distance. Do not rush; establishing a smooth gunnery rhythm here pays dividends later.
Mission 2 — Fire & Light
Mission 2 introduces multi-spotter triangulation and star shell illumination. You are granted 8 shells on the Aranjuez map. Two forward observers report enemy positions via compass bearings.
- First Target: Spotter 1 reports bearing 047° while Spotter 2 reports bearing 318°. Draw both yellow construction lines; the crossing point lands on sub-cell E8 · 6-4.
- Star Shell Phase: Fire an illumination star shell into the target sector to expose moving infantry squads.
- Follow-up Salvo: Once illuminated, load standard HE shells, calculate range (~3.1 km, Charge 3), and clear the sector.
Mission 3 — Liberation
Set in Ciudad Real, Mission 3 is the first mission requiring 300 requisition to deploy. It introduces punchcards and underground target destruction.
- Recon & Plotting: Launch a P4 recon flight or read observer field reports to identify the hostile sector.
- Underground Cache: The enemy AP ammunition cache is concealed underground. Use your yellow pencil to pinpoint the cache coordinates (C7 · 4-3).
- Friendly Safety: Friendly infantry squads operate near the perimeter. Avoid using HE shells close to friendly positions due to blast radius; switch to AP shells for precision ground strikes.
Requisition points are your primary currency for deploying and purchasing specialized ammo. Bank your shell grants during Missions 1 and 2 so you enter Mission 3 and Mission 4 with a healthy budget.
Phase 2: Campaign Expansion & Siege Battles (Missions 4 to 8)
As the Iron Nest advances across Spain, enemy resistance increases and counter-battery timers begin to press your firing speed.
Mission 4 — Counter-Battery (500 Req)
Enemy artillery batteries fire back on an active countdown timer. Launch recon aircraft immediately upon deployment. Work your fire-mission cycle rapidly without skipping map verification. Destroy starred priority targets to earn bonus requisition refunds.
Mission 5 — Iron Road
An endurance engagement requiring high kill density. Gold medal criteria demand 20 consecutive kills with a 2.0+ kill-per-shot ratio. Triangulate clusters of soft vehicles before firing high-capacity HE shells.
Mission 6 — Siege of Cartagena (300 Req)
The campaign's signature urban battle. Recapture the royal city by bombarding hostile strongpoints while screening friendly assault columns.
- Smoke Screen Requirement: You must deploy SMK shells to cover friendly breakout infantry. Failing to screen friendly forces results in immediate mission objective failure.
- Target Selection: Cross-reference observer channels to separate hostile mortar pits from friendly advance squads.
Mission 7 — The Gorge
Tight choke-point terrain requiring area saturation. Use airburst HE rounds or heavy fragmentation shells to clear concentrated infantry pockets along narrow canyon roads.
Mission 8 — Rock of Gibraltar
A structured challenge mission with strict requisition caps (maximum 10 requisition spent for Gold). Rely entirely on base shell grants and precise first-round triangulation.
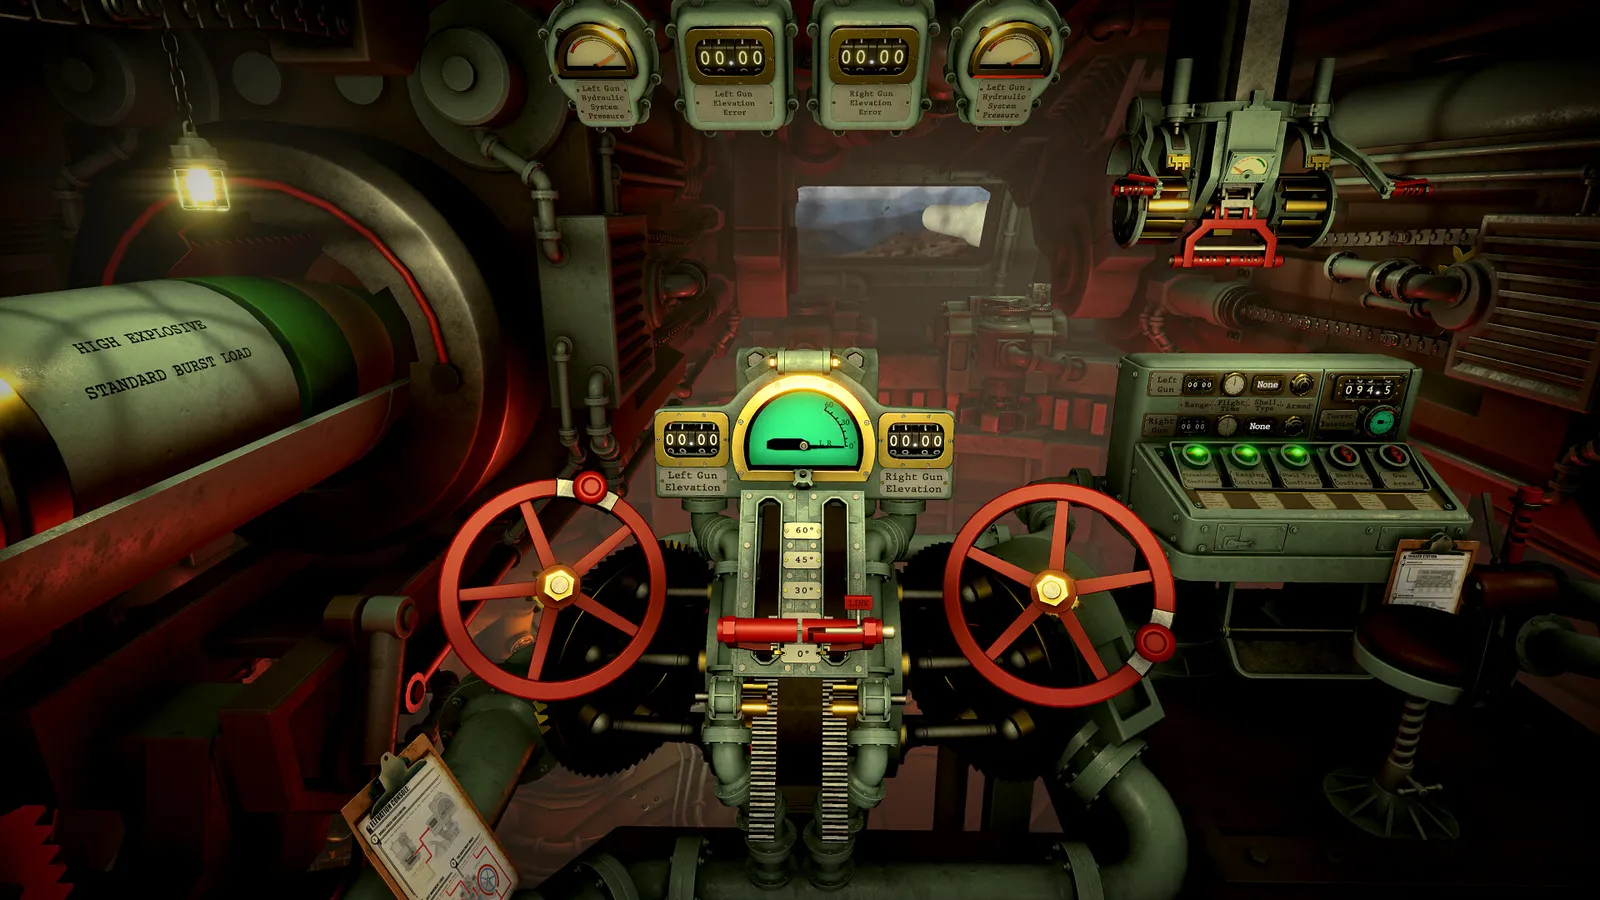
Phase 3: Deep Campaign & Dead Reckoning (Missions 9 to 15)
The final phase tests your ability to operate without direct visual observation, countering stealth batteries and deciding the campaign's ultimate outcome.
Mission 9 — Dead Reckoning (The Blind Mission)
Dead Reckoning is notorious because standard visual recon shows a completely empty map. Hostile positions are deeply entrenched inside reinforced bunkers and hidden structures.
- Tear Shell Reveal Mechanism: You must fire Tear Shells into suspected search sectors. Tear Shells force hidden enemy units into the open, revealing their icons on your tactical map.
- Shell Matching: Check the revealed target state immediately. If the target icon shows standard infantry or soft structures, use regular HE shells. If it displays an armored bunker state, buy AP shells.
- The Field Command Trap: The Enemy Field Command report provides ambiguous long-range bearings. In actual operations, a 1.86 km northeast offset resolves only after the first two primary positions are destroyed.
- War Horn Timing: Do not blow the War Horn prematurely after destroying only two targets. Destroy all three primary positions and the Field Command first before triggering the end-phase horn.
Target report offsets in Mission 9 vary between play sessions. Never copy static coordinates from old forums. Rely on the Tear Shell probe method: narrow the search area via reports, expose targets with Tear Shells, match ammo to target states, and resolve Field Command last.
Mission 14 — Phantom Battery
An enemy artillery unit fires, hits your sector, and immediately relocates. Perform rapid counter-battery triangulation after each incoming shell impact. Re-draw observer bearing lines after every volley to track the shifting battery.
Mission 15 — White Shells (Finale)
The moral and tactical climax of the campaign. Your ammunition loadout and target selection on Barcelona determine which of the four distinct story endings you receive. Refer to our endings guide for complete choice trees.
Hard-Mission Coordinates & Execution Table
| Mission | Primary Focus | Key Mechanic / Shell Requirement | Recommended Strategy |
|---|---|---|---|
| Mission 2: Fire & Light | Triangulation Intro | Star Shells + HE | Cross spotter lines at E8 · 6-4, illuminate with star shell, engage with HE |
| Mission 3: Liberation | Requisition & AP Cache | AP Shells + Yellow Pencil | Triangulate underground cache at C7 · 4-3, use AP near friendly troops |
| Mission 4: Counter-Battery | Timed Counter-Fire | Rapid Recon + HE | Launch scout plane immediately, destroy priority star targets for req refunds |
| Mission 6: Cartagena | Friendly Screening | SMK (Smoke) Shells | Deploy mandatory smoke screens before friendly breakout; avoid friendly sectors |
| Mission 9: Dead Reckoning | Hidden Target Probe | Tear Shells + AP/HE | Probe sectors with Tear Shells; apply 1.86 km NE correction to Field Command |
| Mission 14: Phantom Battery | Shifting Battery | Multi-Spotter Triangulation | Re-draw spotter bearings after every incoming round; track relocating battery |
Frequently Asked Questions
How do I beat IRON NEST?
To beat the campaign, master the 7-step fire-mission process: plot coordinates, triangulate spotter bearings, measure range/bearing from your gun, select proper shells, and adjust for elevation. Complete all 15 campaign missions while managing requisition reserves.
How do I complete Mission 2 and Mission 3 in IRON NEST?
In Mission 2 (Fire & Light), intersect Spotter 1 (047°) and Spotter 2 (318°) bearings to find grid E8 · 6-4, then illuminate with star shells. In Mission 3 (Liberation), plot the underground cache at C7 · 4-3 using your yellow pencil and switch to AP shells near friendly units.
What is the best strategy for Dead Reckoning in IRON NEST?
In Mission 9 (Dead Reckoning), use Tear Shells to force hidden units into the open. Check the revealed target state before buying destructive ammo (HE for soft targets, AP for armor). Destroy all three primary positions before tackling the Field Command with its 1.86 km northeast offset.
How do I do fire missions in IRON NEST?
Read the teleprinter order, plot spotter bearings on the war table, find the intersection, measure range and bearing from the turret marker, check your ballistic card for charge elevation, load ammunition, traverse the turret, and fire.
What are the hardest missions in IRON NEST?
The most challenging missions are Mission 4 (Counter-Battery due to time pressure), Mission 6 (Siege of Cartagena due to friendly-fire risks), Mission 9 (Dead Reckoning due to lack of direct observation), and Mission 14 (Phantom Battery due to mobile enemy artillery).
Related Guides
- IRON NEST Achievements & Medals Guide — 33 Steam Achievements + Every Gold Medal
- IRON NEST Beginner's Guide — How to Play, Controls & First Missions (2026)
- IRON NEST Dead Reckoning — Mission 9 Walkthrough & Tear Shell Strategy
- IRON NEST Missions Guide — All 15 Campaign Missions
- IRON NEST on Steam Deck — Best Settings & Compatibility
More IRON NEST: Heavy Turret Simulator Guides
IRON NEST mods: the MelonLoader community, installing mods, the VR/Co-op/PvP multiplayer mod, the IronNestFCS fire-control mod, and mod support status.
IRON NEST platforms explained: PC-only on Steam, GOG and Epic, no Xbox/PS5 version yet, Steam Deck Verified status, cloud saves, and cross-store differences.
An honest IRON NEST review: gameplay, moral-choice storytelling, how it compares to PVKK, who it's for, community reception, and whether it's worth $19.99.
Where IRON NEST stores saves (AppData\LocalLow\IronNestTeam\IronNest), Steam Cloud backup, transferring progress, and fixing the Patch 1.0 save corruption bug.
Every IRON NEST shell type explained: HE, AP, HCHE, SMK, STAR, chemical (PGAS/TGAS), PRPG, White Phosphorus and Atomic — plus tier ratings and when to use each.
IRON NEST music explained: the record player on your desk, the military-march style, whether an official OST exists, and how to play vinyl in the turret.
How IRON NEST runs on Steam Deck: ProtonDB Platinum status, best settings (TDP, FSR, resolution), battery life, controller support, and known issues.
IRON NEST: Heavy Turret Simulator minimum and recommended system requirements, download size, Steam Deck support, and laptop/iGPU tips — can your PC run it?