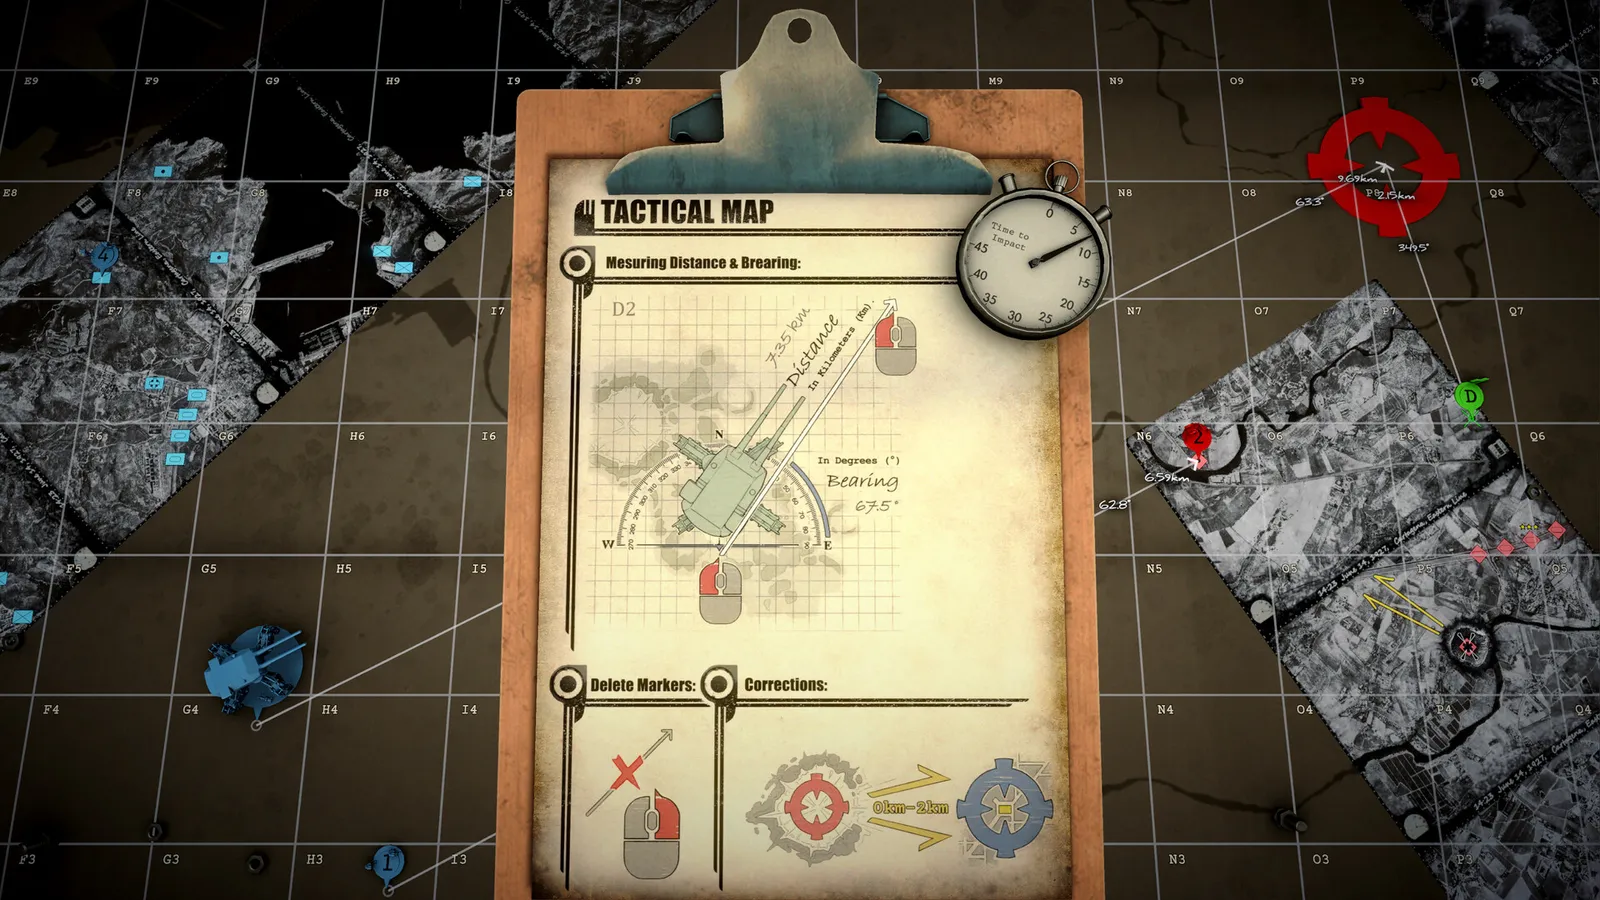
IRON NEST Dead Reckoning (Mission 9): why recon shows nothing, Tear Shell reveal logic, three hidden positions, the 1.86 km correction, and War Horn timing.
IRON NEST Dead Reckoning — Mission 9 Walkthrough & Tear Shell Strategy
Dead Reckoning is the IRON NEST mission where the map actively lies to you. The three primary positions are dug into structures and won't appear through normal reconnaissance — you have to expose them with Tear Shells. This walkthrough covers the full Mission 9 route: reading the field reports, deciding where to spend your Tear Shells, the Field Command trap, and when to sound the War Horn.
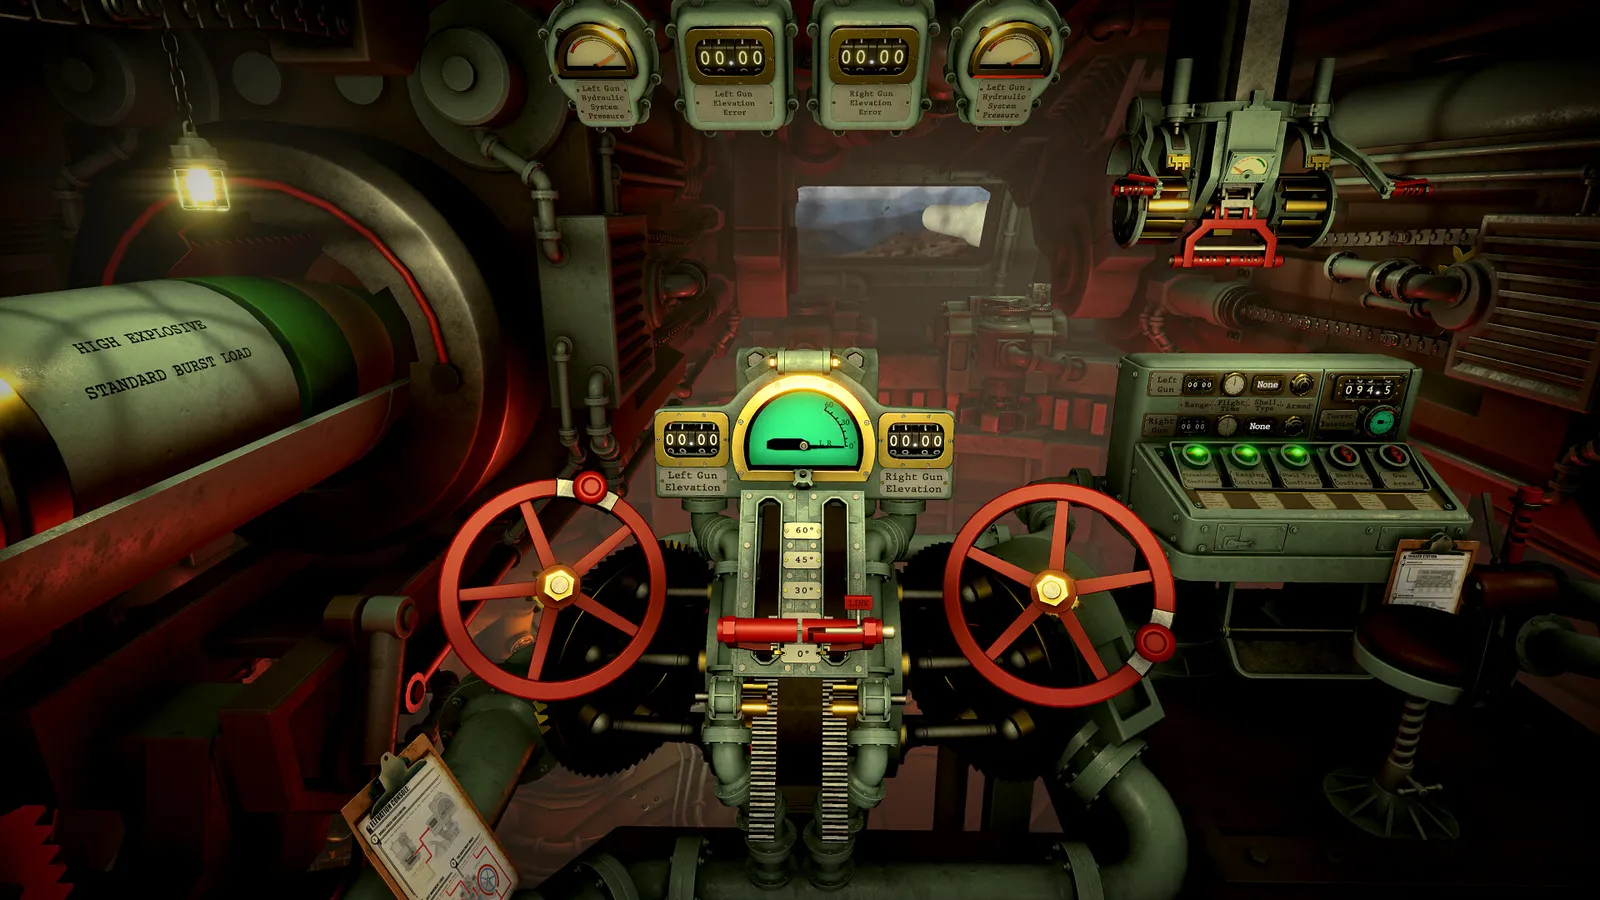
Official resources: Steam store page · IGN game page · Official site
Why Normal Reconnaissance Shows Nothing
Dead Reckoning deliberately hides its three primary positions from standard scouting. You can spend a long time looking at a perfectly clear map and learn almost nothing — that's the mission working as intended.
The mission order is explicit about the mechanic:
- Tear Shells force hidden units into the open
- Normal recon (scout flights, standard observation) will not reveal the dug-in positions
- The Tear Shell is part of the locating process, not just another ammunition choice
So the opening phase isn't about firing at what you can see — it's about narrowing each target to a believable search area using the mission reports, then spending Tear Shells there.
A full-city scouting sweep wastes requisition. The reports already narrow things down; your job is to answer one question per target: "where is the smallest believable area in which I can place a Tear Shell?"

Dead Reckoning Route at a Glance
The core loop of the mission:
- Read the mission reports — each narrows a target to a suspected area
- Pick the first two useful search areas from the reports
- Fire Tear Shells into those areas to expose hidden units
- Check the updated map before buying destructive shells
- When a target's icon appears, decide: normal destructive shot, or AP
- Keep the Enemy Field Command as an approximate search area if its reports don't intersect cleanly
- Use another Tear Shell to expose the third position
- Destroy the Field Command with the shell its revealed state requires
- Sound the War Horn at the right moment (see below)
Dead Reckoning's report offsets and directions vary enough that you should never copy a fixed online coordinate for this mission. Treat the reports as search areas, not exact firing solutions — this walkthrough teaches the method, not coordinates.
Tear Shell Reveal Logic
The key decision in Dead Reckoning is when to buy destructive shells. The updated map after each Tear Shell tells you what the exposed target needs:
- If the revealed icon shows a normal structure state → a standard destructive shell finishes it
- If the icon shows an armored/dug-in state → you need AP to finish it
Buying destructive shells before the Tear Shell reveals the target state wastes requisition on the wrong ammo type. Check the map after each reveal, then buy.
If a report's intersection is ambiguous, a Tear Shell into the most probable area is a legitimate test shot — it either exposes a target or confirms the area is empty. The shells are the mission's primary probe tool.
The Field Command Trap
The Enemy Field Command can be the real trap of Dead Reckoning. It's often described at long distance with multiple directional clues that define an area rather than one precise point.
In at least one observed operation, a 1.86 km northeast correction only became useful after the first two primary targets were destroyed — the reports for Field Command can look like they reference positions that don't resolve until the earlier targets are gone.
Practical approach:
- Treat Field Command as an approximate search area while its reports don't intersect cleanly
- Don't chase it with destructive shells early
- Re-check the latest impact information before searching for it
- After the primary positions are down, re-read the reports — the correction usually resolves now
War Horn timing matters. Sounding it after just the two initial primary targets can lock you into a premature end-phase before Field Command is dealt with. Confirm the third position and the Field Command status first.
War Horn Timing and End Phase
The War Horn triggers the mission's end-phase. The safe pattern:
- All three primary positions confirmed destroyed
- Field Command destroyed with the shell its revealed state required
- Only then sound the War Horn
If you sound it early, you may find the mission incomplete or the end-phase more dangerous than it needs to be. Also be aware there are optional hidden enemies that remain after the primary objective — clearing them is optional but they're worth requisition if you have shells to spare.
Common Mistakes to Avoid
Players who struggle with Dead Reckoning usually repeat one of these errors:
- Buying destructive shells before the reveal — you lock in ammo for a target state you haven't confirmed yet. Tear Shell first, then read the updated map, then buy.
- Chasing Field Command coordinates early — its reports don't resolve until the primaries are down; early destructive shells there are wasted.
- Sounding the War Horn on the first "complete" status — the end-phase is triggered by the horn, not by the mission auto-completing. Verify the third position and Field Command before you blow it.
- Treating reports as exact firing solutions — every run varies; the method is the constant, coordinates are not.
Requisition Management in Dead Reckoning
The mission punishes over-buying. The ammunition and requisition system means every shell you buy is budget you can't spend elsewhere:
- Scout flights: minimal — the reports do most of the work
- Tear Shells: the two best search areas first, one more for the third position — three well-placed Tear Shells typically cover the mission
- Destructive shells: buy per-target after each reveal, matching the target's revealed state (normal or AP)
- Optional hidden enemies: worth requisition only if your budget survives the primary objectives
Summary: The Dead Reckoning Method
- Reports → search areas (never fixed coordinates)
- Tear Shells probe the two best areas first
- Updated map decides normal vs AP for each revealed target
- Field Command waits — it resolves after the primaries
- War Horn only after all three primaries + Field Command are down
FAQ
How do I find the hidden targets in IRON NEST Dead Reckoning?
Use the mission reports to narrow each target to a suspected area, then fire a Tear Shell into it. The shell exposes hidden units; the updated map then tells you whether a normal shot or AP finishes the job.
What do Tear Shells do in IRON NEST?
Tear Shells force hidden/dug-in units into the open — they're the locating tool for this mission. Normal recon won't reveal the three primary positions without them.
Where is the Enemy Field Command in Dead Reckoning?
It's described at long range with directional clues that define an area. Treat it as an approximate search area early; a correction (e.g., 1.86 km northeast) becomes useful after the first two primary targets are destroyed.
When should I sound the War Horn in Dead Reckoning?
Only after all three primary positions are destroyed and the Field Command is dealt with. Sounding it after just two primaries can trigger a premature end-phase.
Why does normal reconnaissance show nothing in Dead Reckoning?
The mission hides its primary positions from standard scouting on purpose. Tear Shells are the required reveal mechanic — reports narrow the search, shells expose the targets.
Related guides: How to Triangulate · Elevation Calculator · Missions · Co-op & Multiplayer
Last updated: August 11, 2026.
Related Guides
- IRON NEST Achievements & Medals Guide — 33 Steam Achievements + Every Gold Medal
- IRON NEST Beginner's Guide — How to Play, Controls & First Missions (2026)
- IRON NEST Walkthrough — Mission 2, 3 & Dead Reckoning
- IRON NEST Missions Guide: All 15 Campaign Missions
- IRON NEST on Steam Deck — Best Settings & Compatibility
More IRON NEST: Heavy Turret Simulator Guides
IRON NEST mods: the MelonLoader community, installing mods, the VR/Co-op/PvP multiplayer mod, the IronNestFCS fire-control mod, and mod support status.
IRON NEST platforms explained: PC-only on Steam, GOG and Epic, no Xbox/PS5 version yet, Steam Deck Verified status, cloud saves, and cross-store differences.
An honest IRON NEST review: gameplay, moral-choice storytelling, how it compares to PVKK, who it's for, community reception, and whether it's worth $19.99.
Where IRON NEST stores saves (AppData\LocalLow\IronNestTeam\IronNest), Steam Cloud backup, transferring progress, and fixing the Patch 1.0 save corruption bug.
Every IRON NEST shell type explained: HE, AP, HCHE, SMK, STAR, chemical (PGAS/TGAS), PRPG, White Phosphorus and Atomic — plus tier ratings and when to use each.
IRON NEST music explained: the record player on your desk, the military-march style, whether an official OST exists, and how to play vinyl in the turret.
How IRON NEST runs on Steam Deck: ProtonDB Platinum status, best settings (TDP, FSR, resolution), battery life, controller support, and known issues.
IRON NEST: Heavy Turret Simulator minimum and recommended system requirements, download size, Steam Deck support, and laptop/iGPU tips — can your PC run it?