Complete guide to all 15 IRON NEST campaign missions in order, with objectives, rewards, requisition costs, and tactics for hard missions.
IRON NEST Missions Guide — All 15 Campaign Missions
IRON NEST: Heavy Turret Simulator features fifteen sequential campaign missions alongside two optional standalone Skirmishes. Players command a massive fixed artillery battery defending strategic positions across Spain—from Aranjuez and Ciudad Real to Cartagena, Gibraltar, and Barcelona. Victory requires balancing fire-control calculations (elevation, charge, and wind deflection) against requisition management.
This guide details the full 15-mission progression, tactical objectives, deployment requisition costs, shell rewards, and battle-tested tactics for key skill checks—including the Siege of Cartagena and Phantom Battery.
Official resources: Steam Store Page · IGN Game Overview · Official Iron Nest Website
Complete 15-Mission Campaign Matrix
The table below details every campaign deployment in IRON NEST in order, including mission categories, tactical objectives, deployment costs, and rewards:
| # | Mission Name | Category | Primary Tactical Objective | Requisition Cost | Shell Grants & Rewards |
|---|---|---|---|---|---|
| 1 | Calibration Fire | Tutorial | Master elevation controls & firing loop on Aranjuez range | 0 Req | 7 Shell Grants |
| 2 | Fire and Light | Campaign | Process forward observer spotting reports & night targets | 0 Req | 8 Shell Grants |
| 3 | Liberation | Tutorial | Introduce punchcards & complete target suppression | 300 Req | Punchcards & Requisition |
| 4 | Counter-Battery | Campaign | Neutralize active enemy artillery positions under pressure | 500 Req | Requisition & Unlocks |
| 5 | Iron Road | Campaign | Provide fire support along supply lines & intercept convoys | 300 Req | Tactical Ordnance |
| 6 | Siege of Cartagena | Campaign | Coastal defense breakout; deploy SMK smoke screens for allies | 300 Req | High-Caliber Unlocks |
| 7 | The Gorge | Campaign | Execute high-angle defile bombardment in mountain pass | 200 Req | Precision Punchcards |
| 8 | Rock of Gibraltar | Tutorial | Master wind deflection & cliffside battery geometry | 150 Req | Advanced Punchcards |
| 9 | Dead Reckoning | Campaign | Execute blind fire navigation using map grid coordinates | 250 Req | Tear Gas Shell Unlock |
| 10 | Fire on Call | Campaign | Maintain rapid fire response during tight observer windows | 350 Req | Requisition Points |
| 11 | High Tide | Campaign | Calculate lead distance & bombard moving naval battlecruisers | 400 Req | Naval Ordnance |
| 12 | Blind Fire | Campaign | Counter enemy batteries in heavy fog & low visibility | 350 Req | Heavy Explosives |
| 13 | Phantom Battery | Campaign | Duel relocating enemy battery; locate 12 spotters & counter shoot-and-scoot | 450 Req | Requisition & Honor |
| 14 | Final Harvest | Campaign | Execute heavy siege bombardment against concrete bunkers | 500 Req | High-Yield Grants |
| 15 | White Shells | Finale | Perform final barrage over Barcelona; payload choice determines ending | 600 Req | Campaign Endings |
Early Tutorial Phase (Missions 1–3)
The opening campaign sequence introduces firing mechanics before applying resource constraints:
- Mission 1 — Calibration Fire: Teaches basic triangulation, powder charge selection, and turret elevation with 7 free shell grants. Consult our triangulation guide to master coordinate plotting.
- Mission 2 — Fire and Light: Expands observation mechanics with spotter flares and night firing grids. 8 shell grants are provided.
- Mission 3 — Liberation: Marks the first deployment requiring requisition (300 Req) and introduces punchcards for ammunition perks.
Missions 3 through 15 charge deployment requisition upfront. Wasting expensive shells on minor targets early in a mission will deplete your reserves before major battle phases.
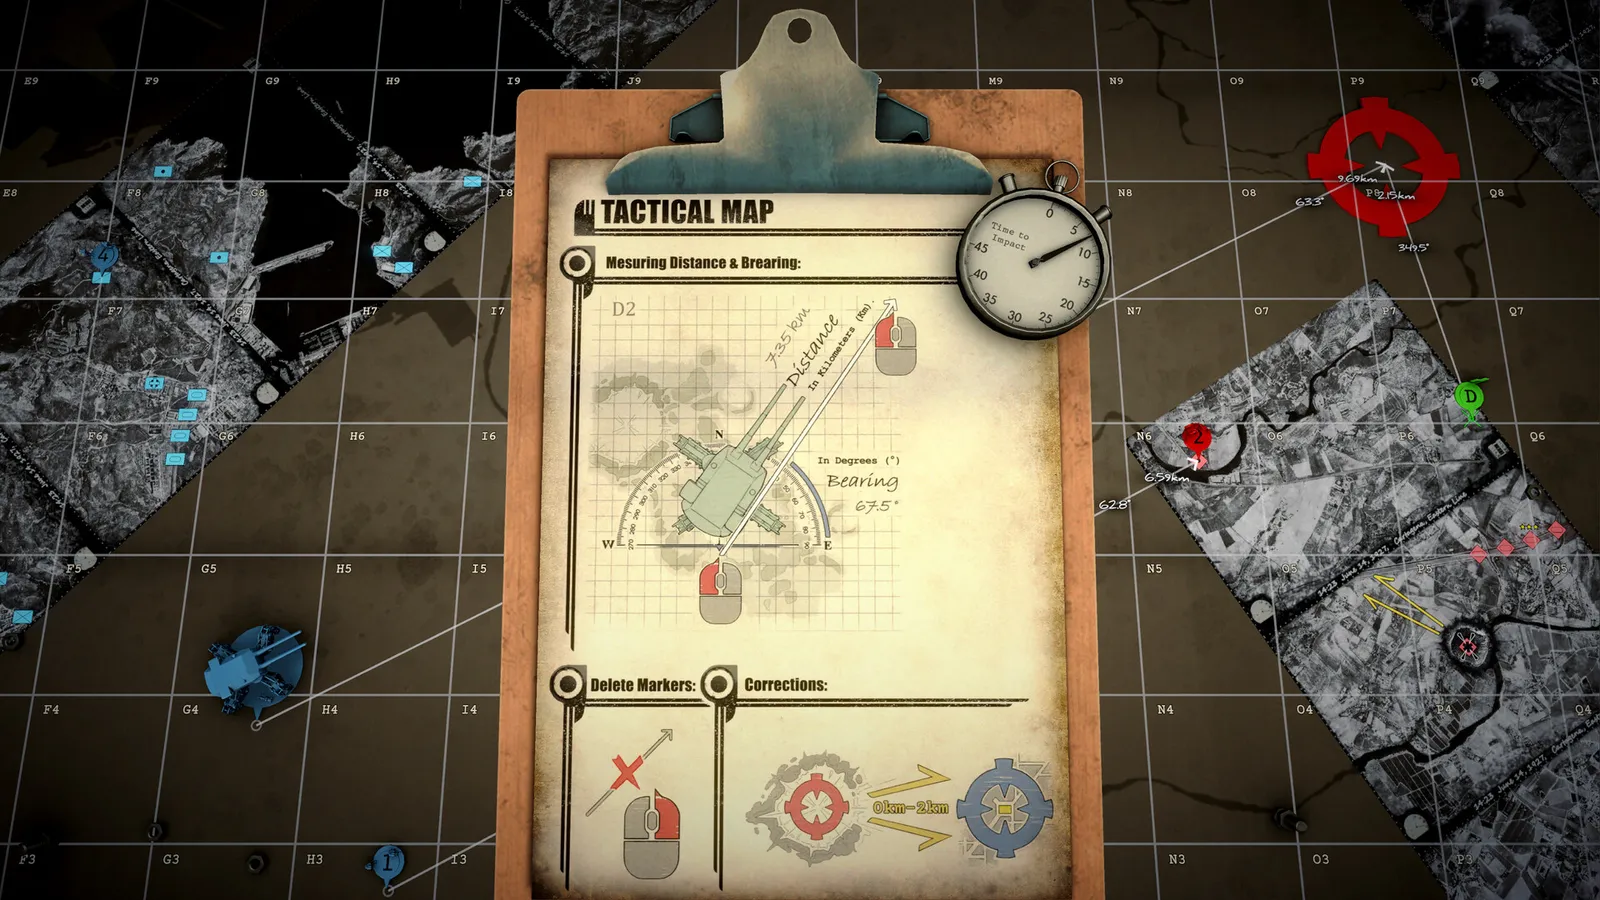
Deep Dive: Campaign Bottlenecks & Hard Missions
Several deployments present major difficulty spikes that test specific artillery skills:
Mission 6 — Siege of Cartagena
Siege of Cartagena requires supporting allied troop maneuvers under coastal artillery crossfire.
- Mandatory Ammo Requirement: You must equip SMK (Smoke) shells in your pre-deployment loadout. Failing to lay a continuous smoke screen in Sector B will result in friendly troop losses and mission failure.
- Tactical Execution: Fire smoke shells 15 seconds ahead of infantry advancement vectors, then switch to High Explosive (HE) rounds for static emplacements. Refer to our best shells guide.
Mission 9 — Dead Reckoning
Dead Reckoning removes real-time visual feedback from forward observers.
- Blind Triangulation: Target coordinates must be calculated using map grid overlays (columns A–T, rows 1–10). Use our elevation calculator guide to convert grid range into turret angle.
- Tear Shell Utility: Deploying Tear shells into choke points suppresses enemy mortar crews. Full details can be found in our Dead Reckoning walkthrough.
Mission 13 — Phantom Battery
Widely regarded as the toughest tactical encounter in IRON NEST.
- Shoot-and-Scoot Enemy: The rival battery relocates immediately after firing. Standing still invites counter-battery fire.
- Spotter Destruction: Locate and destroy all 12 enemy forward spotters hidden across the ridge line. Eliminating spotters degrades enemy accuracy, buying time to plot relocation patterns.
Do not blind-fire at the rival battery's initial flash position. Eliminate spotters first to blind enemy observers before executing counter-battery barrages.
Mission 15 (White Shells) & Narrative Endings
Mission 15 — White Shells serves as the campaign climax over Barcelona. Your pre-mission payload selection directly dictates the story outcome:
- Ammunition Impact: Loading high-yield destruction rounds versus specialized tactical shells alters casualty metrics and commander reports.
- Four Distinct Endings: The game features four campaign endings determined by target prioritization and ammo selection in Mission 15. Read our endings guide for decision trees.
Requisition Economy, Skirmishes & Gold Medals
To achieve 100% campaign completion and unlock all Steam achievements:
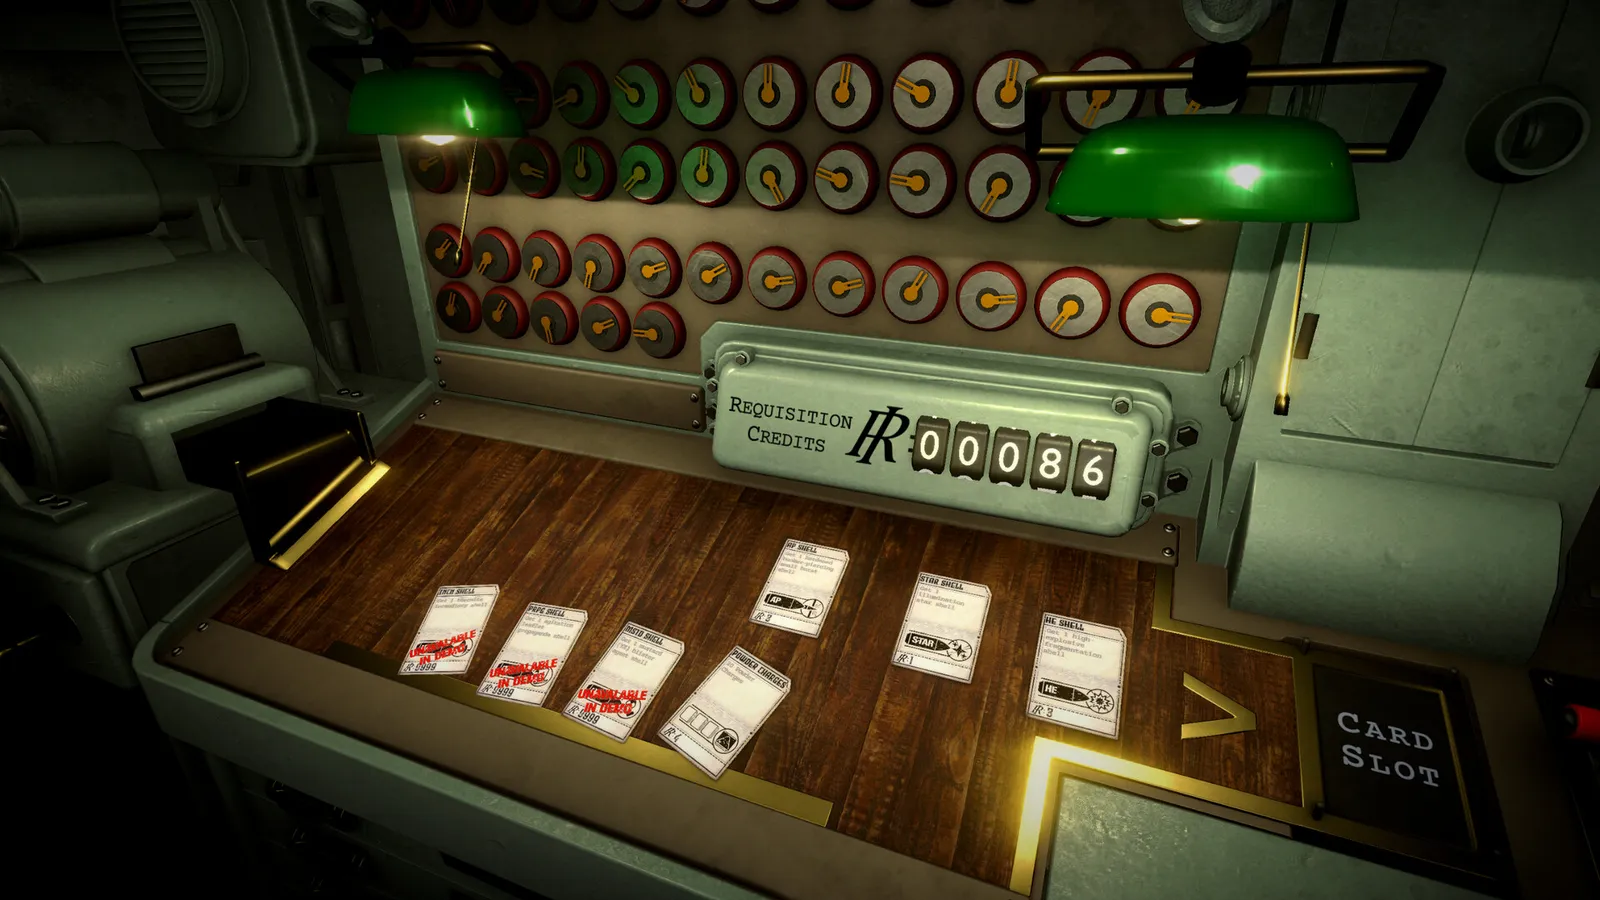
- Requisition Economy: Requisition pays for mission deployments (up to 600 Req) and special ammunition. If low on funds, run the two optional Skirmish modes outside the main campaign to farm requisition safely.
- Gold Medal Requirements: Gold medals require high firing accuracy, shell economy, and speed. See our achievements & medals guide for benchmarks.
- Observer Integration: Master spotter notes by checking our observer guide.
- Beginner Essentials: New players should start with our beginners guide for controls and basic ballistics.
Frequently Asked Questions
How many missions are in IRON NEST?
IRON NEST features 15 main campaign missions in sequential order (Calibration Fire through White Shells) plus two optional standalone Skirmishes.
What is the hardest mission in IRON NEST?
Phantom Battery (Mission 13) and Siege of Cartagena (Mission 6) are the primary campaign walls. Phantom Battery requires defeating a mobile rival battery, while Cartagena requires precise smoke shell support.
How does requisition work in IRON NEST?
Requisition is campaign currency earned from successful strikes. It is spent to launch deployments (Missions 3+ cost 150 to 600 Req) and purchase specialty ammunition.
What shells do I need for the Siege of Cartagena?
SMK (Smoke) shells are mandatory for Mission 6. Laying smoke screens protects allied troops during the coastal breakout phase.
What is Phantom Battery in IRON NEST?
Phantom Battery is Mission 13, featuring a duel against a maneuvering enemy battery. Players must destroy 12 hidden spotters while re-triangulating enemy relocation vectors.
Related Guides
- IRON NEST Endings Guide — All 4 Endings & Mission 15 Payload Choices
- IRON NEST Dead Reckoning — Mission 9 Walkthrough & Tear Shell Strategy
- IRON NEST Achievements & Medals Guide — 33 Steam Achievements + Every Gold Medal
- IRON NEST Beginner's Guide — How to Play, Controls & First Missions
- IRON NEST Walkthrough — Mission 2, 3 & Dead Reckoning
More IRON NEST: Heavy Turret Simulator Guides
IRON NEST platforms explained: PC-only on Steam, GOG and Epic, no Xbox/PS5 version yet, Steam Deck Verified status, cloud saves, and cross-store differences.
An honest IRON NEST review: gameplay, moral-choice storytelling, how it compares to PVKK, who it's for, community reception, and whether it's worth $19.99.
Where IRON NEST stores saves (AppData\LocalLow\IronNestTeam\IronNest), Steam Cloud backup, transferring progress, and fixing the Patch 1.0 save corruption bug.
Every IRON NEST shell type explained: HE, AP, HCHE, SMK, STAR, chemical (PGAS/TGAS), PRPG, White Phosphorus and Atomic — plus tier ratings and when to use each.
IRON NEST music explained: the record player on your desk, the military-march style, whether an official OST exists, and how to play vinyl in the turret.
How IRON NEST runs on Steam Deck: ProtonDB Platinum status, best settings (TDP, FSR, resolution), battery life, controller support, and known issues.
IRON NEST: Heavy Turret Simulator minimum and recommended system requirements, download size, Steam Deck support, and laptop/iGPU tips — can your PC run it?
Every IRON NEST patch so far (Patch 1.0 fixes), update cadence, the 200,000-player launch, and the roadmap — what's confirmed coming to the heavy turret sim.