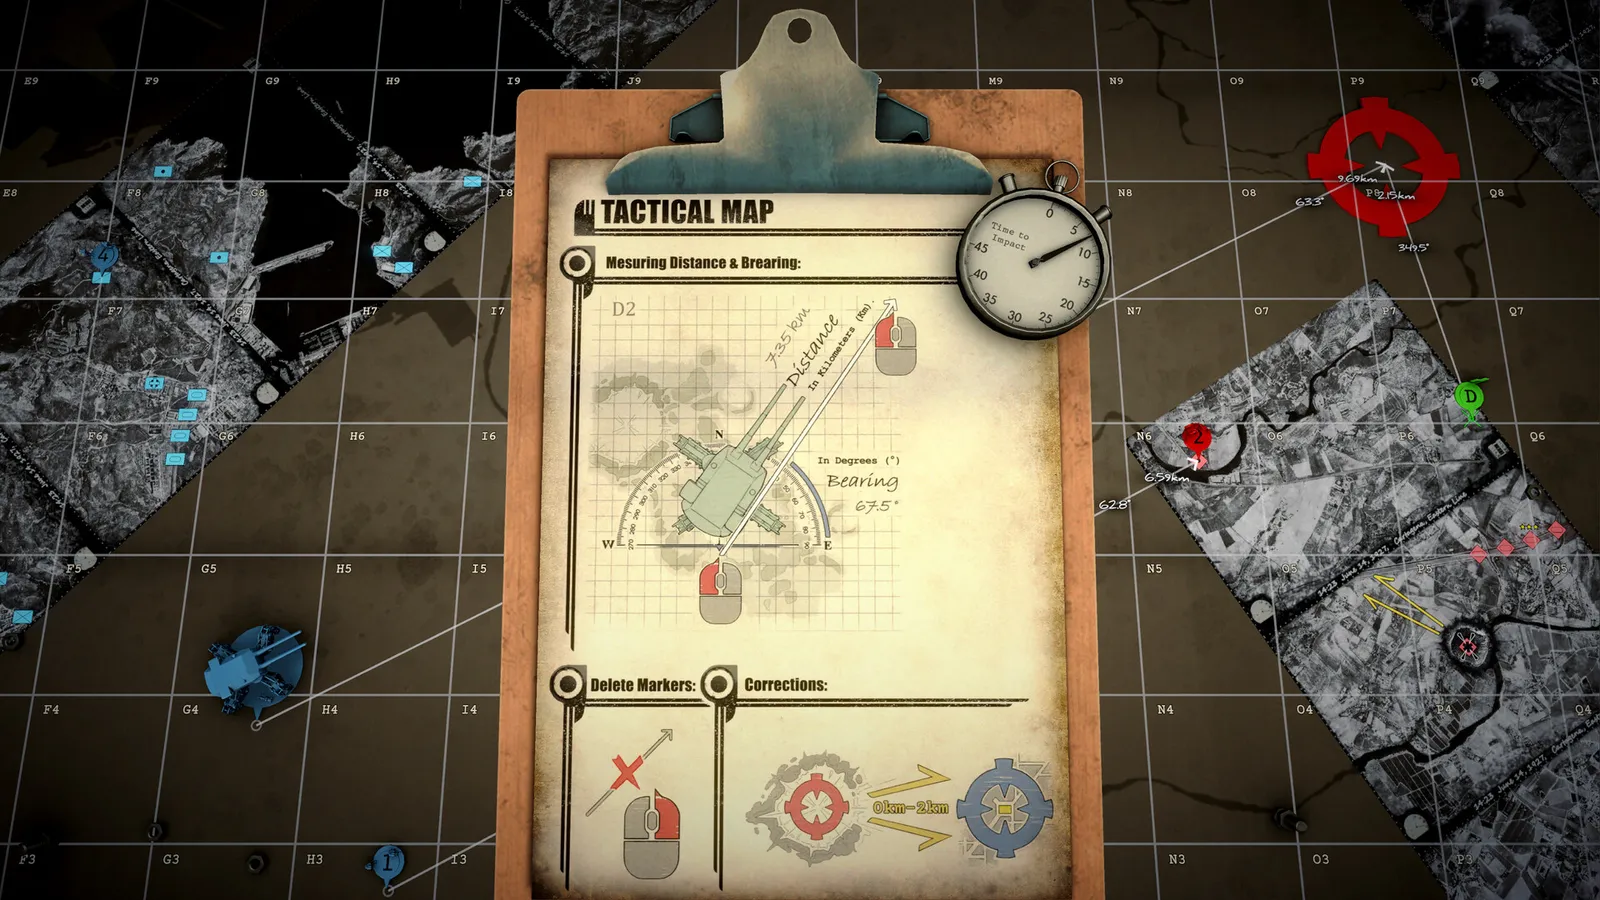
New to IRON NEST? The complete beginner guide: the fire-control loop, every turret station, requisition and shells, and a walkthrough of your first missions.
IRON NEST Beginners Guide — How to Play, Controls & First Missions (2026)
IRON NEST: Heavy Turret Simulator drops you into a 5,000-ton artillery turret and says "read, measure, calculate, load, rotate, elevate, fire." It looks intimidating — but the learning curve is honest, and the opening missions are tutorials in disguise. Here's everything a new operator needs before the first shot.
Here's what you'll learn:
- The core loop, step by step (the "firing solution" cycle)
- Every workstation inside the Iron Nest, explained
- Requisition, shells and powder charges for beginners
- What your first missions actually ask of you
- Beginner mistakes to avoid (and the ones that are on purpose)
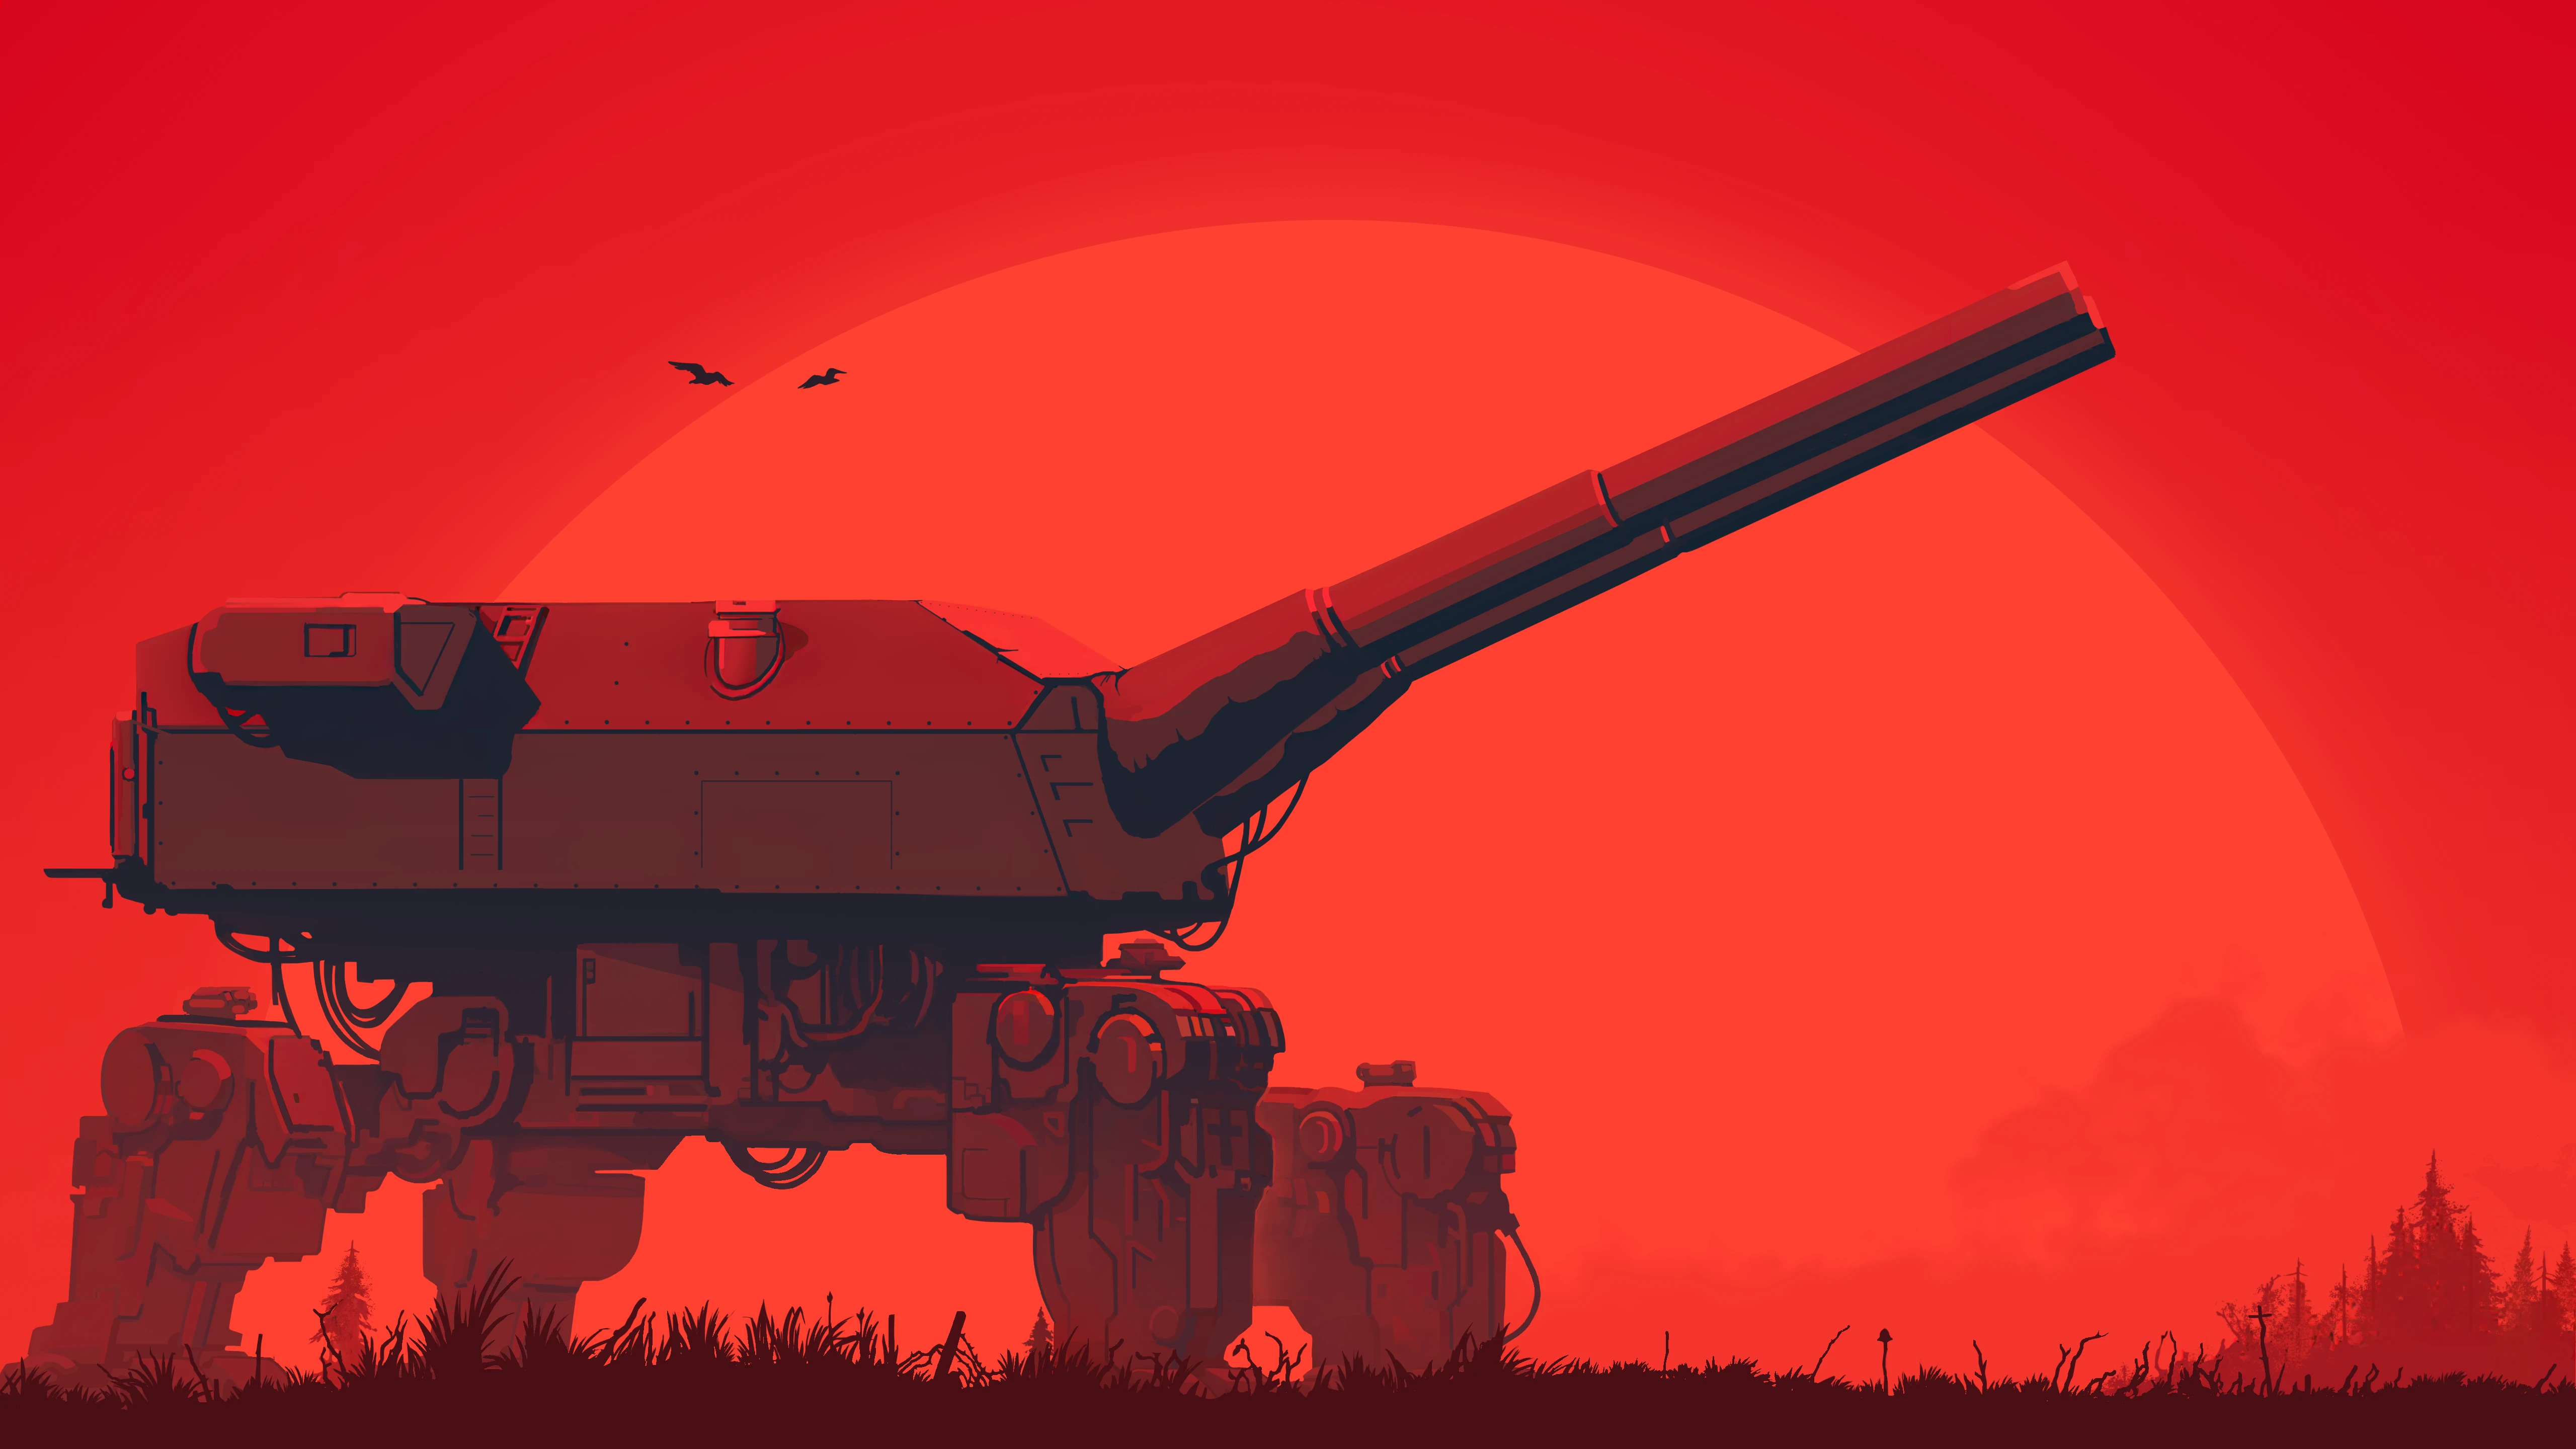
Official resources: Steam store page · IGN game page · Official site
The Core Loop: "Read, Measure, Calculate, Load, Rotate, Elevate, Fire"
Every engagement in IRON NEST follows one loop, taught by the very first mission (Calibration Fire):
- Read — a teleprinter rattles out an order: coordinates, target type, priority.
- Measure — at the map table, plot the target. The battlefield is a lettered/numbered grid; each major square is 1,000×1,000 m, subdivided into 100 m sub-grids (0,0 to 9,9). More precise coordinates = more accurate shells.
- Calculate — feed range and bearing into the ballistic calculator; it grinds out a firing solution (elevation + propellant charge).
- Load — pick a shell type, load the breech (left/right loaders).
- Rotate — swing the turret to the target bearing. The machine is heavy — it takes time. Use that time for the next task.
- Elevate — haul the elevation wheel to match the solution.
- Fire — pull the trigger. Thousands of tons answer. Then the aerial photo shows what you hit.
IRON NEST punishes sloppy shooting (limited shells, requisition costs, collateral damage). A slow, measured shot that lands beats three rushed ones that don't. The game is deliberately methodical — that's the point.
Every Station in the Turret
Your "cockpit" has a handful of stations, and the opening missions introduce them one at a time:
| Station | What it does |
|---|---|
| Map table | The heart of everything: plot targets, draw bearing lines, measure distances, mark positions with the drafting compass and coloured pencils |
| Orders teleprinter | High Command's top-priority directives (often with target photos) |
| Spotter teleprinter | Direct calls from frontline observers ("five kilometres northeast") |
| Ballistic calculator | Turns range + bearing into elevation + charge — you set the numbers it gives you |
| Requisition station | Buy shells, powder charges, reconnaissance and relocations |
| Gun controls | Loaders (left/right), rotation lever, elevation wheel, fire trigger |
| Coffee machine & record player | The downtime systems — genuinely useful for pacing yourself |
Intel comes from two places (this trips up new players): if it's drawn on a photo, it came from HQ; if it's typed text, it came from a forward observer. Missions mix both — some only give you one kind.
Requisition, Shells & Powder — the Beginner Economy
- Requisition points are your currency. Missions cost requisition to deploy (missions 3+ charge you), and everything in the nest is bought with them.
- Powder charges are consumed on every shot. One pack costs 4 requisition and adds 20 charges.
- Shells are bought per type at the requisition station — don't buy exotic shells early; HE and AP cover the first missions.
- Recon aircraft reveal hidden battlefield areas — prepare a flight card (start square + direction) and the plane reveals everything along its route. Worth the spend on the harder missions.
- Star targets (marked priority targets) award extra requisition — the more you destroy, the more you can afford to keep firing.
Missions from Liberation onward charge 150–500 requisition to deploy. If you burn everything on fancy shells early, you'll stall later. Bank what you can; the campaign grind is real (see our missions guide for the cost table).
Your First Missions, Decoded
The campaign opens with three tutorial missions (Calibration Fire → Fire & Light → Liberation), then the real campaign begins:
- Calibration Fire — one target, confirm accuracy. Teaches plot → range → fire.
- Fire & Light — a few targets, teaches pacing and re-plotting.
- Liberation (first real tutorial) — introduces requisition, multiple target types and the pressure of friendly-fire discipline (don't shell your own side).
- Mission 4+ — counter-battery (enemy artillery hunting you), the Iron Road, the Siege of Cartagena, the Gorge, Gibraltar, and the deep missions (Blind Fire, Dead Reckoning, Phantom Battery).
Each mission adds exactly one new system — the difficulty curve is fair if you engage with the tutorials instead of skipping ahead.
Beginner Mistakes to Avoid
- Firing before measuring. The #1 wasted-shell cause. Measure twice, fire once.
- Buying exotic shells too early. HE and AP carry the first half of the game. Chemical/leaflet shells are niche tools, not daily drivers.
- Ignoring the spotters. The second teleprinter isn't decoration — observer intel is how you find hidden targets and earn the "kills without recon" medal bonuses.
- Standing idle during rotation. The turret swings slowly on purpose — plot the next target while it turns.
- Panicking under counter-battery fire. Counter-Battery missions have a timer — but they also teach you to work the loop faster, not to skip steps.
The demo (free on Steam) includes the full tutorial mission — if you can land the calibration shot, you can play the whole game. The difficulty is in mastery (gold medals, later missions), not in understanding the basics.
Frequently Asked Questions
How do I play IRON NEST?
Follow the loop: read orders → plot the target on the map → calculate the firing solution → load → rotate → elevate → fire. The opening missions teach each step.
What do I do in my first mission?
Calibration Fire: plot the target coordinates, calculate, load HE, rotate/elevate, fire. Confirm the shot, done — then the campaign opens up.
How does requisition work in IRON NEST?
Requisition is the currency for deploying missions and buying shells/powder/recon. Missions 3+ cost 150–500 to deploy; star targets pay bonus requisition.
What shells should a beginner use?
HE (high explosive) and AP (armor-piercing) cover the early game. Add smoke for covering friendlies and recon tools for hidden targets. Save chemical/leaflet shells for specific missions.
Is IRON NEST hard to learn?
No — the tutorial missions teach everything, and the free demo is a perfect test. Mastery (gold medals, late missions) is the real challenge.
Related Guides
- IRON NEST Achievements & Medals Guide — 33 Steam Achievements + Every Gold Medal
- IRON NEST Dead Reckoning — Mission 9 Walkthrough & Tear Shell Strategy
- IRON NEST Walkthrough — Mission 2, 3 & Dead Reckoning
- IRON NEST Missions Guide: All 15 Campaign Missions
- IRON NEST on Steam Deck — Best Settings & Compatibility
More IRON NEST: Heavy Turret Simulator Guides
How long it takes to beat IRON NEST: the 15-mission campaign, endings, challenge modes, medals, and playtime for 100% completion — plus what slows you down.
IRON NEST platforms explained: PC-only on Steam, GOG and Epic, no Xbox/PS5 version yet, Steam Deck Verified status, cloud saves, and cross-store differences.
An honest IRON NEST review: gameplay, moral-choice storytelling, how it compares to PVKK, who it's for, community reception, and whether it's worth $19.99.
Where IRON NEST stores saves (AppData\LocalLow\IronNestTeam\IronNest), Steam Cloud backup, transferring progress, and fixing the Patch 1.0 save corruption bug.
IRON NEST music explained: the record player on your desk, the military-march style, whether an official OST exists, and how to play vinyl in the turret.
How IRON NEST runs on Steam Deck: ProtonDB Platinum status, best settings (TDP, FSR, resolution), battery life, controller support, and known issues.
IRON NEST: Heavy Turret Simulator minimum and recommended system requirements, download size, Steam Deck support, and laptop/iGPU tips — can your PC run it?
Every IRON NEST patch so far (Patch 1.0 fixes), update cadence, the 200,000-player launch, and the roadmap — what's confirmed coming to the heavy turret sim.