Rubinite walkthrough: the full main-line route — Monastery hub loop, boss-by-boss strategy from The Beast to Witch Alcina, and the True Difficulty second route.
Rubinite Walkthrough — Full Main Route & Every Boss Fight
Rubinite is a boss rush, which means the walkthrough is the game: a fixed chain of Blood Recipient fights, stitched together by returns to the Monastery. This is the complete main-line route — every destination, what unlocks between fights, and the strategy that actually beats each boss, from the tutorial Bound Man to the real Witch Alcina on the post-game route. Spoilers follow on purpose; you came to a walkthrough.
Here's what you'll learn:
- How the campaign is structured (destination → boss → back to the Monastery)
- The Monastery loop: what to do between every fight and what you unlock
- Act-by-act strategy for all ten main-line bosses
- The final Witch Alcina fight, phase by phase
- What the True Difficulty route changes and how the walkthrough continues
Official resources: Steam store page · Official site — Cup Dog Games · IGN game page · Steam community hub
How the Campaign Is Structured: Boss, Return, Upgrade
Rubinite never sends you on a dungeon crawl. The main route is a map of eleven destination arenas, each holding one Blood Recipient (the final Witch Alcina fight makes ten named fights plus the tutorial Bound Man). Between destinations you always return to the Monastery, the hub where Roy, Wichiwi, the skill tree and your talisman collection live.
The rhythm that wins the game is: fight → return → spend → explore → fight again. After every single boss kill, new rooms, memories, chests and Wichiwi crafts open up inside the Monastery, and several of them gate the true ending prerequisites. If you only ever run destination to destination, you fight under-upgraded and lock yourself out of story content.
Never leave the Monastery without checking for new rooms after a boss kill. The game expects you to: Meditation (boss rematches), the Belfry Key, the Mirror Room and the Abbot's Office all appear only after specific boss clears. The beginners guide covers the base hub routine in detail.
Act 1: Tutorial, Awakening and The Beast
The Bound Man (tutorial). You start in a white space with Roy. The tutorial has you dodge three attacks, land five light attacks, then learn Focus: hold the aim on the enemy, stack Pure Blood Marks (cap 3), and release a Critical Thrust close to the boss. Accumulate five Marks total, then kill the training enemy with everything you've learned. That's the entire combat core of the game in one scene.
Awakening. Ruby wakes, meets Roy and Wichiwi, and receives the Talisman Satchel. Wichiwi's shop reveals the two currencies: Impure Crystals (boss kills only) and Blood Dust (fights and arena objects). Exit to the map and pick the Western Frontier — your first real fight.
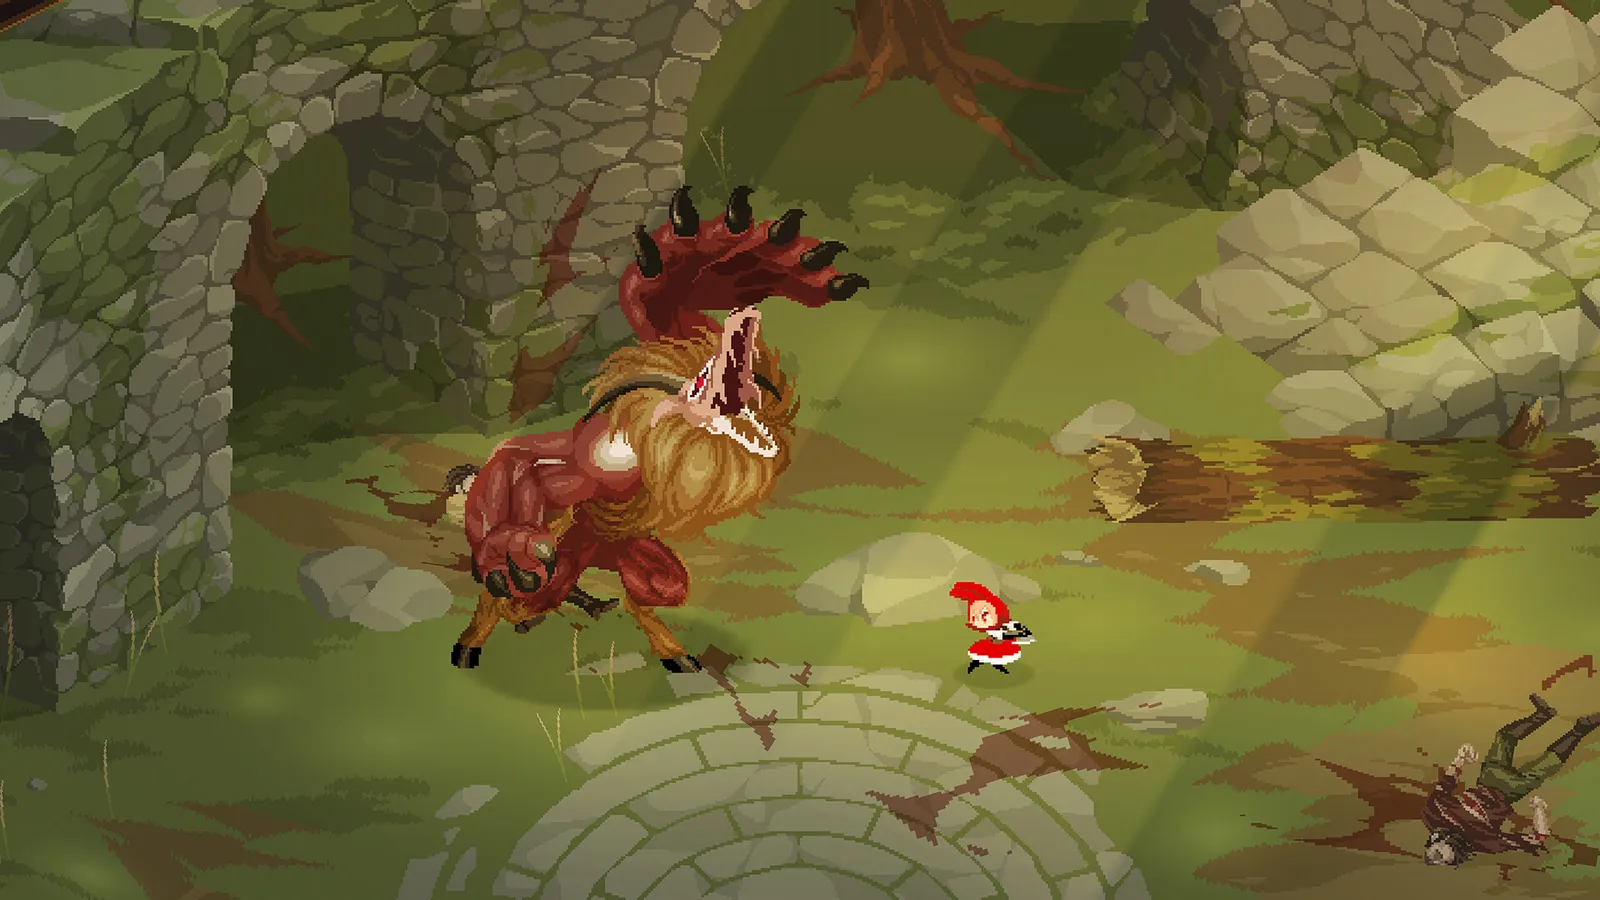
The Beast. The four-armed wall that teaches you the loop. He opens with three tackles, then settles into a two-swing melee combo whose second hit can become a stone throw. Dodge the combo, step in, and Focus while he recovers. Past half HP he summons ground spikes (marked white circles — stop Focusing and move), and the stone throw becomes a double. The whole fight is a test: can you read, dodge, Focus and spend without mashing? The execution prompt after victory pays an Impure Crystal and a pile of Blood Dust.
Undying (Monastery). Roy asks you to deliver soup to the basement — the Bound Man again, immortal, your practice dummy. A new path right of the Goddess statue leads to Wichiwi and a chest with the Damaged White Talisman; damaged talismans given to Wichiwi add new crafts to his shop.
Per the official Steam description, "Ruby's blade alone will barely wound them. Find their weak points, drive the lethal strike home, and make it out alive." Normal slashes are pokes; Marks are your damage.
Act 2: Guardian Faye and the Two Counter Skills
Guardian Faye (first fight, Great Capital Bridge). The demo's second boss and the game's rhythm duel. She summons two floating swords that strike three times, her melee is deliberately delayed, and she glows purple before her grab. Past 50% she summons four swords and teleports between them — the sword she'll jump to twitches first, so defend while the swords are up. Crucially, Faye survives this fight: she interrupts the execution and escapes, which is why the "Repelled the Guardian" achievement is far more common than "Defeated Faye" (see the achievements guide).
Back at the Monastery: the two skills you actually need. Roy unlocks the skill tree; take Explosive Strike early, it stays relevant all game. Then learn the two counter skills the demo couldn't show:
- Darts — Focus + dart button (hold to charge a spread). This is the answer to red-flash aerial attacks that a dodge can't cleanly beat.
- Sunder Slash — Focus + attack as a grab is about to connect (grab = purple glow). Success stuns the boss and grants a Mark.
Fights from here forward chain these three defensive answers (dodge / dart / Sunder Slash) back to back, so "just dodge everything" stops working. Full timing is in the Focus system guide and Perfect Dodge guide.
Act 3: The Four Mana Sources (Order Matters)
After Faye, Roy explains the four Mana Sources — two north, two south — that unlock the Capital gate. All four are comparable except one, which is the game's biggest mid-game wall. Community-consensus order:
- Dual Cultists (North, Ashfrost Hamlet) — the bird-headed Priest throws up a smaller flying cultist that shares its HP. Focus the small one, Strike it when it enters the arena, and stay clear of the tornadoes the big one launches.
- Gravekeeper (South, Hallowed Rest) — a mace-heavy melee fight. Destroy the three poison blobs on its third combo swing (light attack pops them; left alone they explode into poison clouds), dart the jump attack, and ignore the clones — they vanish after one thrust.
- Martyred Angel (North) — the egg fight. Pre-stack Focus on the egg before it hatches (Marks carry over), then kick the egg into the arena's lava. The shell guards the boss; when it glows red and hops, dodge the shell pieces. At ~30% it returns to egg form — kick it into lava again. Phase 2 adds a grab and, later, a ring of fire around the egg you must dash over.
- Plaguebearer (South, Capital Sewers) — save this for last. It's the longest wall in the game: one community run logged ~56 minutes and nearly 100 deaths on it. You can only Focus the red part of its long body; when it coils in the middle, stand inside the coil as the safe spot; when it splits, kill the smaller segment first — kill the big one with the small one alive and you'll face three small Plaguebearers at once.
The fight demands strong base Slash damage, more talisman capacity, a fast-recovery Strike and poison answers — all things you farm from the other three Mana Sources first. The boss order guide breaks down every encounter's weakness table.
Monastery interludes between Mana Sources (this is where the walkthrough's "check every room" rule pays):
- After the 1st kill: Meditation unlocks (Roy, beside the Goddess statue) — boss rematches that also pay Blood Dust.
- After the 2nd kill: the Courtyard memory (south of the Dining Hall).
- After the 3rd kill: the Mirror Room (south exit of the Library) — a puzzle where reflections have truth rules; break the mirrors in the order Yellow → Blue → Green → Green to escape.
- After the 4th kill: the Abbot's Office — a crossbow and a memory of the Witch's ruthlessness. Also grab the Belfry Key from the Library table whenever you're there.
Act 4: The Capital Push (Faye Rematch, Ghost, Roy)
Guardian Faye (rematch, Capital gate). Two health bars, six swords, and her aggression dialed up. She teleports far more, adds a homing purple orb grab (deflect it with Sunder Slash — it paralyzes on contact), and below the first bar she gains a red-flash jump (dart it) and flower fields that grow around her swords and explode — never stand near a sword. This is the game's aggression check; the perfect dodge guide has the practice plan.
Overslept. Ruby wakes after two days; Roy has gone ahead into the Capital. Wichiwi sends you after him.
The Ghost (The Capital). You beat Grant the Knight first, then the Ghost proper. It vanishes constantly — leaving a Focus Mark on it lets you track its position. When it possesses a knight corpse, the Ghost takes no damage but killing that knight damages it; kill possessed knights fast. Phase 2 sets the arena on fire and the knights drop purple flames — one burn and you redo the fight.
Hatchiwi. Back at the Monastery, Wichiwi reveals the Witch is after the Rubinite, which appears under tomorrow's Bloodmoon, and gifts you Hatchiwi — a talisman that deals constant damage and stays useful through the finale. The party leaves the Monastery for good.
Roy the Hunter (Capital Walls). The emotional gut-punch. Focus is sealed for the first half — you fight pure spacing and timing against his three-hit combo, smoke bombs that break your Focus sight, and floating spinning knives. Phase 2 adds distance daggers and a charged two-pillar Strike you dodge precisely. Beat him and you get his story; Wichiwi camps outside the castle as your last shop.
The Final Fight: Witch Alcina, Weapon by Weapon
Alcina cycles weapons, and each one has a correct answer:
- Sword (instant, used constantly) — Perfect Dodge both hits; this is your best Mark source.
- Scythe (delayed, thrown and recalled) — dodge the delay, don't pre-roll.
- Purple orbs (three summoned around you) — hit Alcina while an orb lines up between you to destroy it.
- Grab hand (summoned) — Sunder Slash it on contact.
- Finger snap — dodge on the snap, not the wind-up.
Phase 2 is where positioning becomes everything: Alcina teleports and raises a circle of black flames. She fires three spears, then the arena-wide flames close in — the inside of the black flame circle is the only safe zone, so move with it. When the morning star appears, she does one melee swing then a red-flash jump — dart it. Hatchiwi chips her down while you focus on movement. The first-route fight has two major phases; the credits roll and the game hands you "Maybe the End."
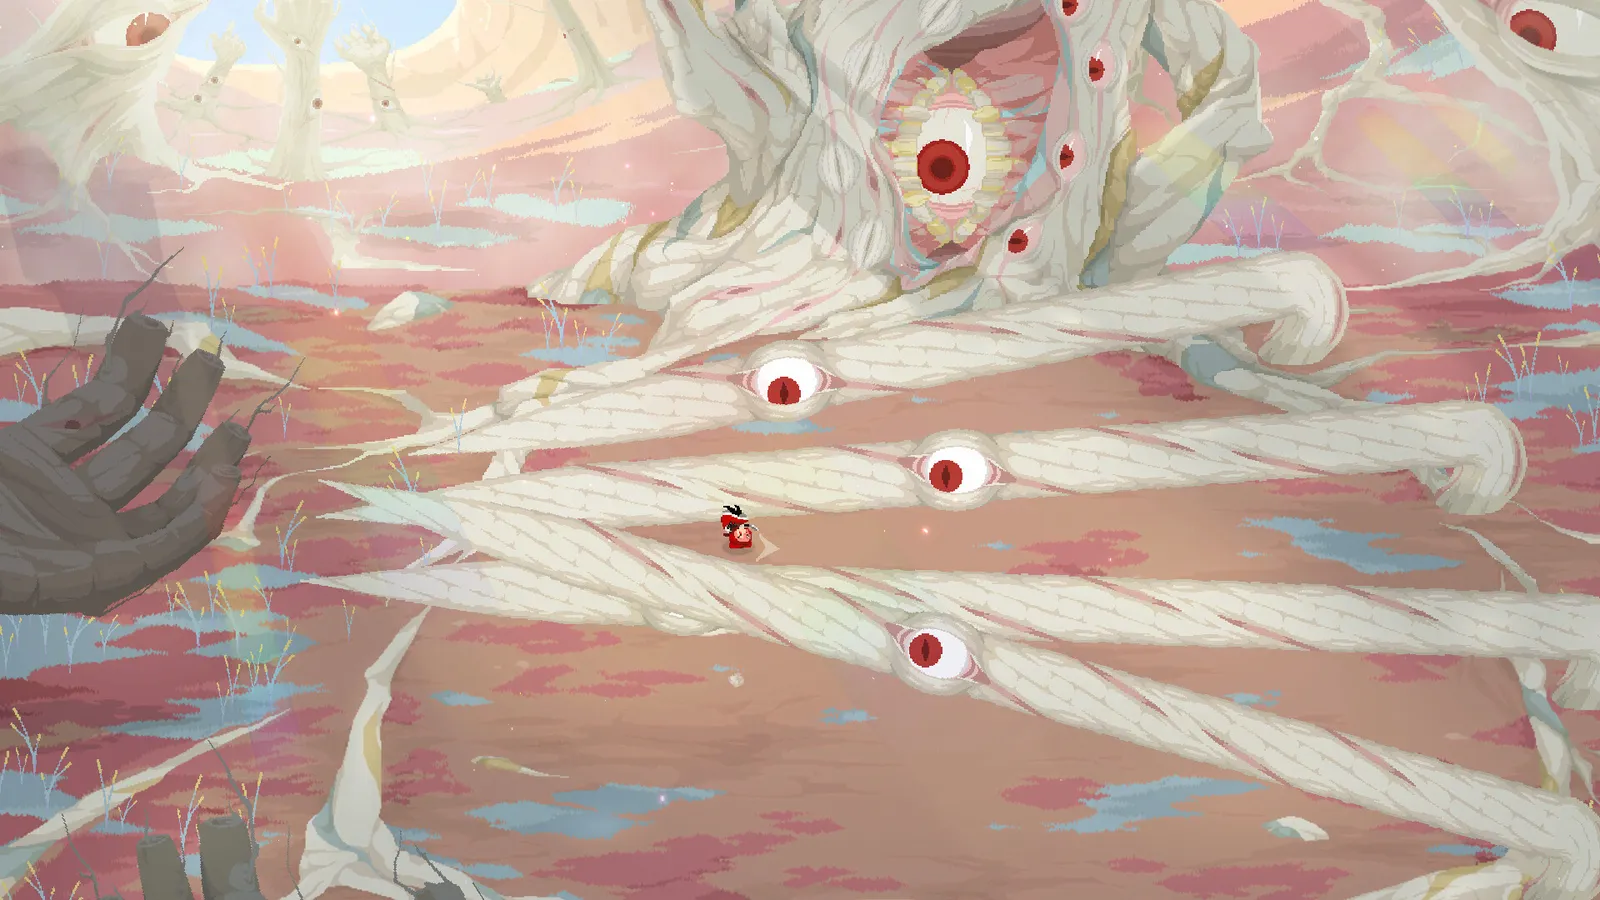
That is not the final boss. Reload the same save after the credits, and in the White Space a figure tells you everything was an illusion — choose to wake. That triggers the True Difficulty route: hidden boss health bars, restricted healing, single-hit death, and the real Alcina. The full sequence is in the true ending guide.
The True Difficulty Route (Post-Credits)
The second route replays the campaign with the changes above, plus new content layered in: Mira's event chain (Phantom Door memories; her talisman blocks one hit), the Red-Eyed Tree (its root lets you save Roy at his second encounter — impossible on the first route), the Puppet Master (true-route-only boss), and the real three-phase Witch Alcina. During the final sequence you obtain the five-slot Rubinite, which sets your Mark cap to infinite — stack freely and spend hard. Expect roughly 4 hours 20 minutes for the first route (community figure), with the true route a full second playthrough; the how long to beat guide has the full breakdown.
FAQ
How long is the Rubinite main route?
The first route runs roughly 4 hours 20 minutes (community figure), and the True Difficulty second route is a full playthrough with extra bosses — around 9-10 hours combined. See the how long to beat guide for the full breakdown.
What is the correct walkthrough order in Rubinite?
Tutorial → The Beast → Guardian Faye (repelled) → four Mana Sources (Dual Cultists, Gravekeeper, Martyred Angel, Plaguebearer last) → Faye rematch → The Ghost → Roy the Hunter → Witch Alcina. Return to the Monastery after every boss and explore new rooms.
When should I return to the Monastery in Rubinite?
After every boss kill. New rooms, memories, chests and Wichiwi crafts unlock after each clear — Meditation after the first Mana Source, the Belfry Key and Mirror Room after later kills. Skipping return trips means missing true-ending prerequisites.
How do I beat the final boss Witch Alcina?
Perfect Dodge her instant sword attacks for Marks, dodge the delayed scythe, Sunder Slash the grab hand, dodge on her finger snap, and in phase 2 stay inside the black flame circle as the only safe zone while Hatchiwi chips her down.
What happens after the credits in Rubinite?
Ruby sleeps in the White Space. Reload the same save, choose to wake, and the True Difficulty route begins: hidden health bars, restricted healing, single-hit death, new bosses (Red-Eyed Tree, Puppet Master), the chance to save Roy, and the real three-phase Alcina fight.
Related Guides
- Rubinite Boss Order — Full Boss List & Recommended Sequence
- Rubinite True Ending — How to Unlock It & Save Roy
- Rubinite Achievements — Full List & How to Unlock All 38
- Rubinite Talismans — Full List & Crafting Guide (2026)
- Rubinite Characters — Ruby, Roy, Wichiwi & Alcina (2026)
Last updated: August 14, 2026. Mid-route memory puzzle details are consolidated from the community walkthroughs listed in the sources file; the Mirror Room mirror order (Yellow → Blue → Green → Green) is from a single walkthrough and marked accordingly.
More Rubinite Guides
Rubinite talismans: how Wichiwi crafts them from Blood Dust, confirmed talismans (Broken White, Hatchiwi, Mira's Shadow) and crafting priorities.
Rubinite true ending: beat Alcina, reload the same save, choose to wake up in the White Space, survive True Difficulty, and save Roy via the Red-Eyed Tree.