Sephiria walkthrough: chapter-by-chapter route through all 6 chapters, every boss fight strategy with HP values, and how the story ends.
Sephiria Walkthrough — 6 Chapters, Every Boss & the Ending
Sephiria's story spans 6 chapters across five recurring stages (Mole Base, Grassland, Library, Wasteland, Root Cave) plus a final Chapter 6 sequence, with boss rosters that change depending on how far into the story you are — the official Steam page advertises 10+ unique bosses and 60+ enemies. The ending unlocks after you defeat the final boss and watch the credits. This walkthrough covers the chapter-by-chapter priorities, every boss's health and attack patterns, the strategies that work, and how the run loop fits together — including the boss HP values compiled in the community bosses database.
How a Sephiria Run Is Structured
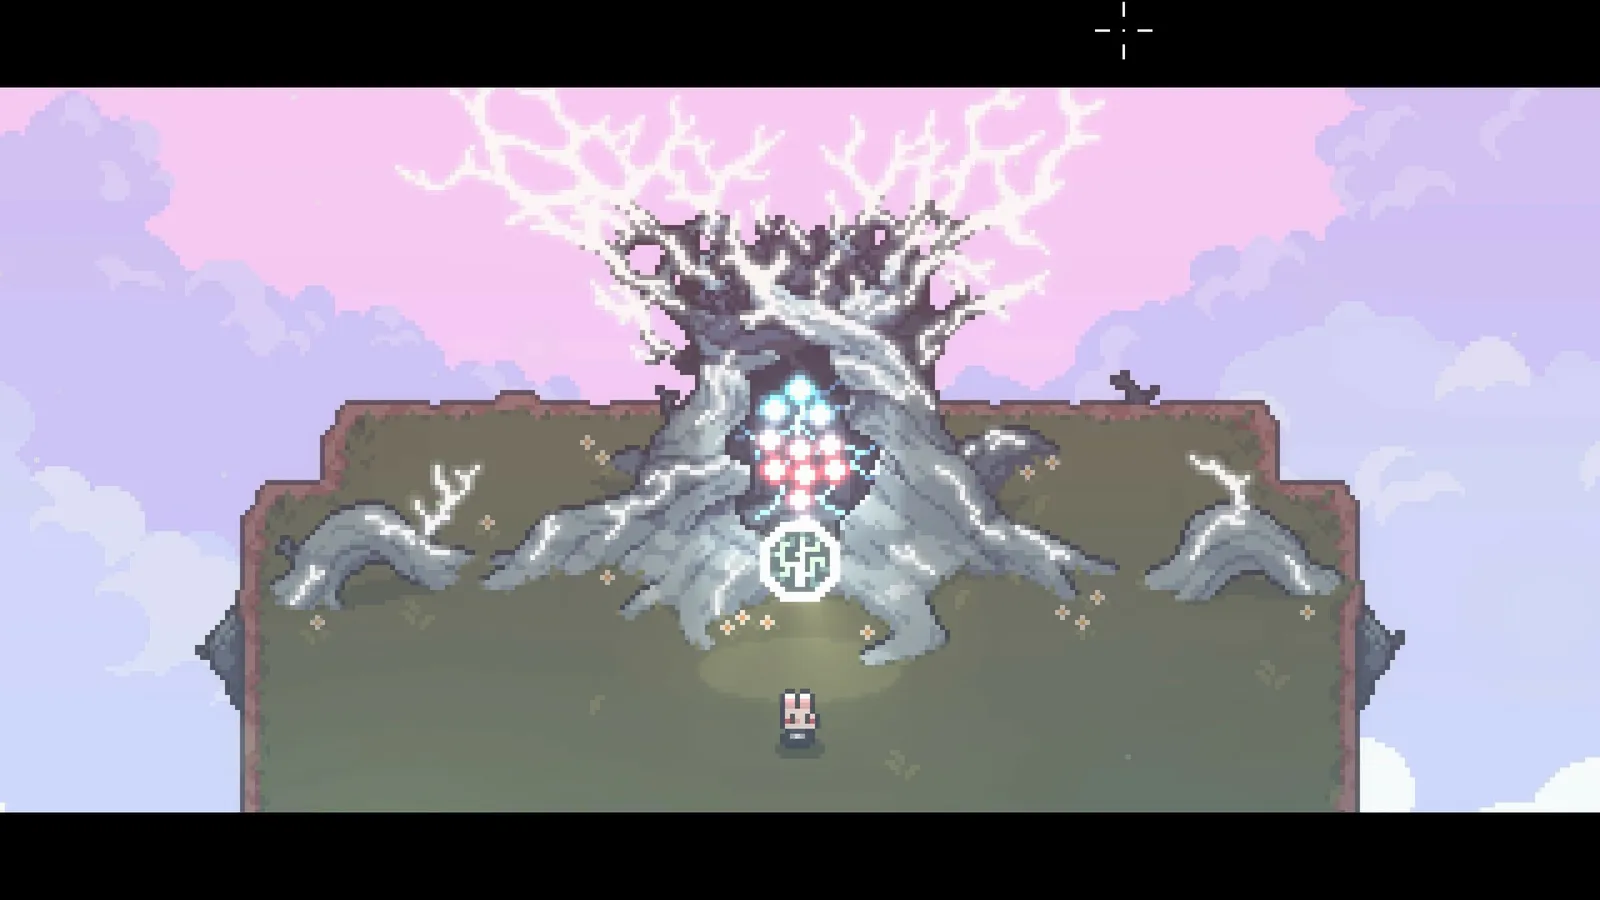
Every run: hub village → pick weapon → descend floor by floor. Each floor is a starting room (with a fixed shop and training doll from floor 2 onward) → three path choices → boss room. Clear the floor boss to descend, collect Sapphires on death to fund permanent upgrades, and repeat until the story progresses.
The main guide covers the node vocabulary (artifacts, tablets, anvils, hearts, shops, Tree Roots). This walkthrough focuses on the chapter checkpoints and the fights.
Chapter 1 — Learn the Run Loop
Your goal: survive, learn the telegraphs, and repair the house. Take a clear weapon identity (Sword & Shield or Greatsword are the friendliest) and don't chase a rare combo before you have one dependable damage source and one defensive option. At the first boss, prioritize survival over a perfect board — spend a clean clear learning the pattern rather than burning all resources on a reroll.
Chapter 1 bosses:
| Boss | HP | Notes |
|---|---|---|
| Blackhand Mogdi | 3,300 (1,650 per phase) | Stage 1 mole chief; Phase 2 after the first bar drops. |
| Lataka (Marauder Leader) | 4,661 (def 18) | Stage 2; bullet-hell patterns, the classic melee wall. |
| Erma, Crazy Scientist | 14,697 (golem 4,573/phase; Erma 326) | Stage 3 golem pilot, 3 phases; see below. |
| Ascard, Cult Leader | 11,840 (def 66) | Stage 4, the final boss of Chapters 1 and 2. |
Chapter 2 — Stabilize Weapon and Tablet Choices
By Chapter 2 the basic loop is familiar, so start protecting a core Artifact cluster. Read each Tablet's adjacency rule before placing, keep one flexible cell, and don't rearrange the board mid-pattern. Chapter 2 also introduces replacement bosses — variants that randomly replace the standard roster:
- Ordner (3,000 HP, Stage 1) — explosive patterns with long bomb delays; his "Crazy Arcade" scatters question-mark bombs that explode horizontally and vertically.
- Lerid, Shadow Sword (3,871 HP, def 18, Stage 2) — the boss version of the Black Panther Assassin mini-boss, with faster chained patterns.
- Pantaxis, Guardian of the Library (6,224 HP, def 46, Stage 3) — invincibility phases, wall-bouncing charges, rotating lasers; freeze or stun interrupts the charge.
She barely moves and has no invincibility phases. Ranged weapons and magic books have a much easier time — she absorbs all non-targeted skills. Melee: wait for the rock-drop pattern, break in during that window, and never attempt to parry through the concentric barrages. The tier list guide explains why ranged picks are so strong against her.
Chapter 3 — Use the Board as a System
Chapter 3 is where a loosely assembled inventory starts to fall behind a board with deliberate placement. Decide whether the run leans physical, fire, ice, lightning, magic, or companion — then reject rewards that break the plan. Before the Library boss, test your damage on a safe target and confirm your defensive input works under pressure.
Erma, Crazy Scientist (Stage 3) pilots a golem whose head and both hands share one health pool, so wide-area attacks hit multiple parts. Three phases; when the golem dies, Erma pops out and must be damaged. Status ailments are the key: freezing one part freezes all parts, and burns deal triple damage. Her two-handed laser is the hardest pattern — dash when the lasers overlap.
Chapter 4 — Prepare for Harder Patterns
The Wasteland route demands a recovery plan: preserve movement options, keep resources for a shop or emergency upgrade, and value consistent uptime over theoretical maximum damage. Story bosses also appear in Chapter 4: the Prison Warden and Core encounters are flagged in the boss database as story-specific fights. The variant boss pool grows too — Haj, Remnants of Consciousness (4,284 HP, three separate eyes at the top of the field, all three must die; the right eye's bush attack is the most dangerous, so kill it first).
Ascard, Cult Leader remains the chapter-end wall. In Chapter 3 an illusion of Ascard replaces the real fight (laser pattern, no phase distinction); the real Ascard returns in Chapter 5 and again in Chapter 2's endgame phases.
Chapter 5 — Finish the Build Before the Final Checks
Chapter 5 asks whether your build works as a system: confirm the weapon, Artifact family, Tablet placement, and a defensive fallback before the final boss sequence. If a high-value reward appears late, only take it if the new effect doesn't collapse the existing board. This is also where you unlock the Staff — after clearing Chapter 5, buy Graceful Weapon Training (10 Sapphires) and complete Morrow's training.
Stage 5 (Root Cave) bosses:
| Boss | HP | Notes |
|---|---|---|
| Cobes, Qliphoth's Guardian Demon | 14,720 (def 92) | Chapter 3's final boss; teleport attacks, projectile volleys, summoned whirlwinds. |
| Kraz, Qliphoth's Guardian Demon | 20,240 (def 110) | Chapter 4's final boss; tail stabs, charges with afterimages, fan-shaped red pillars. |
| Qliphoth | 23,920 (def 110) | Chapter 5's final boss; bullet-hell difficulty. Defeating it triggers a story sequence where the protagonist's group is annihilated, revealing the boss's true face. |
Chapter 6 — The Final Boss and the Ending
The 1.0 release added the sixth and final chapter with the final boss. The community wiki's final boss guide advises:
- Single-target damage — a room-clearing build can struggle when the boss gives you short damage windows.
- A defensive fallback — keep HP, defense, evasion, guard, or recovery to survive one missed pattern.
- Movement discipline — the boss's Phase 1 radial bullet spread (adjusted in a post-launch patch) punishes panic-dashing; preserve a clear lane and move deliberately.
- Don't change the board during danger — reorganize before the boss room, not while projectiles are active.
After the final boss, the story ends with a ritual to seal Qliphoth's core, the credits roll, and the "Journey's End" achievement marks the finish. For 100% completion, Hard Mode (Root's Retreat) and the story-branching fights add another layer — see the achievements guide for the full checklist, and the secret rooms guide for hidden content you shouldn't skip along the way.
Boss rosters, phases, and even the final boss's patterns change between patches and chapters. The wiki's bosses page tracks replacements per chapter (e.g., Haj replaces Mogdi/Ordner from Chapter 4-2). Check the current patch notes before trusting an old video of any encounter.
Run Recovery Checklist
- Low damage? Stop adding unrelated tags; improve one core effect.
- Cramped board? Preserve the strongest adjacency; leave later rewards alone.
- Boss overwhelming you? Prioritize movement and pattern recognition before rerolling.
- Weapon feels wrong? Test its upgrade route in a safe room before abandoning the run.
FAQ
How many chapters does Sephiria have?
Six. The first five play through recurring stages (Mole Base, Grassland, Library, Wasteland, Root Cave); Chapter 6 is the final sequence added at 1.0 launch.
What are the bosses in Sephiria?
Blackhand Mogdi, Ordner, Haj (Stage 1); Lataka, Lerid (Stage 2); Erma, Pantaxis (Stage 3); Ascard (Stage 4); Cobes, Kraz, Qliphoth (Stage 5); plus the Chapter 6 final boss and story bosses like the Prison Warden and Core.
How do I beat Lataka in Sephiria?
Use a ranged weapon or magic book — she barely moves and has no invincibility phases. Melee players should wait for the rock-drop pattern to close distance and never parry through her concentric bullet rings.
How do I beat the final boss in Sephiria?
Bring single-target damage, a defensive fallback, and movement discipline. The Phase 1 radial bullet spread punishes panic-dashing — preserve a clear lane and move deliberately.
What is the ending of Sephiria?
After defeating the final boss in Chapter 6, you perform a ritual to seal Qliphoth's core, the credits roll, and "Journey's End" unlocks. Hard Mode and story variants extend the content beyond the first ending.
Related guides: Guide · Secret Rooms · Achievements · Weapons · Builds
Last updated: August 13, 2026.
Related Guides
More Sephiria Guides
Sephiria system requirements: Windows and Mac minimum + recommended specs, storage, DirectX, platform support, and Steam Deck compatibility.
Sephiria 1.0 tier list: every weapon ranked (S/A/B), best artifacts and grimoires by role, combo tags, and what the current meta says.
Sephiria weapons guide: Sword & Shield, Greatsword, Dagger, Katana, Crossbow and Staff — full attack stats, upgrade trees, and which weapon to pick.