Complete Big Walk walkthrough: tutorial playground, drawbridge, four towers in order (Red → Green → Blue → Yellow), Black Tower ending, and key unlocks.
Big Walk Walkthrough — Complete Guide to Beating the Game
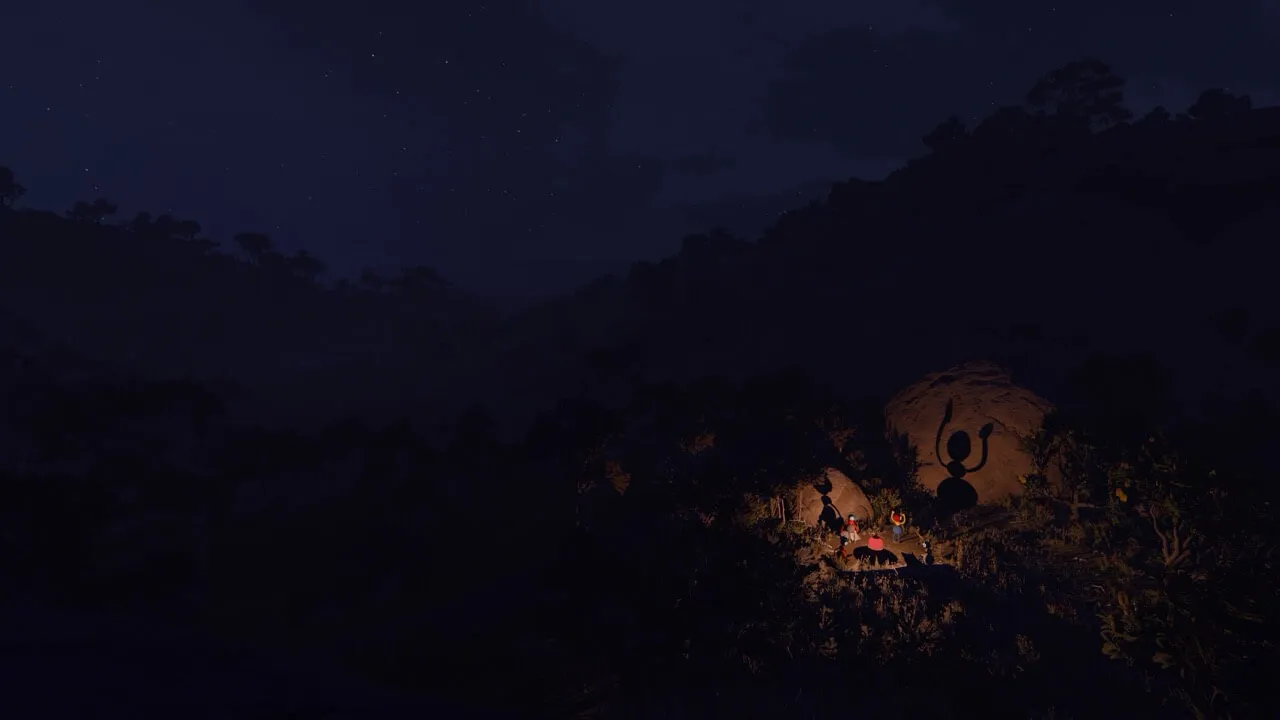
Big Walk is a 2–12 player co-op adventure from House House (the Untitled Goose Game studio), released August 4, 2026 on PC, PS5, Switch 2 and macOS. You and your friends walk through an open-world Australian bushland, solve puzzles to unlock keys, activate transport, and eventually reach the game's ending. Nothing forces a linear path — but there is a natural order, and this walkthrough follows it. The full-game run takes roughly 6–7 hours for a focused group.
Here's what you'll learn:
- The progression loop that runs the whole game (gourds, keys, key cutters)
- The tutorial and how to leave the starting playground
- Every region in order: Drawbridge → Red → Green → Blue → Yellow → Black Tower
- What each key unlocks (map room, chairlift, train, tunnels)
- How the ending works and what the remixed endgame is
Official resources: Steam store page · IGN game page · IGN review · Wikipedia
How Big Walk Progression Works
Every region in Big Walk runs the same loop. Internalize it once and the whole island stops being confusing:
- Solve 4–5 mini-puzzles spread around the area
- Each puzzle rewards a gourd (the pear-shaped collectible — IGN's review called them "red beans")
- Slot all rewards into the area's key machine to pull out a key
- Cut the key into shape at the key cutter pedestals — each cutter points to the next, and the final cutter tells you where the key goes
- The shaped key unlocks the next region or transport
There's no HUD, no quest log, and no map at the start — orientation comes from landmarks, key-cutter arrows, and the world itself.
Big Walk constantly takes away your ability to talk. Before each puzzle room, agree on signals — "one jump means yes, repeated jumps means change it" works across almost every puzzle.
Step 1: The Tutorial (Playground)
You start in a playground-style room that acts as the hub. The tutorial teaches the basics: moving, picking up items, kicking them, sitting on surfaces to slide, and gesturing to friends when you're separated. The controls are pinned up as posters on the walls — worth a look before you head out.
Finish the tutorial puzzles, then walk out into the open world. You'll see the ocean ahead — the drawbridge sits out there, but you can't cross it yet. The map room, the four colored towers and the train are all locked behind keys.
Step 2: The Drawbridge (Starting Area)
The drawbridge unlocks after you solve four puzzles and slot their gourds into the key machine on the beach:
- Blue Room puzzle — one player locked inside reads a pattern; the outside player recreates it on a pegboard
- Green Structure puzzle — all players press their pillar button at the same time (count down out loud; in 2-player mode you'll see two buttons)
- Mechanical Arm puzzle — pick up a friend and stack into a totem pole to reach a high switch
- Cave (Telescope) puzzle — one player holds the telescope button to open a box while another grabs the gourd. Never let go until the gourd is out
Place the four gourds, pull the key, then follow the key cutter chain (three cutters north, two on the beach). The shaped key opens the drawbridge — cross it to reach the rest of the island. You'll pass a locked blue doorway on the way: that's the Map Room, which needs the Red Tower key.
Step 3: Red Tower — Unlocks the Map Room
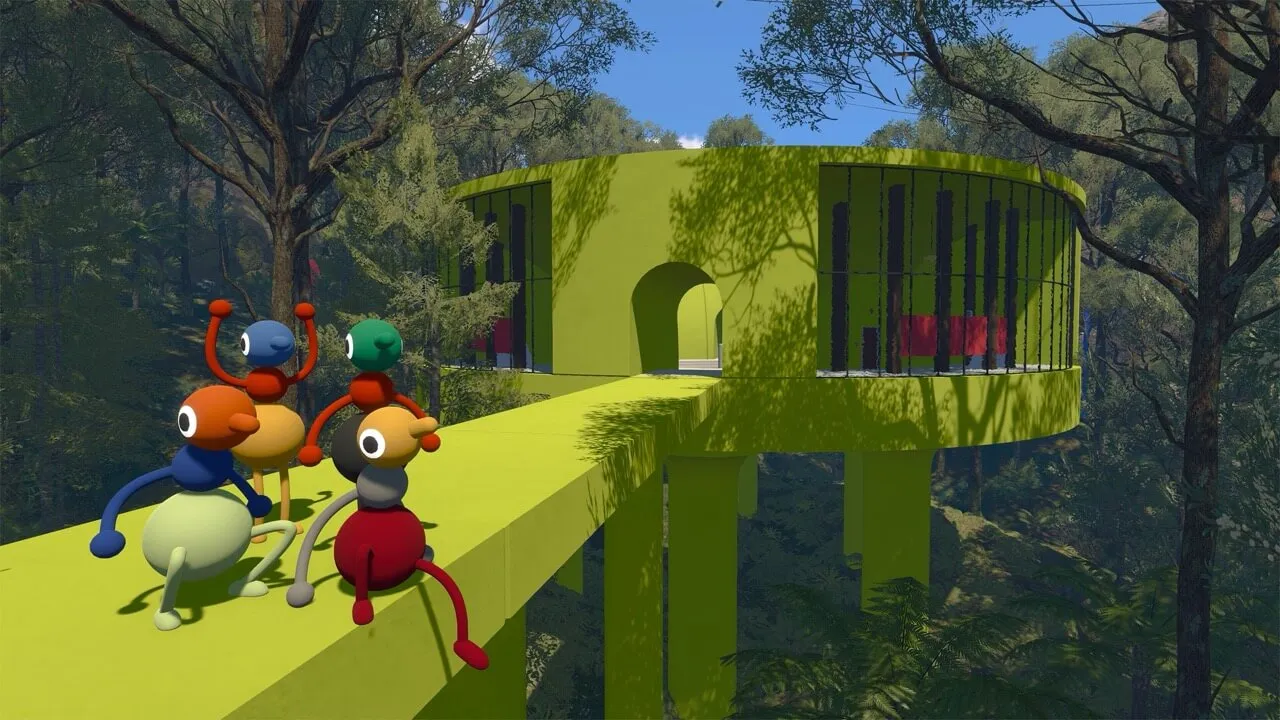
Head up the hill (look for the red key cutter at the base). The Red Tower needs five gourds:
- Green Room puzzle — a locked player calls out symbols while the outside player presses them in sequence
- Yellow Maze puzzle — a timed handoff through a maze; set up the receiver before activating
- Train Station Cannon puzzle — a timed cannon delivery, same handoff principle
- Basketball Court puzzle — score the light-up ball repeatedly until all lights are on (about five scores in a 2-player game)
- Mountain Gesture puzzle — the group copies a sequence of poses together
Reward: the Red Tower key opens the Map Room, where you grab the foldable map. This is the single most important unlock in the game — every coordinate puzzle (including the famous 4166 1899 puzzle) needs it. Don't skip it.
The Green Tower and later areas are full of coordinate-hunting puzzles. Without the foldable map from the Map Room you can't plot where to go.
Step 4: Green Tower — Activates the Chairlift
Past the Red Tower, back where you solved the Timer Cannon puzzle, you'll find the Green Tower. Its five puzzles include:
- The 4166, 1899 coordinate puzzle — plot the numbers on your map and press the button at the rock
- The Orange Barn puzzle — buttons near two doorways unlock the collectible, but you get trapped inside the room; keep one player outside
- The Blue Signal puzzle — a beach-adjacent light/signal mechanic
- The Yellow Stand and Beach House puzzles — the Beach House is a two-building telescope+number communication puzzle
Reward: the Green Tower key activates the chairlift — a fast way to move around the map and a gateway toward the Blue and Yellow areas.
Step 5: Blue Tower — Starts the Train
The Blue Tower sits near the lighthouse. Its five puzzles are the Heavy Ball, Locked Yellow Room, Scaffold House, Color Tile, and Beach Tower puzzles — most follow the locked-room + external-controls communication loop from the starting area.
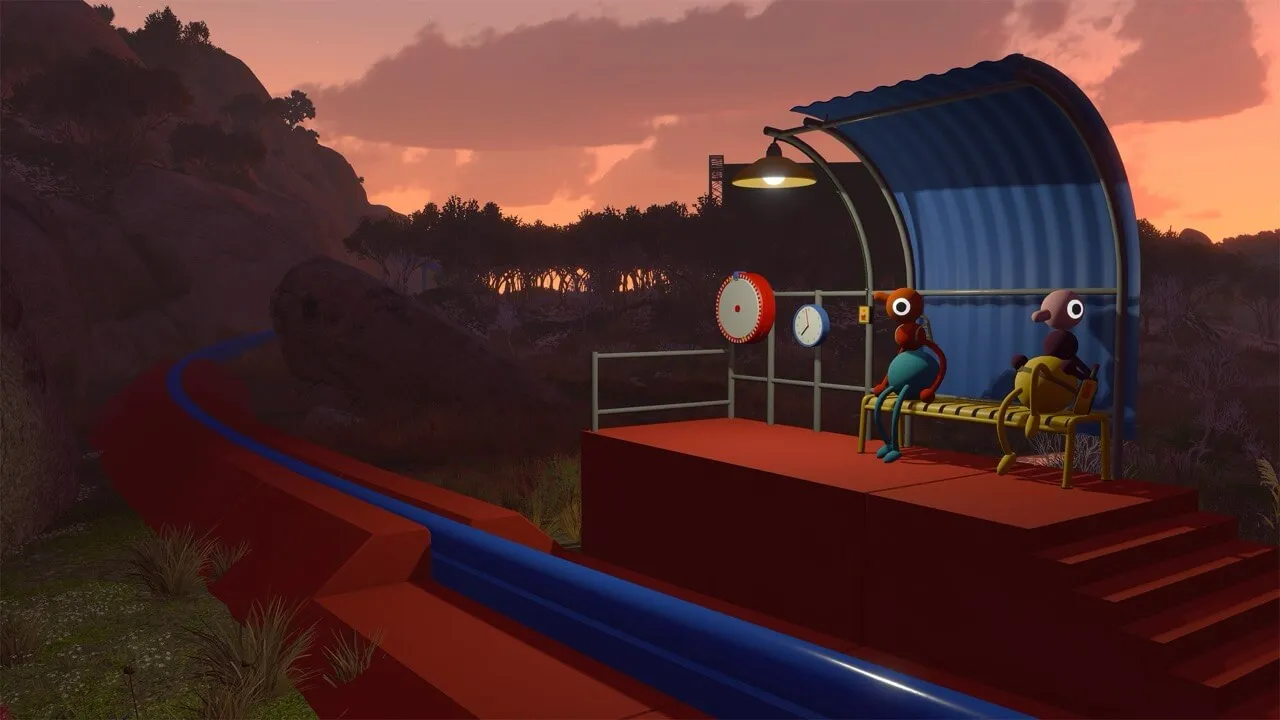
Reward: the Blue Tower key activates the train station. Three trains start looping the map, making the train your main long-distance transport. It also hides access to a secret shiny room near the lighthouse. (The full train chain is covered in the dedicated train guide.)
Step 6: Yellow Tower — Opens the Tunnels
The Yellow Tower is the hardest and last of the four colored towers. Its puzzles include the Five-minute Countdown, Double Blue Telescope, Double-turnstile Pattern House, Green Flare Gun, and Double House Tile puzzles, plus a control-panel set (Easter Egg Hunt, Sound Check, Music Room) that contains its own secrets — including a hidden orange tunnel in the mountain.
Reward: the Yellow Tower key opens the Tunnels — the route toward the game's final area.
Step 7: The Black Tower & Ending
Once you have the Yellow Tower key, take it to the barred wall. This is the point of no return toward the ending — after this the game takes you away from the open world.
- Use the key to unlock the wall and you'll see the destination: a large black sphere in the distance
- Walk to it together and clear the final run of puzzles in the Black Tower area
- The first ending plays — the black sphere sequence is the game's climactic set-piece
- Afterwards, the game offers a remixed endgame: a different arrangement of the island with seven remix challenges and new secrets
Before unlocking the barred wall, make sure you've grabbed the map, collected secret rewards (like the shiny room by the lighthouse), and your whole group is ready — the ending sequence pulls you away from the open world.
Replay Value and the Remixed Endgame
Big Walk is designed to be replayed with a different group size — puzzles scale to 2/3/4 players, and some secrets are only reachable with certain group configurations. The remixed endgame rearranges the island with seven challenges, and the day-night cycle means night play is a genuinely different experience. Progress lives in the host's save, so a recurring weekly group can keep chipping away for weeks.
FAQ
How do you beat Big Walk? Work through the four colored towers in order (Red → Green → Blue → Yellow), use the Yellow key to unlock the barred wall, walk to the black sphere, and clear the final puzzle run to trigger the first ending.
How many towers are in Big Walk? Five main regions: the starting drawbridge area plus four colored towers (Red, Green, Blue, Yellow), then the Black Tower finale.
What is the ending of Big Walk? After the Yellow Tower you unlock the barred wall and walk to a large black sphere; clearing the final puzzles triggers the first ending, followed by a remixed endgame with seven challenges.
What order should you do the towers in? Red first (it unlocks the map room), then Green (chairlift), Blue (train), Yellow (tunnels). Red is strongly recommended first because every coordinate puzzle needs the map.
Is there a point of no return in Big Walk? Yes — the barred wall after the Yellow Tower. Unlocking it starts the ending sequence that takes you away from the open world, so finish your exploring first.
Can you play Big Walk with 2 players? Yes — 2 players is fully supported and the most common way to play. Puzzles scale for 2/3/4-player groups.
Related Guides
- Big Walk Puzzle Solutions — Every Puzzle Solved
- Big Walk Coordinates & Secret Locations
- Big Walk Ending — Both Endings & How to Unlock Them
- Big Walk Controls & Gestures — PC, PS5, Switch 2 Inputs
- Big Walk on Switch 2 — Everything You Need to Know
Last updated: August 12, 2026.