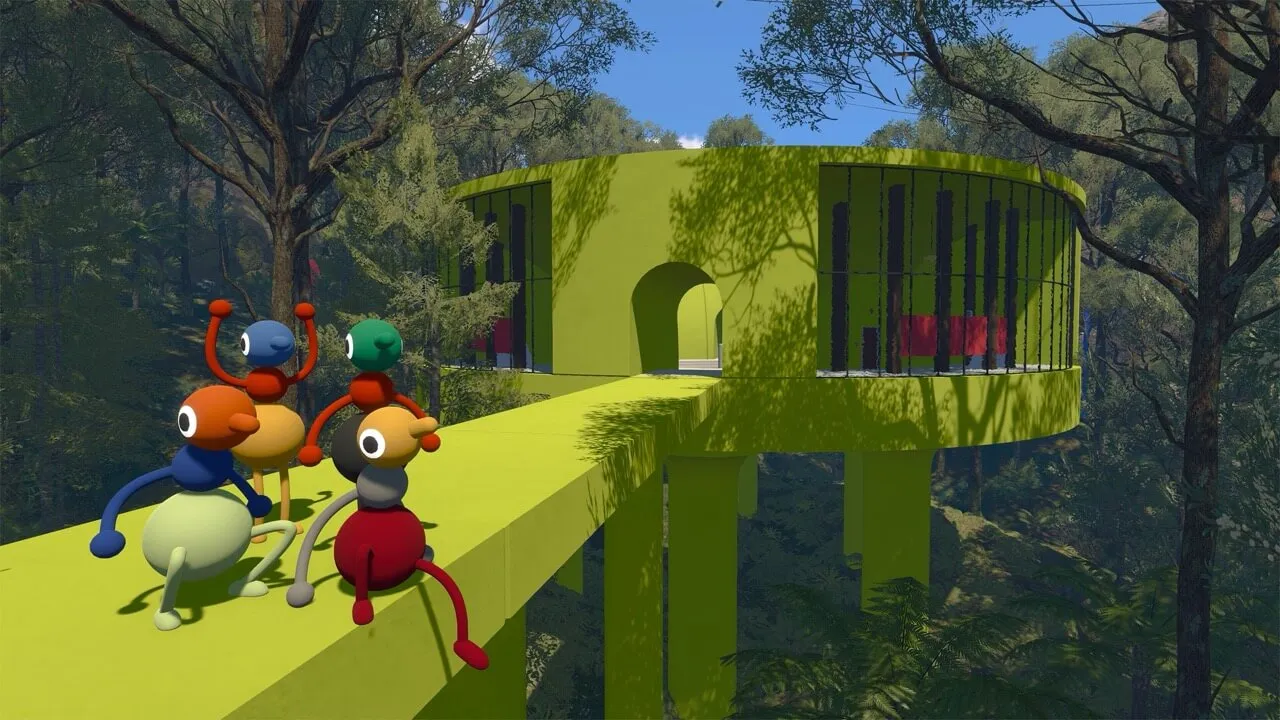
Every Big Walk puzzle solved: four drawbridge puzzles, all five Red Tower puzzles, Green Tower's 4166 1899 coordinate puzzle, and Blue and Yellow Tower sets.
Big Walk Puzzle Solutions — Every Puzzle Solved
Big Walk's puzzles all run on one idea: you can't talk, so you have to build a language. Each area gives you 4–5 mini-puzzles that reward a gourd, and the gourds unlock keys. This guide walks through every puzzle area by area — the solutions hold for 2-player groups (the most common setup), and the game scales the same logic for 3–4 players.
Here's what you'll learn:
- The puzzle formula that repeats across the whole game
- All four drawbridge puzzles, solved
- All five Red Tower puzzles, including the timed maze
- The Green Tower set — including the famous 4166 1899 coordinate puzzle
- Blue and Yellow Tower puzzle lists and the control-panel secrets
- The microphone puzzle (Sound Check) without pulling your hair out
Official resources: Steam store page · IGN game page · IGN review · Wikipedia
How Big Walk Puzzles Work
Every area follows the same loop:
- Solve 4–5 mini-puzzles spread around the area
- Each rewards a gourd (the pear-shaped collectible)
- Slot all gourds into the area's key machine to pull out a key
- Cut the key at the key cutter pedestals — each shows an arrow to the next
- The shaped key unlocks the next area or transport
Two tools matter everywhere: the map room (unlocked after the Red Tower — lets you plot coordinates) and the foldable map inside it. Several puzzles are pure coordinate-hunting, so get the map before exploring far.
Agree on signals before each puzzle: "one jump means yes, repeated jumps means change it" carries you through pegboard, maze, and symbol puzzles alike.
Starting Area: The Drawbridge Puzzles
Four puzzles, in any order. Each rewards one gourd; all four open the drawbridge key machine on the beach.
Blue Room Puzzle
One player gets locked inside the blue room and must call out the pattern shown on the wall. The outside player recreates it using tiles on a pegboard. Once the pegboard matches, the barrier drops and the gourd unlocks. Find the blue room by hugging the left side of the starting path.
Green Structure Puzzle
A green rounded structure with buttons on its pillars — one button per player. Everyone presses at the exact same time to release the gourd. Count down out loud ("3, 2, 1, press!") — timing is everything.
Mechanical Arm Puzzle
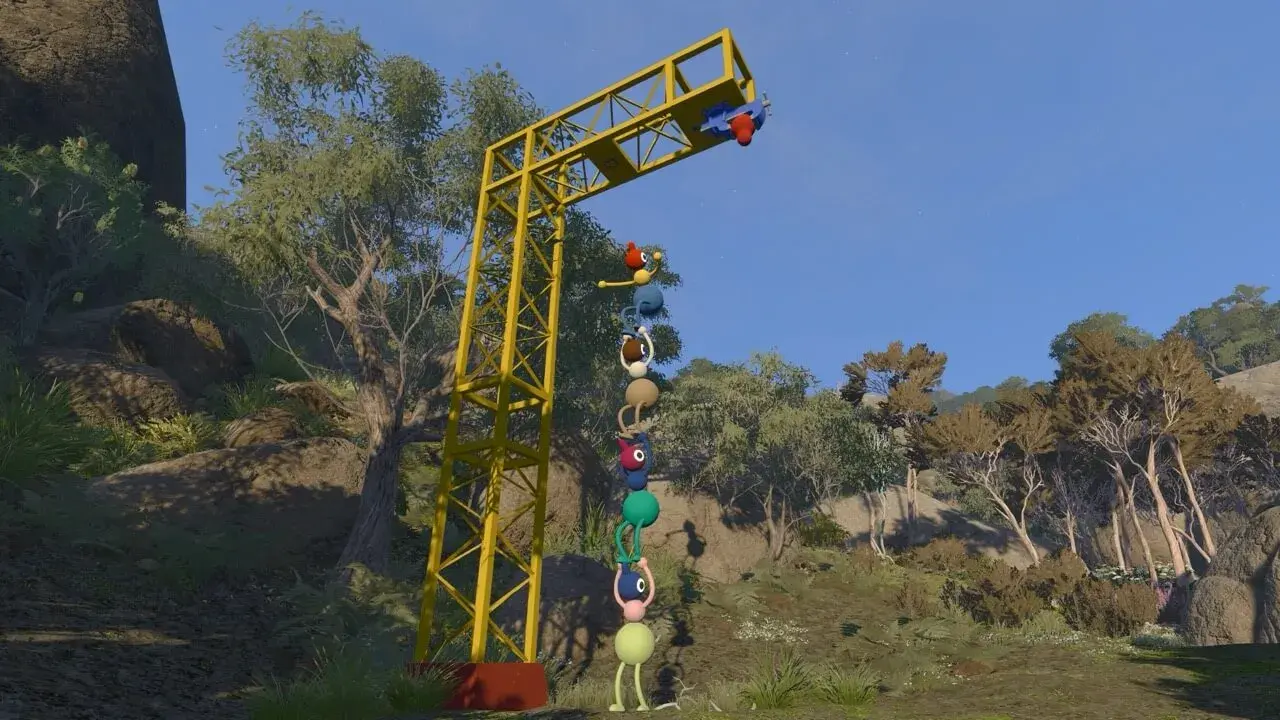
An L-shaped structure with the gourd too high to reach. Pick up another player and stack into a totem pole so the top player can reach the switch. Found at the bottom of the starting path.
Cave Puzzle (Telescope Puzzle)
A sealed box sits among the rocks, with a telescope on a platform to the right. Look through the telescope to spot the box's location, then have one player hold the button at the telescope (this opens the box and lights it up) while another walks over and grabs the gourd. Never let go until the gourd is out.
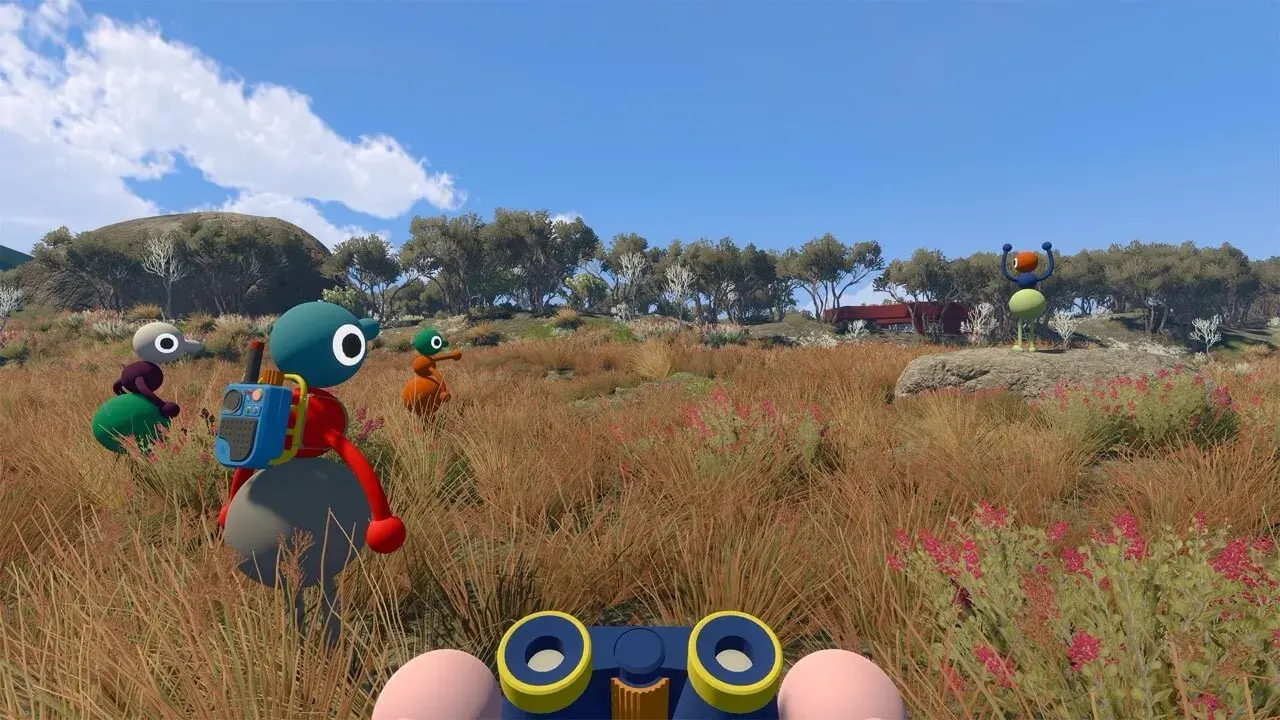
After all four gourds: place them in the beach slots, pull the key, follow the key cutter chain (three cutters north, two on the beach), and the shaped key opens the drawbridge. You'll pass a locked blue doorway on the way — the Map Room, which needs the Red Tower key.
Red Tower Puzzles
Head up the hill (red key cutter at the base). The Red Tower needs five gourds to get the key from the tower roof.
Green Room Puzzle
A locked player with a terminal calls out symbols; the outside player presses the matching symbols in sequence. Agree on callouts before the door closes ("first symbol, third symbol", or describe shapes).
Yellow Maze Puzzle
A timed maze where the active object expires if it stays inside too long. The classic failure is activating before the receiver is in position. Do it as a handoff: one player stays at the activation point, the second walks through the maze to the wall opening and confirms they can see the handoff spot, then activate. If it expires, keep the receiver in place and restart from the activation side.
Train Station Cannon Puzzle
Near the train station; a timed/cannon delivery mechanic. Same handoff principle as the maze — set up the receiving side before firing.
Basketball Court Puzzle
Get the light-up ball into the hoop repeatedly until all lights on the stand are on (roughly five successful scores in a 2-player game). The ball travels forward then drops sharply — repeated max-force throws are worse than keeping one release position and correcting only the height. Have a friend lift you closer if you keep missing.
Mountain Gesture Puzzle
A mountain-side puzzle where the group copies a sequence of poses on the five-pose platforms. One player watches the display and leads; the rest mirror. Keep the confirmed prefix and change only one unconfirmed step at a time.
After all five gourds: grab the key from the tower roof, cut it, and use it to open the Map Room door. Don't skip the map — every coordinate puzzle after this needs it.
Green Tower Puzzles
Past the Red Tower, at the spot where you solved the Timer Cannon puzzle. Five puzzles, including the most famous one in the game.
The 4166, 1899 Puzzle (Coordinate Puzzle) — Full Solution
A gourd sits locked in a box under a sign reading 4166 and 1899. The numbers are map coordinates.
- Complete the Red Tower first and grab the map from the Map Room — it's required
- Plot the point (4166, 1899) on the map — X-axis is longitude, Y-axis is latitude
- The coordinates point to a rock somewhere across the map — walk to it
- Optional: grab the GPS device (a light-blue box showing your current coordinates as two four-digit numbers) just southeast of the Green Tower near the ski lift station — it makes pinpointing much easier
- At the rock you'll find the button that unlocks the gourd box — press it
Some sources list this under the Red Tower and others under the Green Tower; whichever way you find it, the solution is the same: 4166 1899 = coordinates, follow the map.
Orange Barn Puzzle
Press the buttons near the two doorways to unlock the collectible — but you'll get trapped inside the room. The exit opens as part of the puzzle; keep at least one player outside to keep solving.
Blue Signal Puzzle
A beach-adjacent puzzle involving a signal/light mechanic. The exact steps shift with player count — check your group size and adapt the callout system.
Yellow Stand Puzzle
Coordinate-adjacent, uses the map. Part of the Green Tower set.
Beach House Puzzle
One player enters the beach house and activates a switch on the ground floor, then counts the images displayed. Upstairs they use three tile types to communicate the number and press a button to raise a pegboard. The second player, in the other beach building, reads the number through a telescope and enters it to complete the puzzle.
After all five: take the gourds to the top of the Green Tower, get the key, cut it, and use it at the chairlift to activate it.
Blue Tower Puzzles
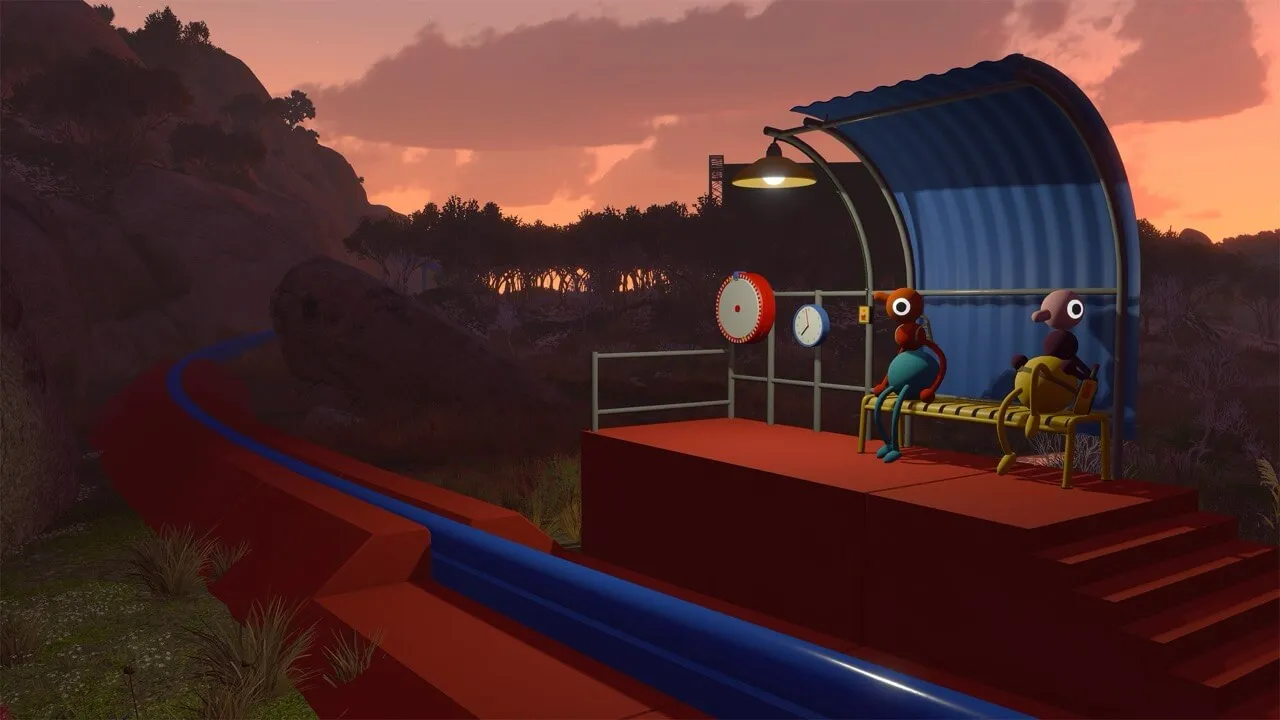
The Blue Tower unlocks the Train Station. Five puzzles from the walkthrough sources:
- Heavy Ball puzzle
- Locked Yellow Room puzzles
- Scaffold House puzzle
- Color Tile puzzle
- Beach Tower puzzle
Most follow the same communication loop as earlier areas — one player in a locked space, another working external controls with visual/tile signals. The general rules from the starting area (pegboard matching, simultaneous switches, telescope+button) carry over directly.
Yellow Tower Puzzles
The Yellow Tower is the hardest area and unlocks the Yellow Tunnel plus a secret area. From the walkthrough and control-panel guides:
- Five-minute Countdown puzzle
- Cliff-side Double Blue Telescope puzzle
- Double-turnstile Pattern House puzzle
- Green Flare Gun puzzle
- Double House Tile puzzle
Yellow Tower map coordinates: the Yellow Tunnel sits at 3500, 1620 (southeast of the tower, across from a blue structure with a backpack); the Yellow Tower itself is at 3310, 1560. Control-panel puzzle locations: Easter Egg Hunt at 3370, 1490, Sound Check at 3400, 1230, Music Room at 3200, 1260. There's a secret orange tunnel in the mountain at the Easter Egg Hunt area — one green puzzle piece is only reachable through it.
The Microphone Puzzle (Sound Check)
This one stumps a lot of groups. A chair with headphones sits on a red platform facing six microphone stands, south of a radio station in the field west of the Yellow Tower.
- One player sits in the chair with the best headphones (any earbuds work) — the seated player hears mics muffled unless someone speaks directly into one
- One speaker at a time walks to a mic and speaks into it — never two at once, it's impossible to tell which mic is live
- The seated player signals what they hear: one arm raised = heard in one ear (speaker moves right), both arms = clear in both ears (correct mic)
- Press the button on the correct mic stand to lock it in, then repeat
- A callout system that works: the speaker says "testing mic 1… mic 2…" in order; the seated player raises their arm once per mic heard
Once every mic has been used once, the puzzle completes. Don't repeat a mic you've already locked in.
The Sound Check is unwinnable if two players talk at the same time — the seated player can't tell which mic is live. One speaker, one mic, one arm signal at a time.
FAQ
How do puzzles work in Big Walk? Every area follows the same loop: solve 4–5 mini-puzzles, each rewards a gourd, slot the gourds into the key machine, cut the key at key cutters, and use it to unlock the next area or transport.
What is the 4166 1899 puzzle in Big Walk? A gourd locked in a box under a sign reading 4166 1899 — the numbers are map coordinates. Plot them on the map from the Map Room, walk to the rock, and press the button to unlock the box.
How do you solve the microphone puzzle in Big Walk? One player sits in the headphone chair, speakers test mics one at a time, the seated player signals with arms (one arm = one ear, both arms = clear), and the group locks in each correct mic stand.
How many puzzles are in Big Walk? Roughly 30+ across the five regions — four drawbridge puzzles, five per colored tower (Red, Green, Blue, Yellow), plus the control-panel set and the final Black Tower run.
Do puzzles change with more players? Yes — the game scales for 2/3/4-player groups with more buttons, more pieces, and higher point targets, but the core logic and solutions stay the same.
Related Guides
- Big Walk Walkthrough — Complete Guide
- Big Walk Coordinates & Secret Locations
- Big Walk Controls & Gestures
- Big Walk Ending — Both Endings & How to Unlock Them
- Big Walk on Switch 2 — Everything You Need to Know
Last updated: August 12, 2026.